ChatGPT photo editing prompts for pixel art images: Step-by-step guide
Transform photos or landscapes into retro pixel art using specific ChatGPT prompts.
The process involves selecting an image, uploading it, and entering a detailed prompt.
Use ChatGPT's edit feature to refine results by requesting specific changes.

The pixel art style was famous in the 1990s and the early 2000s, mostly because all the games at the time used this style across various genres. But in recent months, this art style has made a comeback, and that’s largely due to social media. It has been seen in many places, including modern indie games, digital art, and, of course, Instagram stories.
Though creating pixel art isn’t as easy as one might think. Since it requires the usage of dedicated software and a fair amount of skill, which not everyone has. But all of that has been solved, all thanks to the advancements made to ChatGPT’s image generation capabilities.
Using the AI chatbot, it is now possible to turn any photo into a pixel art style. Whether you want to transform your picture or a landscape into a retro pixel art style, all it takes is the right prompt and a few simple steps. Without wasting much time, let’s see how you can start creating pixel art images using ChatGPT.
Also Read: ChatGPT photo editing prompts for Artemis II moon mission: Step-by-step guide
Step-by-step guide to get pixel art images with ChatGPT
Step 1: Selecting the image
Firstly, it’s important to choose the image you wish to turn into pixel art. Given the uniqueness this art style offers, there are a variety of images that are worth creating. Be it portraits, group pictures, or even landscapes, this art style works on everything, so take your time while selecting the images. We used various pictures to create our images, and the results were impressive.
Step 2: Uploading the image to ChatGPT
After you’re done with selecting the picture you wish to create into pixel art, the next step would be to upload it to ChatGPT. Doing that doesn’t need much effort, as it’s pretty simple. On your mobile/desktop, just open up either the ChatGPT website or the application.
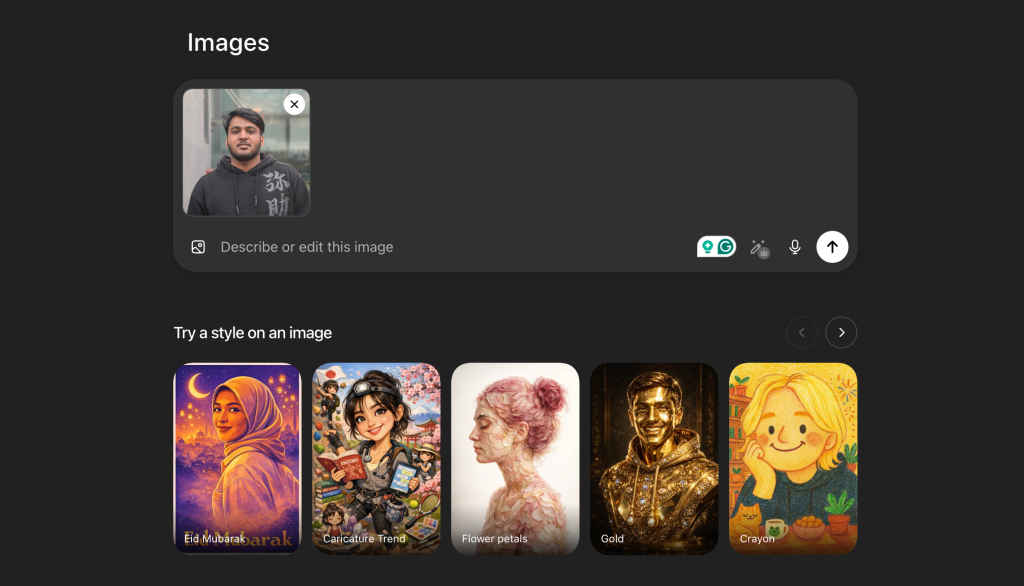
Once there, head on over to the images tab, which should be located on the left side. Now, click on the images icon in the chat window, which would then allow you to select images from your local machine. Alternatively, you can also copy and paste the images into the chat window for an even smoother process.
Step 3: Entering the prompt
Now that the image has been selected and uploaded to ChatGPT, it’s just a matter of prompting, and that’s very easy. While there are various options for pixel art-style images, using the right prompt is essential for turning out the images in the best quality. Below, we have attached the best prompt we used to generate our pixel art images.
Copy and paste the below prompt to turn your images into pixel art
“Convert this image into true pixel art with a clearly visible pixel grid and deliberately low resolution (e.g., 64×64, 128×128, or 256×256 depending on subject). The final image must look blocky and pixelated, not smooth or painterly. Use a limited color palette (16–32 colors max) with hard color transitions—avoid gradients, blur, or photorealistic shading. Apply manual-style dithering (checkerboard patterns) for shading instead of smooth blending. Simplify details aggressively: reduce textures, remove fine noise, and convert shapes into bold, readable pixel clusters. Add clean 1–2 pixel outlines where needed to define forms. Preserve the main subject and composition, but reinterpret everything in a retro 8-bit / 16-bit game sprite style. Background should also be simplified into chunky pixel blocks. No anti-aliasing, no soft edges, no realistic gradients, no high-resolution details. Keep everything crisp, blocky, and grid-aligned.”
Step 4: Downloading images
After all the aforementioned processes have been followed, all the things from your side are done. Now it’s just a matter of playing the waiting game. Once ChatGPT processes the prompt and the image, it will then generate an image. It should take a minute or two for the entire process to unfold.
In case you’re not satisfied with the results and are willing to make changes to the images, doing so is pretty simple. Just click on the generated image and choose the edit option. Now, based on what you want to change, simply prompt the same to the chatbot and click on enter. ChatGPT would consider all the edits and give out the final result. Though if you’re happy with the result, simply click on the share icon and either download the image locally or share it via the different given options.
With that said, I hope you understood how you can easily create some cool-looking pixel art pictures using ChatGPT. When you do create your pixel art images, make sure to share them and tag us on our social handles. For many such handy guides, keep on reading Digit.in
Also Read: ChatGPT photo editing prompt for professional studio-like pictures: Step-by-step guide