Windows 8 installation guide

A complete installation guide for trying out the latest version of Microsoft's ubiquitous Windows OS.
There are 3 versions of Windows 8 currently available to try. In order of release, with the product keys, they are:
Windows 8 Developer Preview
6RH4V-HNTWC-JQKG8-RFR3R-36498
Windows 8 Consumer Preview
DNJXJ-7XBW8-2378T-X22TX-BKG7J
Windows 8 Release Preview
TK8TP-9JN6P-7X7WW-RFFTV-B7QPF
To install Windows 8, you will usually have the following options at your disposal:
- A fresh install
- Dual-booting with Windows 7 or some other OS
- An upgrade from Windows 7 to Windows 8 (Not recommended)
- Trying out Windows 8 on a virtual machine
Before you begin, make sure your PC meets the minimum requirements laid down by Microsoft. These are not set in stone and you can install Windows 8 on PCs which do not meet these requirements, but your experience may not be as fluid on such a system.
System requirements
The minimum system requirements are as follows:
Windows 8 x86 (32-bit version)
- 1GHz Processor
- 1GB RAM
- 16GB storage space
- DirectX 9 graphics device with WDDM 1.0 or higher driver
Windows 8 x86_64 (64-bit version)
- 1GHz Processor
- 2GB RAM
- 20GB storage space
- DirectX 9 graphics device with WDDM 1.0 or higher driver
Initial setup
- Make sure you take a backup of all your important data before you begin. There is very little chance of something going wrong but if it does, you should be prepared.
- For whichever installation method you choose, you must have the minimum storage space ( 16GB or 20GB as specified above) available for your Windows 8 installation.
- Keep all your drivers handy, especially if you are installing Windows 8 on a laptop or PC which requires proprietary drivers. At the very least, keep a copy of your LAN and/or Wi-Fi drivers depending on how you access the Internet.
Installation media
- Windows 8 is available as a Web installer or an ISO from here.
- The Consumer Preview has been bundled with our June issue DVD and the Release Preview has been bundled with the July issue.
Creating a Windows 8 USB/DVD installer
- Download the Windows 8 ISO.
- Download the Windows 7 USB/DVD tool from here.
- Install the Windows 7 USB/DVD tool using default options.
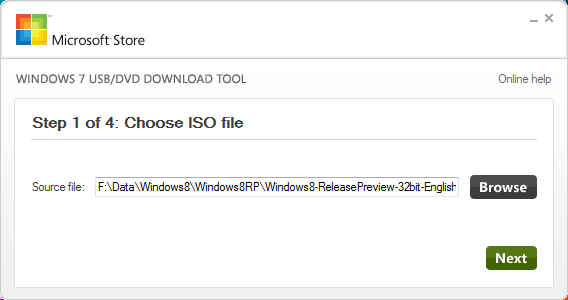
- Run the program.
- Hit “Browse”, navigate to your Windows 8 (or Windows 7) iso file and select it.

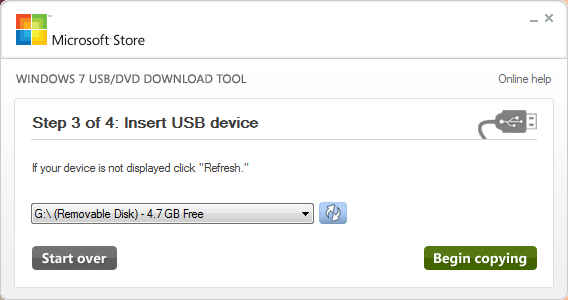
- Insert a USB drive (at least 4GB) or a blank DVD.
- Hit “Next”.
- Select “USB device” or “DVD” depending on what method of installation you want.
- If you selected “USB device”, make sure you choose the right one as the drive will be formatted completely. You will get two prompts confirming that you want to erase the data on the drive.
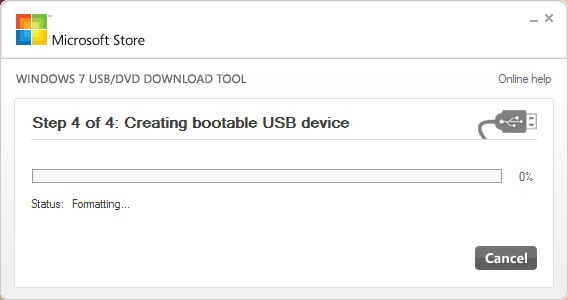
- Click “Begin Copying”
- Your drive will be formatted and the contents of the Windows 8 ISO will be transferred to it.

Installation instructions (default)
 |
 |
 |
 |
.png) |
 |
 |
- When booting from the Windows 8 installation media, first choose the language, format, etc. that you want to use. The defaults are fine for normal users.
- Click on “Install now”
- Enter the product key in the box that pops up. Product keys are specified above, make sure you choose the right one for the version of Windows that you have and hit “Next”.
- Accept the license agreement and hit “Next”
- For the installation type, choose “Custom: Install Windows only (advanced)”.
- Choose the drive or partition that you want to install Windows 8 on, note that the drive or partition you selected will be completely formatted and all data on it will be lost and if you do not want that, exit the installation right now (by clicking on the red “x' button) and clear up a partition/drive for your installation.
- You can create a new partition by selecting the drive you want partitioned and hit “New”. Specify a size and hit “Apply”. Make sure that the partition size is at least that which Microsoft recommended (16GB or 20GB) as specified in the system requirements above.
- Click “Next”. The installation process will begin. Wait for it to finish, depending on your PC, this should take anywhere between 15minutes to an hour.
- The PC will restart automatically after the above step, you can hit “Restart now” at this point if you can't wait.
- Your PC (or VM) will reboot and Windows will start getting your devices ready. This should only take a few minutes.
- Now you start Personalizing your Windows 8 installation. Choose a theme colour and enter a name for your PC (Digit-PC in this case) and click “Next”.
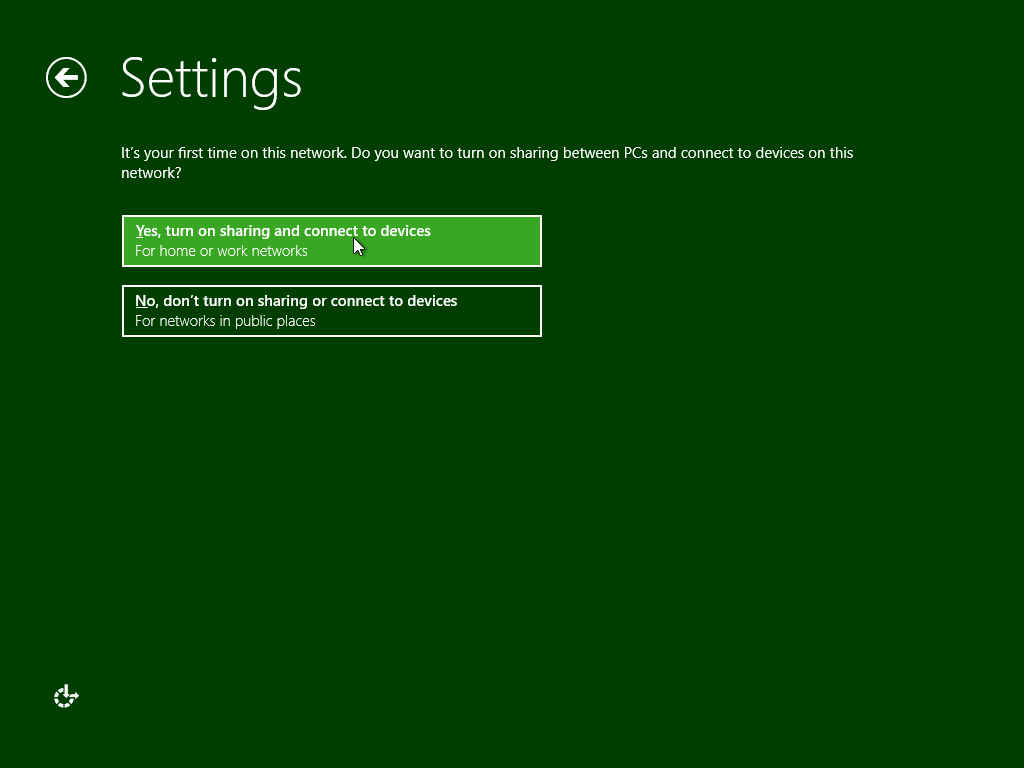
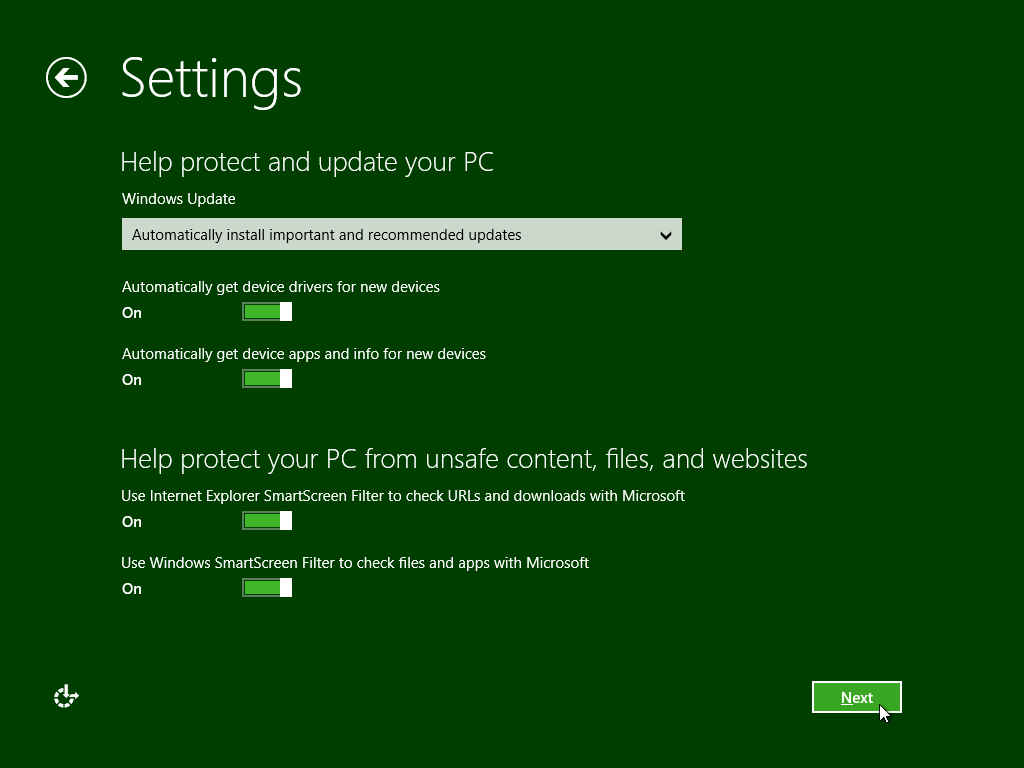
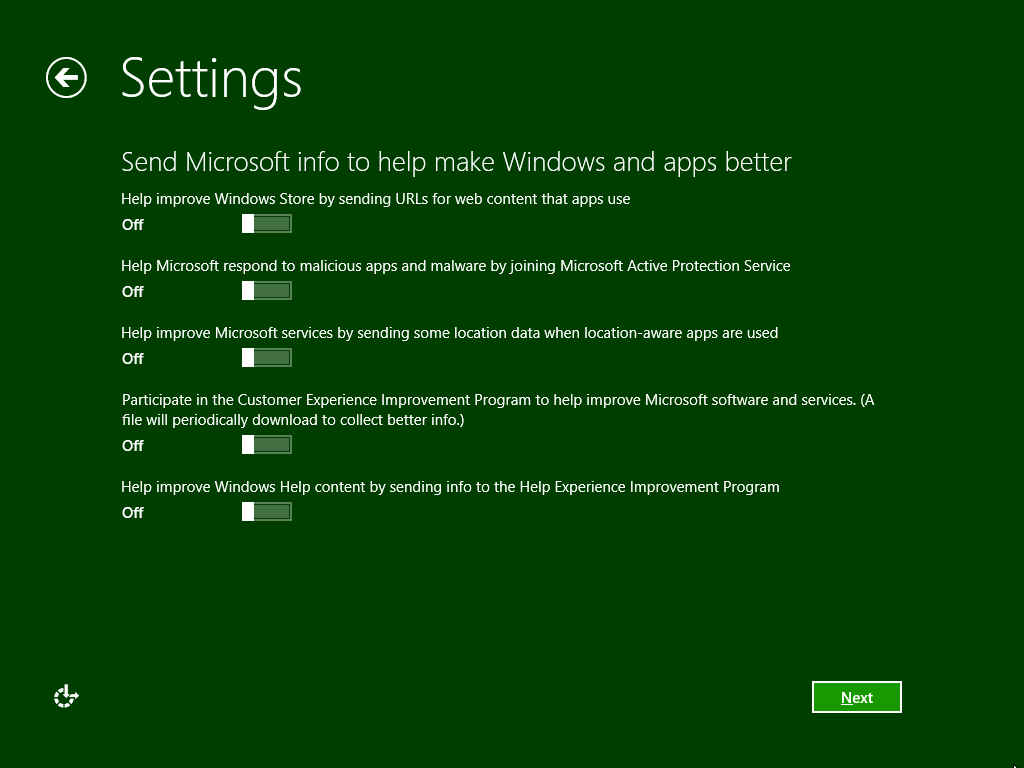
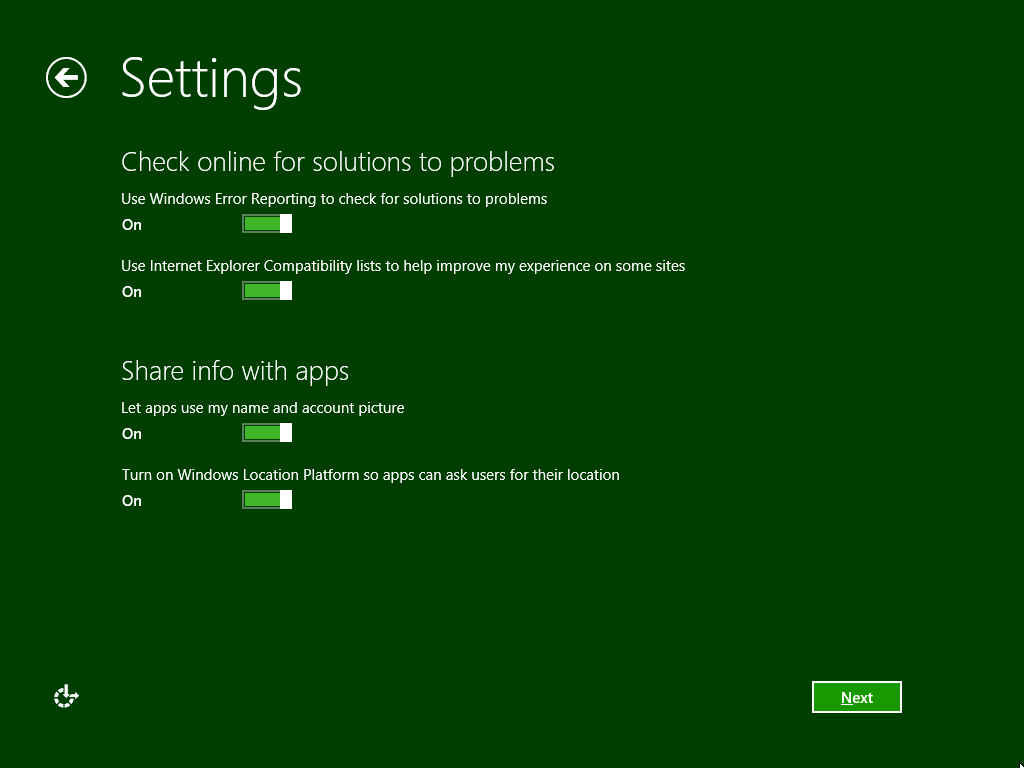
- You are now at the Settings screen, you can click on “Use express settings” if you don't want to mess with the settings or “Customize” if you so desire. If you clicked customize, you are presented with the following options.
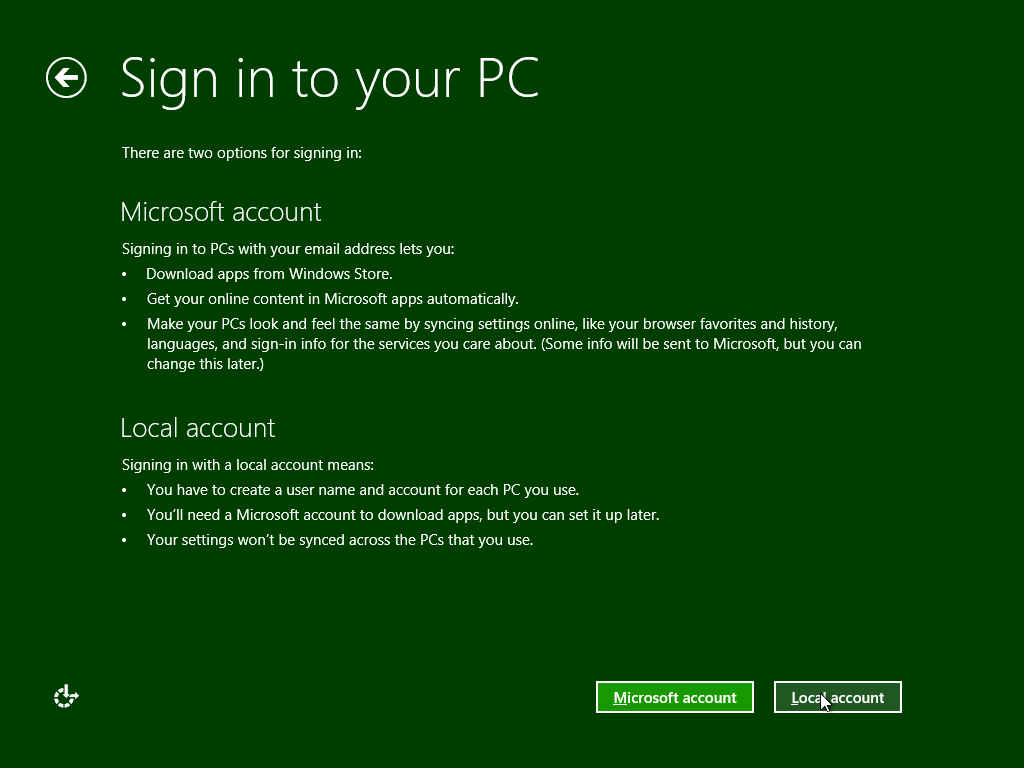
- Next you have to sign in to your PC. Enter an email ID if you want or create a new account or use a local account. To create a local account, click on “Sign in without a Microsoft account”.
- To sign in directly just enter your email ID and click “Next”. Windows 8 will sync all your email and calender details, etc. with your Windows installation. A local account will only store the settings locally and you will not be able to access your email and calender via the Metro apps unless you configure them later.
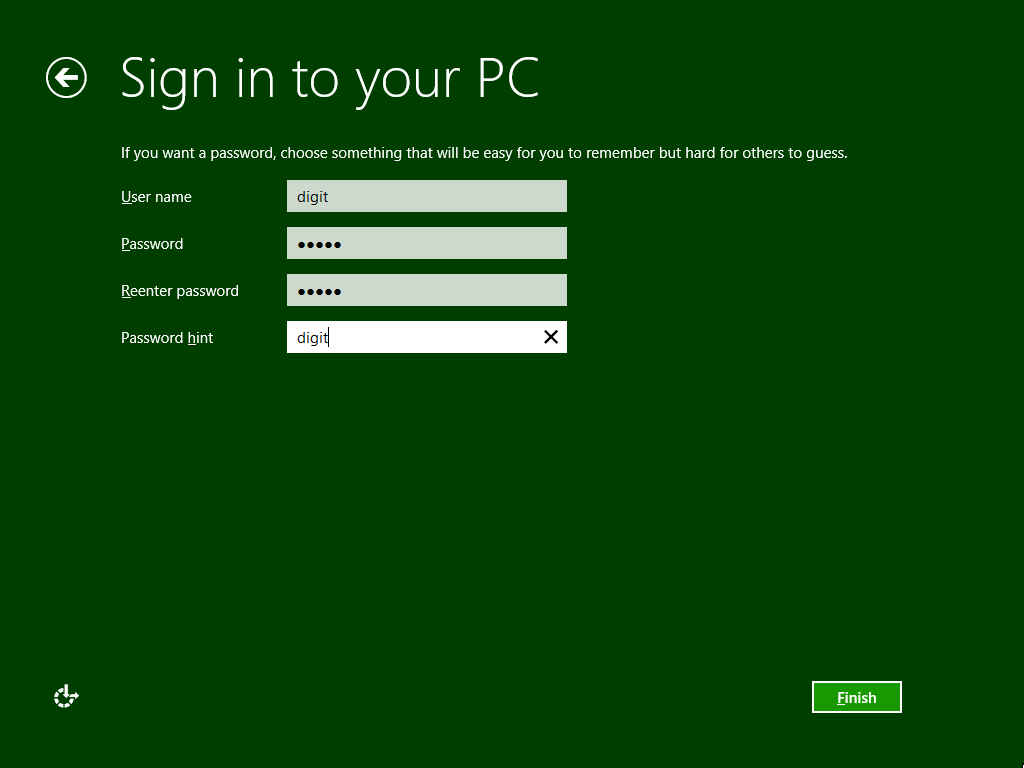
- To create a local account, just enter your User name and password at the “Sign in to your PC screen” and click “Finish”.
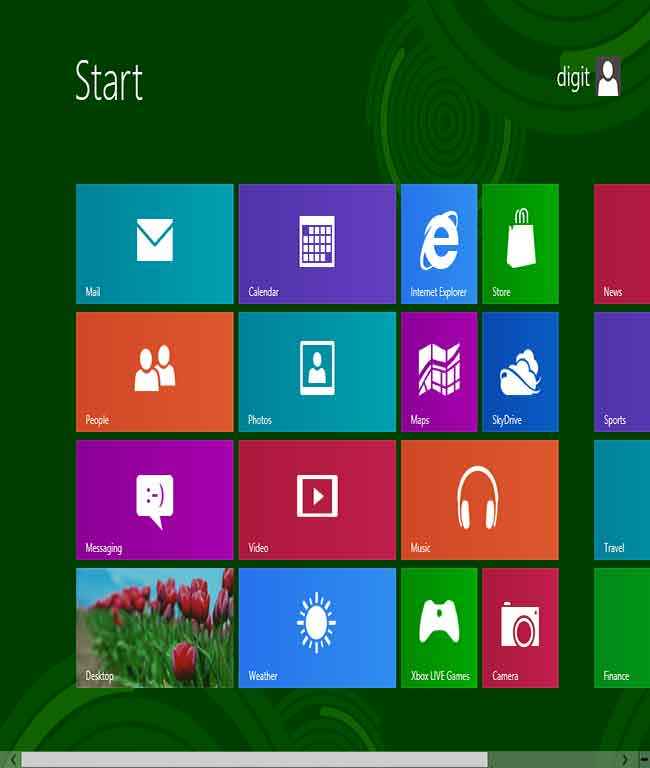
- Windows will finalize your settings and then boot you into the Start screen of Windows 8. That's it! Your Windows 8 installation is ready.
.png)
.png)
.png)
.png)
.png)
.png)
.png)
.png)
.png)
.png)
.png)
The above installation procedure is common for almost all methods of installation you want to use.
For a fresh install
- Make sure your PC meets the minimum requirements.
- Make a USB or DVD bootable installer using the method specified above.
- Set your first boot device to the USB or DVD drive of your system (varies from motherboard to motherboard. Check your motherboard manufacturer's site for instructions)
- Proceed from Step 1 of the Installation instructions
For dual-booting Windows 8 with another OS
- Follow the instructions for a fresh install.
Upgrade from Windows 7 to Windows 8 (Not recommended)
- This installation method is not recommended as Windows 8 is currently a trial and this trial will expire within a few months. Do not use this method of installation unless you know what you are doing as it would be almost impossible to revert back to your earlier version of Windows without reinstalling it.
- If you still wish to upgrade, you can mount the ISO file in Daemon Tools or a similar virtual disk utility, you can also run the setup.exe file from any Windows 8 installer that you have (USB or DVD). You can also use the web installer but be prepared for the 3GB download involved, the web-installer itself is tiny, but it will download the entire ISO from the Internet anyway.
- When you run the setup file, follow the on-screen instructions and proceed using the installation instructions mentioned above.
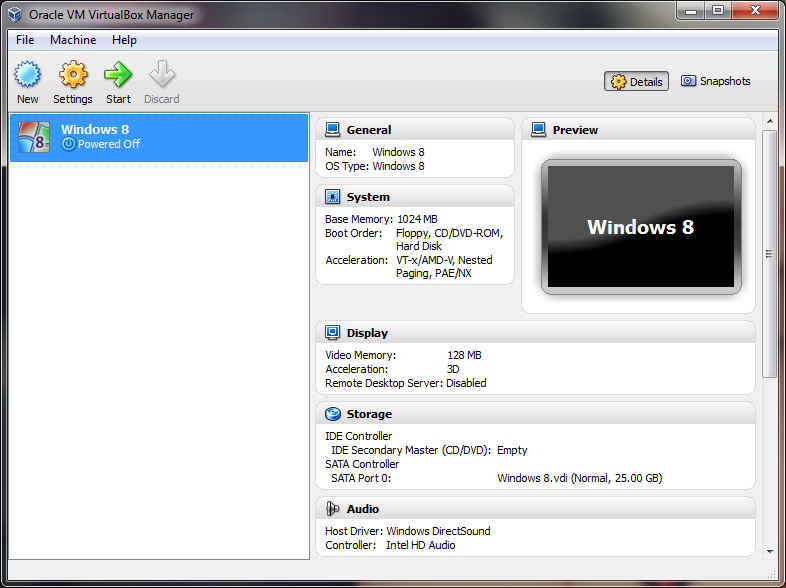
Using a Virtual Machine (VirtualBox)
- You can download VirtualBox from http://dgit.in/M5N4iQ or pick it up from our July DVD.
- Install the software.
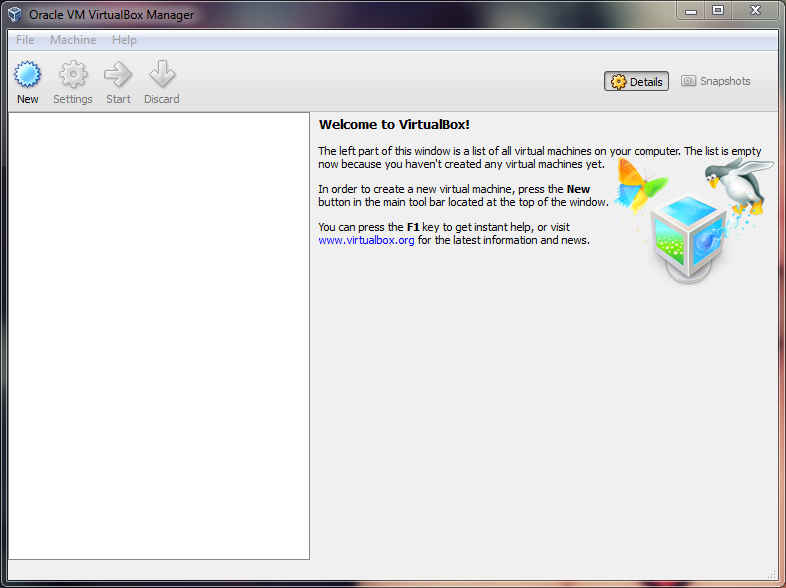
- Run the program and click on the blue coloured “New” button.
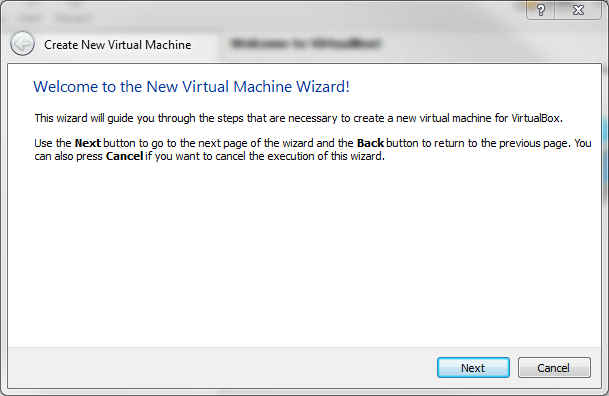
- The “Create New Virtual Machine wizard will run and click “Next.
- Enter a name for the VM (Windows 8 in this case) and select “Microsoft Windows” and “Windows 8” as the Operating System and Version respectively and click “Next”.
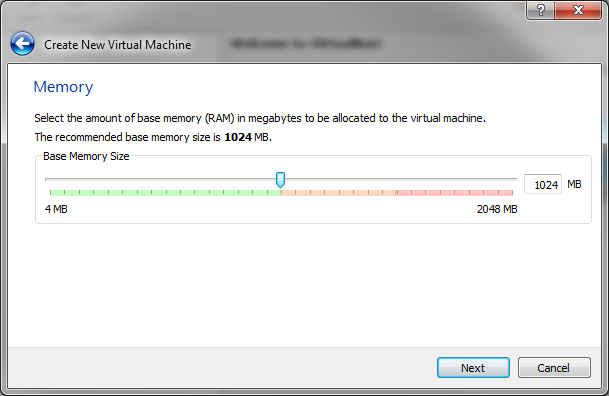
- Allocate at least 1GB of RAM using the slider. Click “Next”.
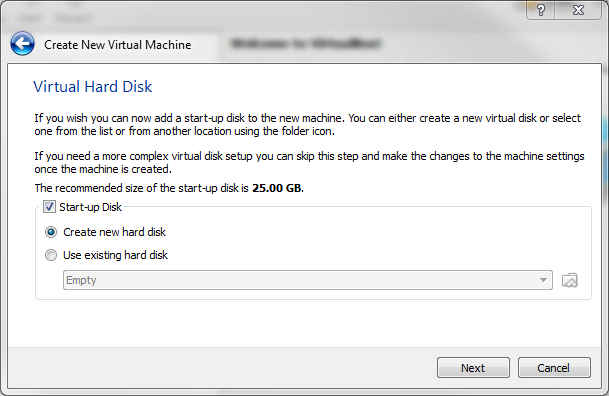
- Create a new virtual hard disk (if you don't already have one) by clicking on the radio button and hitting “Next”.
- Select the type of virtual hard disk that you want and click “Next”. The default option should be enough for most users.
- Select “dynamically allocated” if you are not very finicky about performance.
- Give the virtual HD a name and allocate some memory for it, make sure that you allocate at least the minimum required space as specified in the requirements and click “Next”.
- Verify the details at the Summary and hit “create”.
- Next, select the new Virtual Machine you created, from the main screen of VirtualBox and hit Start.
- Follow the instructions of the “First Run” wizard and hit “Next”.
- Mount the Windows 8 ISO file or insert the bootable USB or DVD drive that you created.
- Select the correct drive from the “Host drive” window that pops up and hit “Next” and “start”
- If you followed all the instructions correctly and there are no other unforseen problems, the virtual machine will boot and you should be ready to begin your Windows 8 trial.
- Follow the installation instructions specified earlier and you are good to go.
.png)
.png)
.png)
.png)
.png)