How to Use AI in Wondershare Filmora: Guide to AI Copilot, Smart Cutout, Speech Tools and More on AI PCs

Wondershare Filmora’s latest update unlocks a range of AI-powered features that work best when paired with an AI PC, specifically, laptops running on Intel Core Ultra, AMD Ryzen AI, or similar processors with a dedicated NPU. If you’ve recently bought a machine labelled “AI-ready,” here’s what it actually enables you to do inside Filmora, and why it matters.
Most AI features in Filmora currently run via cloud-based servers, making them accessible to any modern Windows or macOS machine. However, using an AI PC with a dedicated NPU can future-proof your setup for potential local AI processing in future updates. In some cases, you may also experience faster rendering and reduced battery drain.
However, you will still need a paid Filmora subscription to get the AI credits to run the various AI tools. And as for my AI laptop, I tested these features on an ASUS Zenbook S 14 OLED with an Intel Core Ultra 7 258V processor, 32GB RAM, and integrated Intel NPU. Here’s how it performed.
Step 1: Activate AI Copilot for Guided Editing
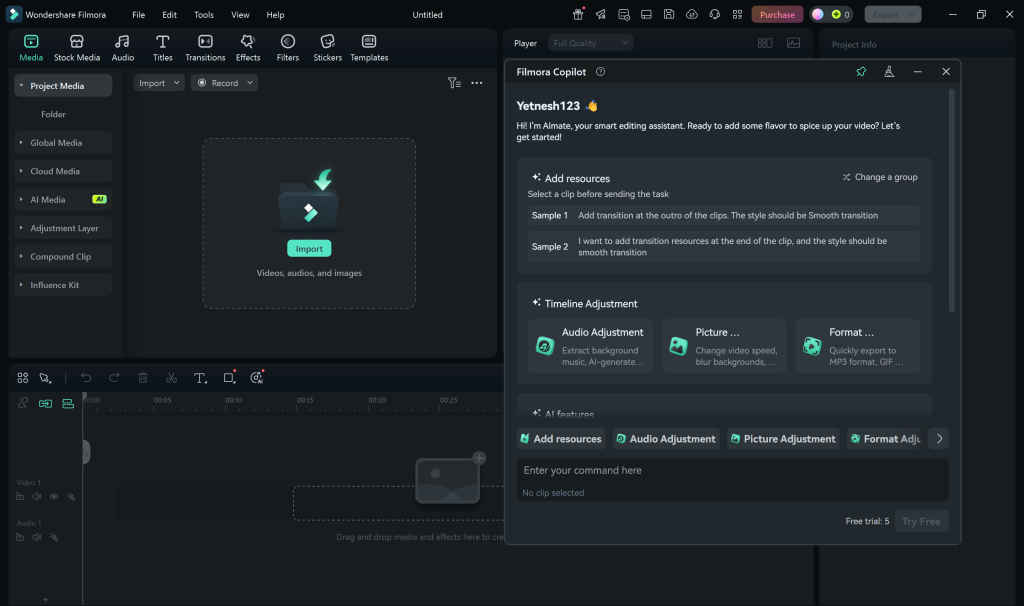
Filmora’s AI Copilot is like having an assistant inside your editing software. The tool lets you describe what you want (e.g., a vlog with cinematic transitions or a fast-cut reel), and it helps you structure the project accordingly. You can interact using voice or text, and Filmora uses local AI acceleration to generate timelines, apply effects, and even make music suggestions. To try it:
- Start a new project in Filmora (File → New Project).
- Once in the main editing interface, look at the timeline toolbar—right above your video tracks.
- There you’ll find and click the “AI Mate” button (also called “Filmora Copilot” in some versions)
- A chat-style Copilot window will appear, allowing you to enter prompts or select suggestions to refine your edit .
Also read: How to Use Intel AI Playground Effectively and Run LLMs Locally (Even Offline)
Step 2: Use Smart Cutout to Remove Backgrounds Instantly
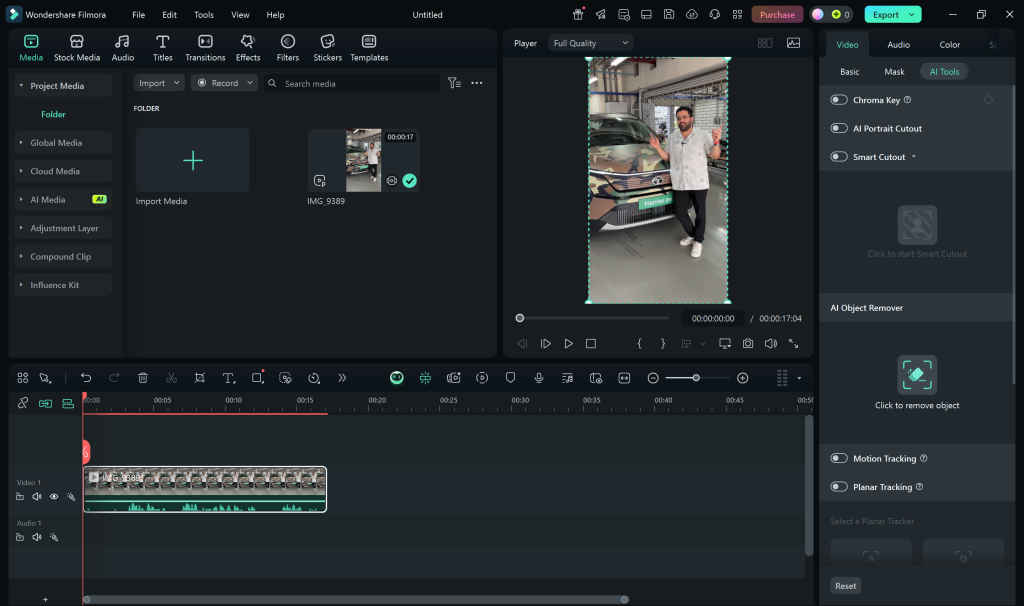
The AI Smart Cutout tool is one of the most practical updates for creators. It allows you to separate subjects from their background, even without a green screen. Running this locally on an AI PC significantly reduces processing time. Here’s how:
- Import your clip and drag it onto the timeline.
- Select the clip by clicking on it in the timeline.
- In the Video tab (above the preview window or on the right of the timeline), click “AI Tools.”
- From the dropdown, click “Smart Cutout.”
- A separate Smart Cutout window appears—choose Click to start Smart Cutout, then use the brush tools to mark the areas you want to extract
You can then replace the background, add overlays, or apply creative transitions.
Step 3: Clean Audio with AI Noise Removal and Stretching
Bad audio ruins good video. Filmora now includes AI-based Noise Reduction and Audio Stretch tools that work in real-time, powered by your NPU.
AI Noise Reduction (AI Audio Denoise)

Noise Reduction Automatically detects and removes unwanted ambient noise like fans, traffic, or hums.
- Select your audio clip in the timeline.
- Go to Audio in the top menu (alternatively, right-click on the clip).
- Choose AI Audio Denoise (sometimes listed simply as “Denoise”).
- A slider appears—move it to adjust the intensity and hit Preview to test.
- When you’re satisfied, click Apply to clean up the audio
Audio Stretch
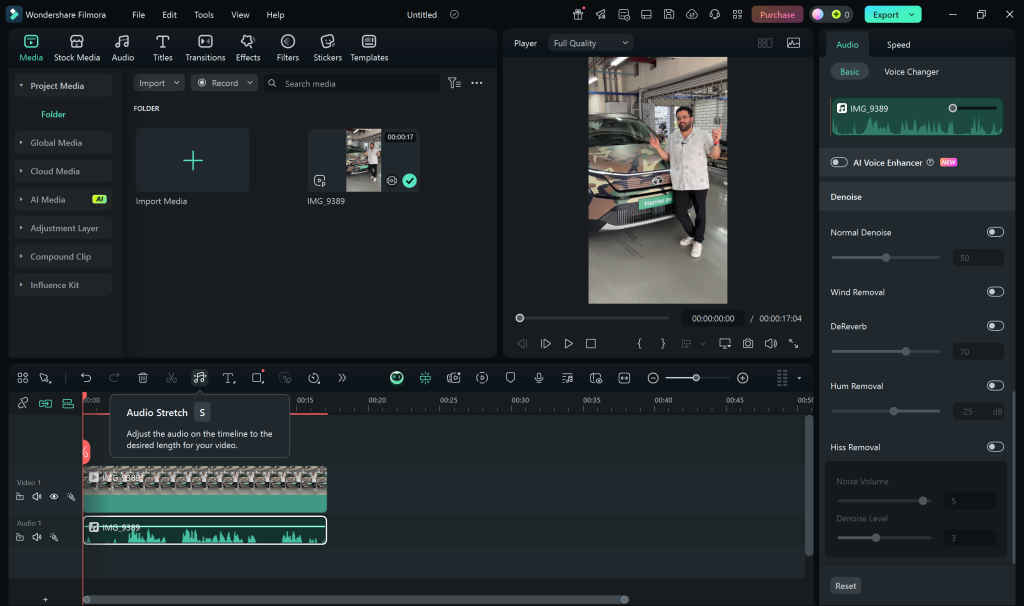
Audio Stretch Extends or shortens music tracks to perfectly match video length, without changing pitch.
- Select the audio clip you want to stretch.
- In the toolbar above the timeline, click the Audio Stretch icon (usually marked “S”)
- or right-click the clip and select Audio Stretch
- A stretching interface opens—drag the handles at the start/end of the audio to extend or shorten it.
- You’ll see a Music Stretch in progress bar during processing
- If needed, you can delete the stretch by right-clicking the clip and choosing Delete Audio Stretch
Also read: ASUS ExpertBook P1 First Impressions: A No-Nonsense Business Workhorse with Surprising Power
Step 4: Auto-Transcribe Voice to Text (STT)
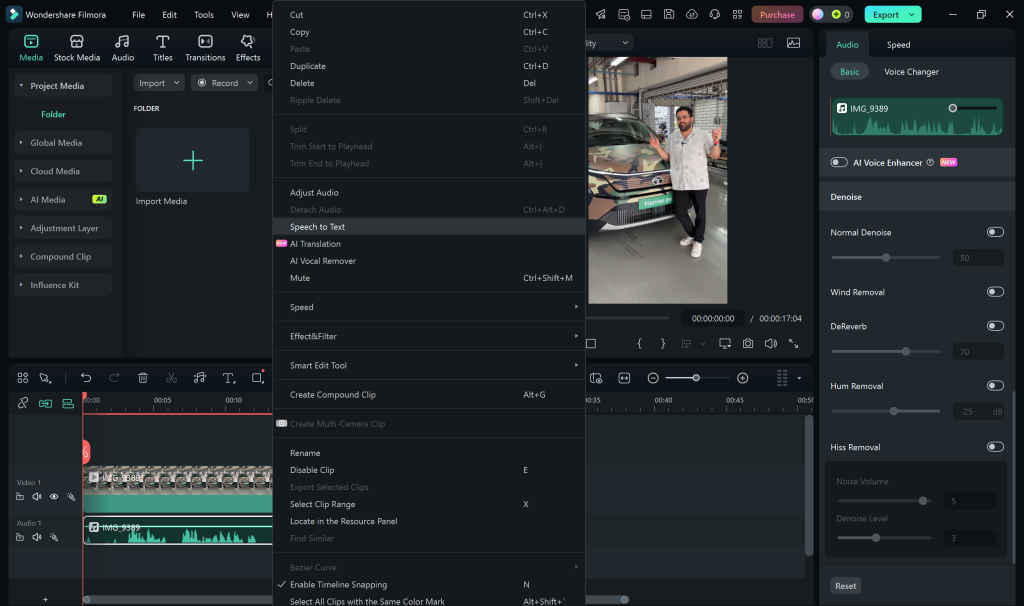
Creators can now generate subtitles directly using Filmora’s AI Speech-to-Text engine. No need for cloud upload—it works offline on AI PCs using local hardware. To try it:
- Import your video and select the audio track.
- Right-click > Speech-to-Text.
- Choose your language and click Transcribe.
- The captions are automatically synced and can be edited in the timeline.
This is especially helpful for interviews, social media captions, and accessibility compliance.
Step 5: Generate Visuals with AI Image/Sticker Creator
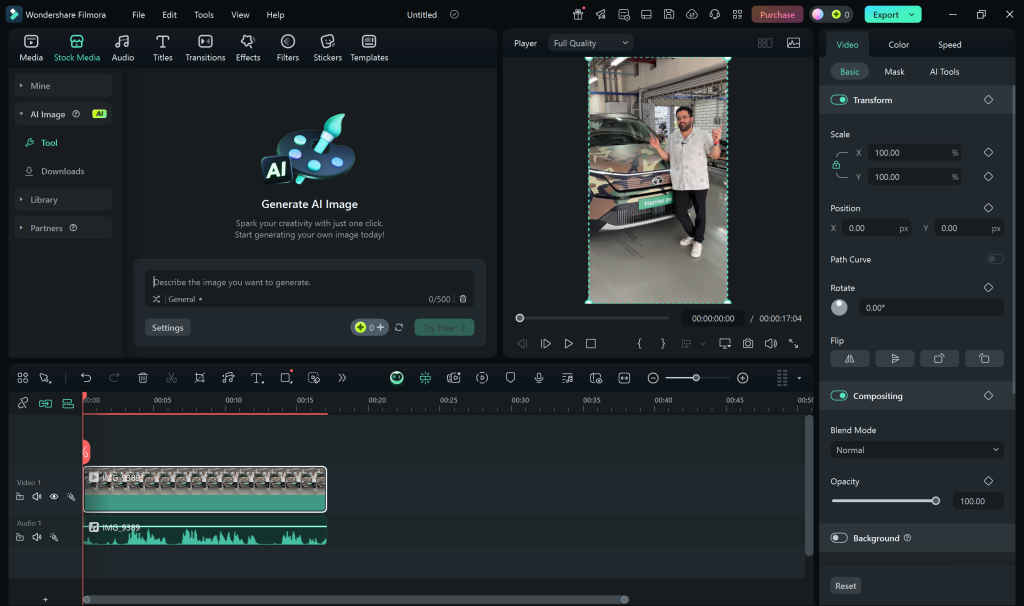
Filmora also includes generative AI tools for visuals—like AI Image Creator and AI Sticker Generator. While these don’t need an AI PC per se, having one speeds up rendering and ensures smoother interaction. Try it:
- Click on the “Stock Media” tab in the upper left corner.
- In the “AI Image” tab click on “Tool”
- Enter a prompt like “retro TV frame with static effect” or “vintage neon title.”
- Drag generated assets directly into your timeline.
While Filmora’s AI features are available on most modern systems, using them on an AI PC makes a noticeable difference. Tasks like background removal, transcription, and audio cleanup run faster and more efficiently, often without overloading the CPU. For creators working on time-sensitive projects or longer timelines, the hardware advantage of an AI PC isn’t just nice to have, it’s practical. And as more tools shift toward local processing, this edge is only going to grow.