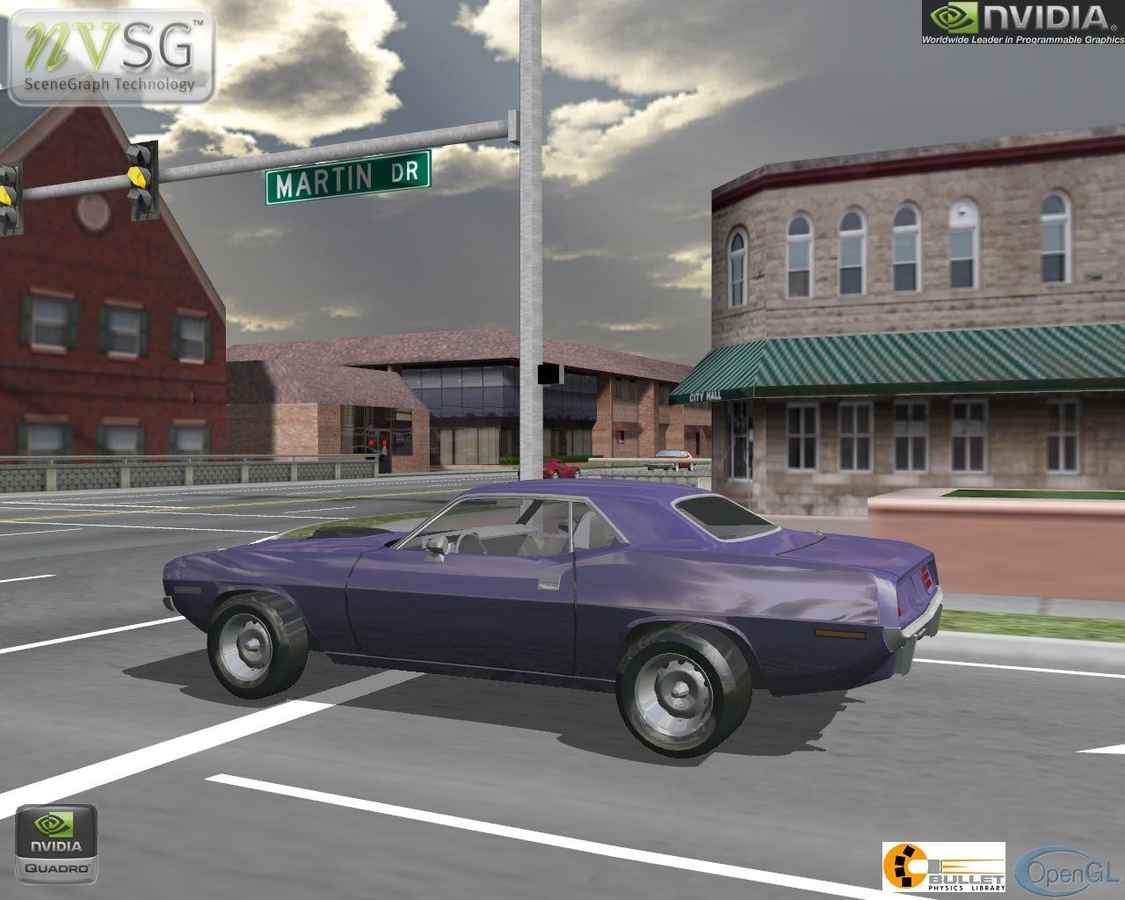
This article shows you how to build and port the Android version of the Bullet Physics engine to the Intel Atom SoC-based platform.

Introduction
 Survey
Mobile games with stunning graphics and realistic physics are now possible due to the increasing compute power now available on mobile devices. Effects such as grenade explosions in shooter games and car drifts in racing simulators are provided by the physics engine, whose heart is physics simulation. Typically, physics simulation determines the performance of the game engine. A game's success often depends on how fast and accurately the physics engine computes the physics model.
This article shows you how to build and port the Android version of the Bullet Physics engine to the Intel® Atom™ SoC-based platform.
Bullet Physics
The Bullet Physics Library is a real-time physics engine, used in many computer games, movies, 3D modeling systems, as a component of other game engines, and other applications [bulletphysics]. In mid-2011, a version that supports the Android OS (ARM NEON*-optimized) was released.
We first ran a Bullet Physics application on a Samsung Galaxy* Tab 3 10.1 with an ARM-based processor and measured 30 frames per second (FPS). We then ported the same Bullet Physics application to the x86 architecture. We ran the Bullet Physics application on the same Samsung Galaxy* Tab 3 10.1, now with an Intel® x86 processor and measured 60 FPS. We compared the performance of each using Intel® Graphics Performance Analyzers [Intel® GPA Tools].
By porting applications to x86-architecture, developers get an additional frame time budget, increasing the calculation speed of physics in their game, so they can spend more time on either more realistic graphics or more movement in their games.
Preparation
To build and port Bullet we need:
The whole process can be run on either Windows*, Linux* or Mac OS*; it does not differ fundamentally on Linux and Mac OS from the Windows effort. Test runs were performed on the Lenovo K900 and Samsung Galaxy* Tab 10.1 3. Both devices are based on Intel Atom processor Z2460.
A script that automatically performs all the actions described in this article is attached.
Build
Build and run the sample application PfxApp_1_Simple under ARM as the first step.
Figure 1. Sample application PfxApp_1_Simple (device Samsung Galaxy* tab 3 10.1).
Then we'll build the PfxLibrary library, the main component of the physics engine. To do this, go to the library project directory:
<BulletPhysics>\bullet-2.80-rev2531\Extras\PhysicsEffects\project\Android\PfxLibrary\jni
<BulletPhysics> is the path to the bullet-2.80-rev2531 folder. Open the Android.mk file in this directory and find and replace the declared variable, like so:
LOCAL_PATH := <BulletPhysics>\bullet-2.80-rev2531\Extras\PhysicsEffects
Next, open the console and navigate to:
<BulletPhysics>\bullet-2.80-rev2531\Extras\PhysicsEffects\project\Android\PfxLibrary
Run the command:
ndk-build
Success! We built PfxLibrary for armeabi-v7a.
Let's build the sample application. Navigate to the directory:
<BulletPhysics>\bullet-2.80-ev2531\Extras\PhysicsEffects\project\Android\PfxApp_1_Simple\jni
Open the Android.mk file and replace the declaration:
LOCAL_PATH := <BulletPhysics>\bullet-2.80-rev2531\Extras\PhysicsEffects
In the command prompt, change directories to the project folder:
<BulletPhysics>\bullet-2.80-rev2531\Extras\PhysicsEffects\project\Android\PfxApp_1_Simple
Run the command:
ndk-build
We use Eclipse IDE to start the application. Import the project into Eclipse:
File => Import => Android => Existing Android Code Into Workspace => Browse… =><BulletPhysics>\bullet-2.80-rev2531\Extras\PhysicsEffects\project\Android\PfxApp_1_Simple\ =>OK => Finish
Run the sample application. Click the right mouse button on the project icon and select Run As => Android Application, as shown in Figure 2.
Figure 2. Launching an application from Eclipse* IDE
The sample will run in translation mode.
Porting
Let's port this sample PfxApp_1_Simple to x86. Begin with the core PfxLibrary library. Navigate to the project folder:
<BulletPhysics>\bullet-2.80-rev2531\Extras\PhysicsEffects\project\Android\PfxLibrary\jni
Open the Application.mk file and change this declaration:
APP_ABI := x86
Make these changes to the Android.mk file:
LOCAL_PATH := <BulletPhysics>\bullet-2.80-rev2531\Extras\PhysicsEffectsLOCAL_CFLAGS := $(LOCAL_C_INCLUDES:%=-I%) -DUSE_PTHREADS –pthreadLOCAL_ARM_NEON := false
Remove the ARM NEON-optimized assembly files by deleting these lines from the LOCAL_SRC_FILES declaration list:
src/base_level/solver/pfx_constraint_row_solver_neon.cpp \include/vecmath/neon/vectormath_neon_assembly_implementations.S
Rebuild the physics engine. In the command prompt, change the working directory:
<BulletPhysics>\bullet-2.80-rev2531\Extras\PhysicsEffects\project\Android\PfxLibrary
Run ndk-build. We now have built the PfxLibrary for x86 architecture. Repeat these actions to port the sample application. Navigate to project directory:
<BulletPhysics>\bullet-2.80-ev2531\Extras\PhysicsEffects\project\Android\PfxApp_1_Simple\jni
Open the Application.mk file and replace the declaration:
APP_ABI := x86
Change variables in the Android.mk file:
LOCAL_PATH := \bullet-2.80-rev2531\Extras\PhysicsEffectsLOCAL_SRC_FILES := project/Android/PfxLibrary/obj/local/x86/libpfxlibrary.aLOCAL_CFLAGS := $(LOCAL_C_INCLUDES:%=-I%)LOCAL_ARM_NEON := false
Remove these lines from LOCAL_SRC_FILES:
sample/test_ARM_NEON_performance/neon_dot_product.S \sample/test_ARM_NEON_performance/neon_cross_product.S \sample/test_ARM_NEON_performance/neon_matrix4_operator_multiply.S \sample/test_ARM_NEON_performance/neon_matrix3_operator_multiply.S \sample/test_ARM_NEON_performance/neon_orthoInverse_transform3.S \sample/test_ARM_NEON_performance/neon_transform3_operator_multiply.S \sample/test_ARM_NEON_performance/neon_transpose_matrix3.S \sample/test_ARM_NEON_performance/test_neon_cross_product.cpp \sample/test_ARM_NEON_performance/test_neon_dot_product.cpp \sample/test_ARM_NEON_performance/test_neon_matrix3_operator_multiply.cpp \sample/test_ARM_NEON_performance/test_neon_matrix4_operator_multiply.cpp \sample/test_ARM_NEON_performance/test_neon_orthoInverse_transform3.cpp \sample/test_ARM_NEON_performance/test_neon_transform3_operator_multiply.cpp \sample/test_ARM_NEON_performance/test_neon_transpose_matrix3.cpp \sample/test_ARM_NEON_performance/test_neon_solve_linear_constraint_row.cpp
Change the working directory for the project folder:
<BulletPhysics>\bullet-2.80-rev2531\Extras\PhysicsEffects\project\Android\PfxApp_1_Simple
Build the project using the ndk-build command, then run the sample on the device.
Use the APK Info application from Google Play to view supported architectures [https://play.google.com/store/apps/details?id=com.intelloware.apkinfo].
Figure 3. Screenshots of APK Info (device Lenovo K900)
Conclusion
This article provided step-by-step instructions for how to build and port the physics engine, Bullet Physics. The result of successfully porting the application to x86 architecture is a 2x speedup of the physics portion of the application and improved frame rate (FPS).
For more such Android resources and tools from Intel, please visit the Intel® Developer Zone
Source: https://software.intel.com/en-us/android/articles/porting-the-android-bullet-physics-engine-to-intel-architecture


