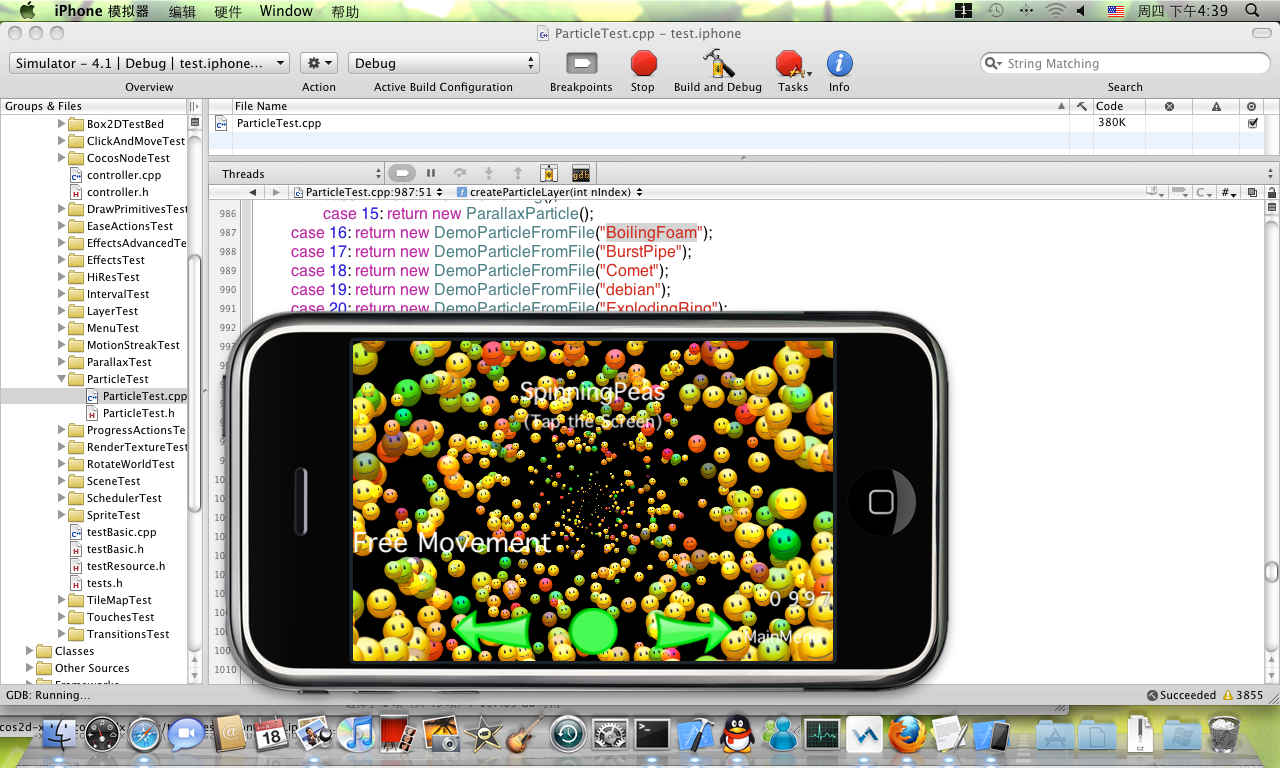
This guide helps you learn how to build a Android project with CoCos2D for Intel Architecture

Cocos2D is a game engine that works with various devices from PCs to smart phones. This engine supports the vast majority of the features needed to make wonderful 2D-based games; it even includes a fully-featured physics engine. A core element of CoCos2D is the use of basic animation primitives called sprites. A sprite may be a simple 2D image, and can also be a container for other sprites. In this game engine, sprites are arranged together to form a scene, game level or menu.
 Survey
As you know Intel® has produced a number of processors for up-to-date gadgets and these processors provide developers and users with the opportunity to enjoy excellent computer graphics. In this article I will explain how to build a project with CoCos2D.
Installing the Software
The first step is to install the following software on your PC: JDK and JRE, Android SDK, Android NDK and Eclipse, an integrated development environment with ADT plugin. As for the game engine, you will need to download a version of CoCos2D. I used cocos2d—1.0.1-x-0.9.1.
For compilation of non-active code, you will also need to download Cygwin. Download the setup.exe and choose the "Install from Internet" option.
It is important that when you go to the Select Packages step, you select the ‘make’ package (find it in the search field).
Now, all the software is installed and you are ready for the next step.
Setting
When you download and install CoCos2D, edit the file create-android-project.bat. It is located in the work directory (in my case C:\cocos2d-1.0.1-x-0.9.1). Open the file with text editor and change the lines with the following content:
| 1 | set _CYGBIN=f:cygwinbin |
| 2 | set _ANDROIDTOOLS=d:android-sdktools |
| 3 | set _NDKROOT=e:android-ndk-r5 |
After changing these lines insert the following commands:
| 1 | set _CYGBIN=с:cygwinbin |
| 2 | set _ANDROIDTOOLS=c:androidandroid-sdk-windowstools |
| 3 | set _NDKROOT=c:androidandroid-ndk-r5-crystax-1 |
To successfully build any projects with CoCos2D, you will need to change the file build_native.sh which is located in \template\android\. Edit the following line:
RESOURCE_ROOT=$GAME_ROOT/Resource
Change it to:
RESOURCE_ROOT=$GAME_ROOT/Resources
This is very important because there is a bug in version 1.0.1 – x – 0.9.1. The developers changed the name of the directory from resource to resources for unification projects under Android and iPhone. But, as is often the case, when they changed it in one place, they forgot to change it in another.
Run the edited file create-android-project.bat. In the console, enter the name of java package org.cocos2dx.myapp and the name of your project (for example: SampleProject).
Then you will need to specify your version of Android. In the console, enter the number which matches the version of Android on your device. For instance, I use Lenovo K900 and it has Android version 4.2.1. For me it was number 14 (enter this number in the dialog box in your console).
After that, you need to wait until the end of the process. A script creates the folder with the name of the project which you entered (SampleProject) and generates a template of the java project. It rewrites the resource files from the directory ‘Resource’ to the folder ‘Resources’. Now you are ready for compilation in Android (Lenovo K900).
Building
Launch CygWin and find the folder of your project (cd /cygdrive/c/android/rep/cocos2d-1.0.1-x-0.9.1/SampleProject/android). Run the file build_native.sh (./build_native.sh).
If all actions are performed properly, you will get an output of three compiled libraries; libcocos2d.so, libcocosdenshion.so and libgame.so. Open Eclipse and create a new Android project (New>Project>Android project). It is important that the name of the project matches the name of the previously generated project, namely SampleProject. Choose the option ‘Create project from existing source’. In the field Location specify the path of your project (\cocos2d-1.0.1-x-0.9.1\SampleProject\android). Choose API for Android 4.2.1. Select Finish and the project is ready. Run it on Lenovo K900.
If you decide you need to make some changes to your project, to successfully run it you will need to do some additional steps. First of all, you will need to clean the project using Project>Clean. Then in the console repeat running build_native.sh and after that run the project in Eclipse.
As a result, your project should have successfully launched on the Intel device.
For more such Android resources and tools from Intel, please visit the Intel® Developer Zone
Source: https://software.intel.com/en-us/android/articles/cocos2d-for-android-on-intel-architecture


