Huawei P20 Pro: Breakdown of pro camera modes and features
The triple camera setup on the Huawei P20 Pro would've been for nought, if not for the accompanying software. There are a slew of features and options to explore and we try to bring some of the prominent ones into the limelight.

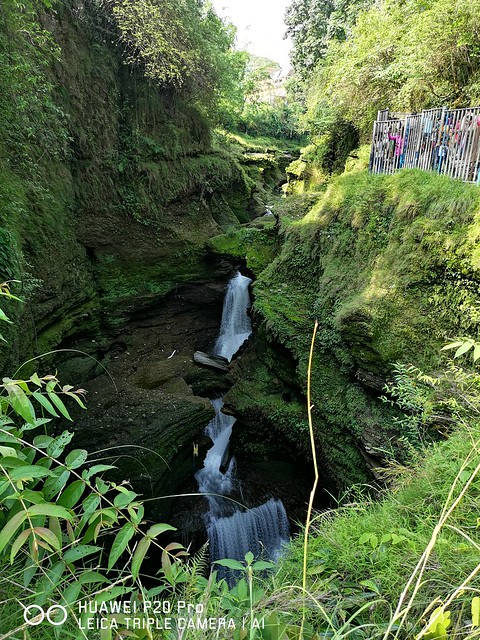
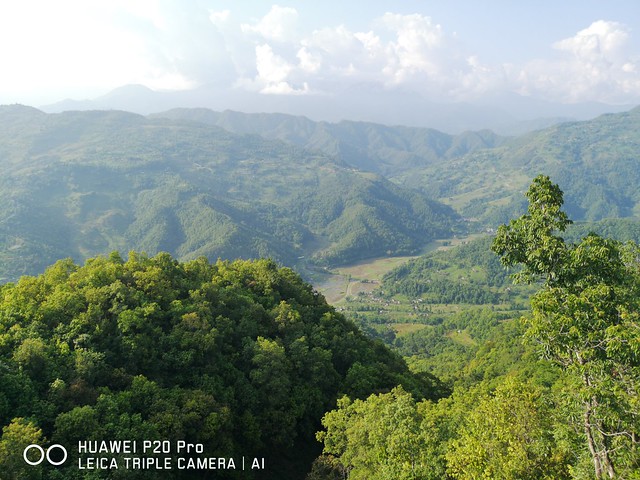
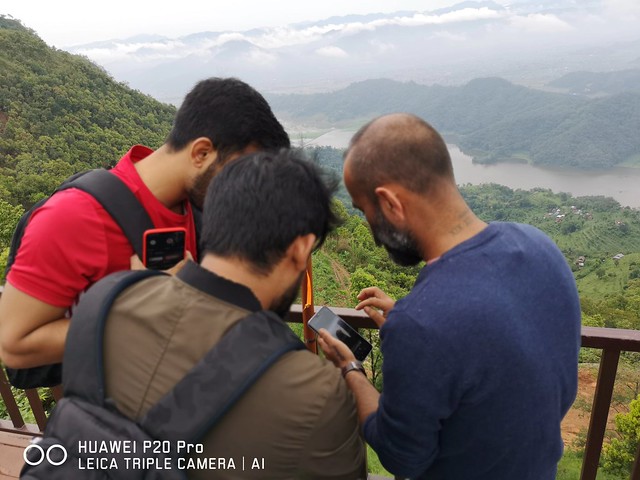
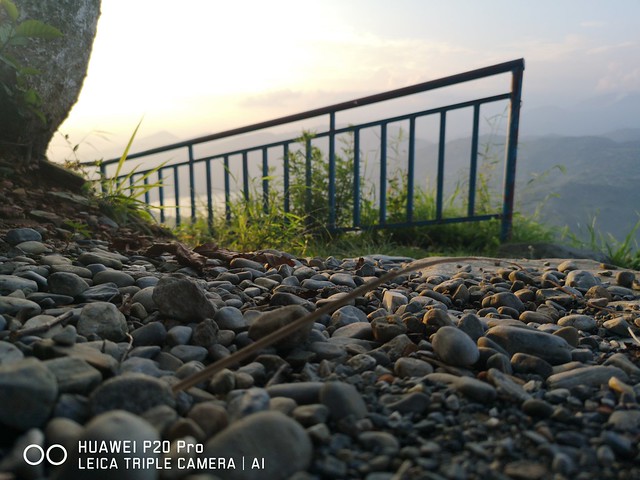
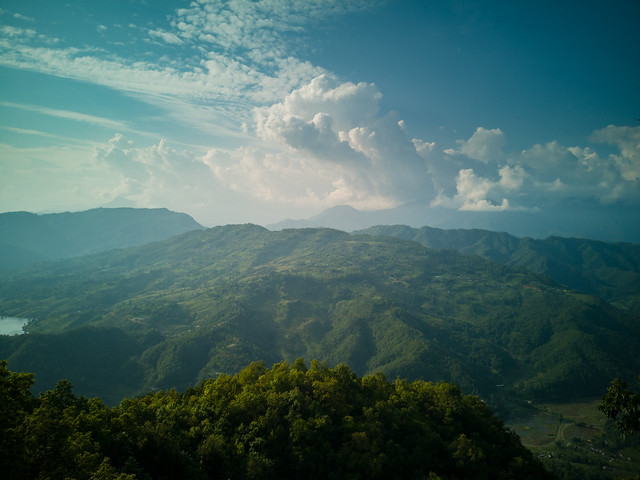
Huawei recently arranged an expedition to Pokhara, Nepal. The point of this excursion was to demonstrate the camera prowess of its flagship P20 Pro smartphone. In my opinion, the trip was as informative, as it was fun and I learnt a great deal about the device’s camera. We also got to understand the camera app which harnesses the triple-sensor assembly's capabilities, along with some basics of street photography.
The company’s current flagship is the P20 Pro and without a doubt, the triple camera setup on the rear is its highlight. Now, don’t think that only the camera setup on the device is worth talking about as being a flagship, it comes with top-of-the-line specifications, design, display, build quality and more. However, these aspects of the smartphone have already been covered in our review. Here, I will be breaking down the various modes and features of the camera app on the P20 Pro.
Let’s start with a quick rundown of the camera setup on the Huawei P20 Pro. On the rear is an 8MP telephoto lens with f/2.4 aperture, an f/1.8 40MP RGB primary sensor and lastly a 20MP monochrome sensor with f/1.6 aperture. The company has equipped a large 1/1.78-inch sensor on the smartphone, which is usually found in standard point and shoot cameras. The three lenses are made by Leica and each one comes with Optical Image Stabilisation. Now that we have an idea of the camera setup on the device, let's take a look at the software features it comes with for helping you capture ‘the perfect shot.’
Photo Mode
When you fire up the camera app, it will boot up in the default Photo mode. This is the simplest way to capture images on the P20 Pro. You just need to point and shoot and occasionally touch the subject on your screen to adjust the automatic exposure. Now, there are still tons of options to customise in the Photo mode. On the top, you will see some standard options like the flash toggle, moving picture mode and an option to select from standard, vivid or smooth colours for your image. I prefer true to source colours, so the option is always set to standard on my device.
There is also the Settings cog on the upper right corner, which is more or less affixed as you move between various modes. However, one might notice that some options in the Settings change when you jump between modes. In Photos, you can choose the image resolution, enable 4D predictive focus that moves focussing points based on an object, GPS tag your image, set timer and more. All of the standard options are here but there is also a notable feature called Assistive AI and enabling it puts the Neural Processing Unit (NPU) on the Kirin 970 SoC to work. It can detect the scene you are taking images of and automatically select the best shooting mode based on your settings. In my experience, I found that it simply oversaturated the colours while taking photos of a green landscape or of the sunset and as I prefer true to source colours, I turned the option off for the rest of my trip.

I also captured some zoomed images and as you can see, the first one is of the village on the foothills of the Annapurna ranges without any zoom. The second image was captured from the same spot and using 3x optical zoom, then using 5x lossless hybrid zoom and again with 10x digital zoom. You can spot the details retained in the image even after 5x zoom, but there is a considerable quality loss with the 10x zoom.
Aperture Mode
This is one of the most interesting features on the P20 Pro’s camera. It enables the user to select from any aperture value between f/0.95 to f/16 and later change the point of focus in an image and vary the aperture level value. This is essentially called focus stacking and it helps in keeping the entire image in focus, if need be. This option really helped me show my image from a completely different perspective and in a whole new light.
Night Mode
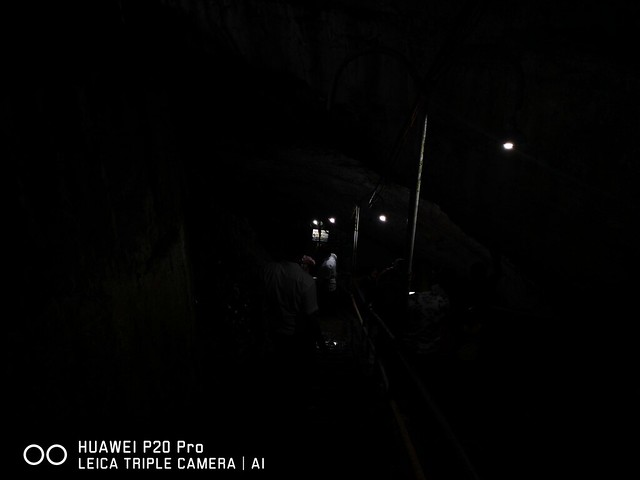
The name of the mode is self-explanatory but there are some characteristics, which one might not know. First off, while shooting in night mode on the P20 Pro, the camera captures images constantly for four seconds and then it combines them to churn out a single photo, which is brighter but clearly worked upon using aggressive noise reduction algorithms. Even in a dimly-lit cave, I was able to capture some great images, thanks to the Night mode. And yes, before you comment, these two images are the same, except that the second one has been captured using Night mode.
Portrait
With the advent of dual cameras on a smartphone, capturing bokeh shots seems to be all the rage. However, there’s no rule set in stone that only dual camera smartphones can take beautiful bokeh shots. However, the Portrait mode on the Huawei P20 Pro features some additional options like Artistic Bokeh, lighting selection and beauty level selection. I noticed that most bokeh shots taken using the device have a good background and foreground separation and this was also reflected in the images I captured.

Video
A video shot on highest quality on the P20 Pro is nothing extraordinary when compared to the still photography prowess of the device. I observed some noise while recording in low-light conditions, but it is just fine in bright outdoors. What caught my eye was the video stabilisation when I was shooting a video out of a moving vehicle. There were quite a few jerks and sways but the video turned out to be notably smooth and stable.
Pro
Shooting pictures in Pro mode is quite similar to the standard photo mode. However, there are more options and settings at your disposal and if you know what you’re doing, it can help in capturing the shot you want. It enables setting the Metering mode between Matrix, Centre and Spot. Metering works by measuring the brightness of the subject in frame and accordingly optimising exposure by adjusting the shutter speed, ISO and the aperture. Here, Matrix metering uses a wide area from the frame, but Center places emphasis on the center of the frame but it uses the entire frame. Spot metering option takes 2.5 percent area in center of the frame for setting the metering. Below, you can observe the difference these options have on the same frame.
There is a standard ISO setting, which can be set between 50 to 6400 and there is also a shutter speed adjustment option for setting that allows choosing between 1/4000th of a second to 30S. The Autofocusing option has the AF-S and AF-C options, which mean Autofocus for a single shot and continuous respectively. When set to AF-C mode, the focus is adjusted dynamically, as per the changes in the frame. Also, only in Pro mode, there is an option of saving images in RAW format so that details are preserved for post-processing but do note that the image saved in Pro mode is quite large in size, around 90 MB.
Additional modes
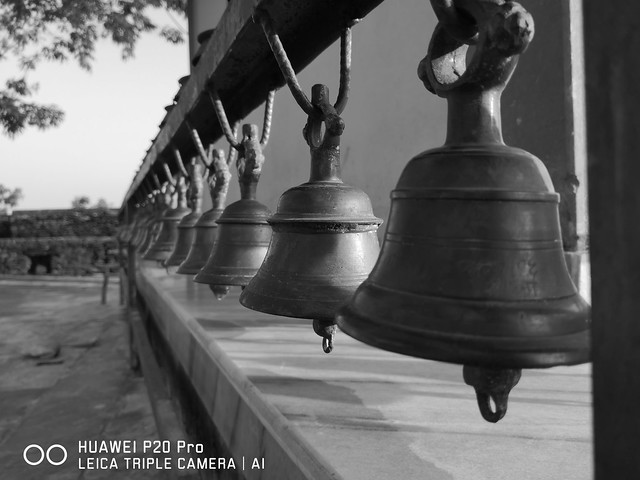
Except for all the above-mentioned camera features, there are some additional modes on the Huawei P20 Pro, which are tailored for shooting specific scenes. For me, the Monochrome mode stood out as it is capable of taking some stunning shots. While in Monochrome mode, you again get access to options like Aperture, Portrait and Pro.
There is also a Slow-mo mode, using which one can capture videos at 120, 240 and 960 fps respectively. However, the slow motion videos captured using the P20 Pro, at 960fps, are somewhat pale in comparison with the ones we have seen on the Sony Xperia XZ Premium and the Samsung Galaxy S9 Plus. Alongside the detail loss, we observed that there is some frame tearing as well and that the camera zooms by what seems like 2x while shooting at 960 fps.
There is also the Time-lapse option, which is self-explanatory and you will also get an interesting 3D Panorama mode, which allows you to capture a panoramic shot of an object in 3D. However, it seems like the image can only be viewed in 3D on the P20 Pro. There is also a standard panorama mode and I have to say that the software does a good job of stitching the images together so that they look natural as if they’ve been taken in a single shot.

An image captured in Panorama mode on the P20 Pro
One can also choose HDR or High Dynamic Range imaging for adding more "dynamic range" to their images. The dynamic range is the ratio of light to dark in a photograph and the HDR mode on P20 Pro does its job well. Check out the samples embedded below.
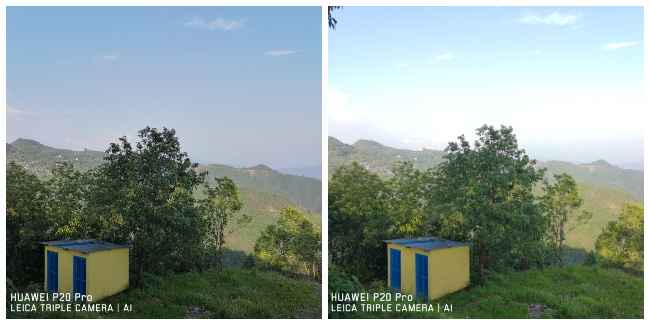
HDR Sample on the Left vs non-HDR sample on the right

HDR Sample on the Left vs non-HDR sample on the right
Finally, there is a Light Painting mode, which nests Traffic Lights, Light Graffiti, Star Trails and Silky Water options within. Now, these options are all about capturing lights in various scenarios by making adjustments to exposure, aperture and shutter speed. Selecting Traffic Lights produces light trails from passing traffic, while Light Graffiti is more or less the same.