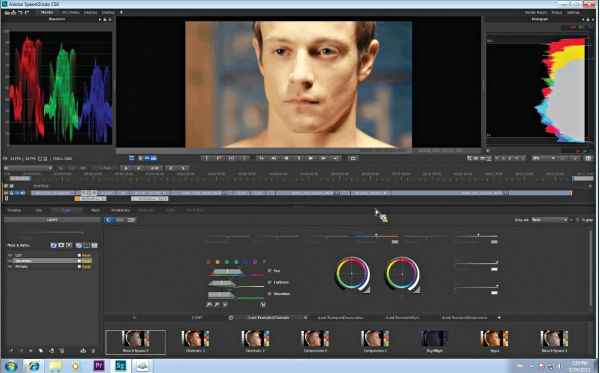
How to use lesser known features of Adobe Speedgrade
By
Jait Dixit |
Updated on 28-May-2014
HIGHLIGHTS
Here are three interesting tricks for Adobe Speedgrade: working with files of different resolutions, HSB preview and scene change detection

Adobe has gone ahead and bundled an excellent color grading application with its suite of video post-production software. We look at some interesting tips and tricks to help you work better.
 Survey
✅ Thank you for completing the survey!
Footage with different resolutions
When color grading footage, you are not really focused on the resolution of the clips under consideration. But they can be distracting and not necessarily nice to look at.
Rectify this by going to Timeline > View > Screen Layout. You can tweak the clip resolution properties here, and the best thing is that changes are effective for everything in the timeline. You can just increase the resolution of everything on the timeline to the maximum resolution i.e., the highest resolution shot is becoming the standard for everything else. You will not see pristine quality videos, but you won’t have to zoom in and zoom out for each shot.Also this can go across the board for resolution so you can mix SD, HD, whatever you want to throw at it. This isn’t exactly desired but sometimes it may be the beneficial.
HSB Preview
You may not have access to raw footage every time, you may get footage that has been downscaled. It may not necessarily be bad but you may want to qualify it even before you go into grading, i.e. whether it is a good transcoding of the material.

Use HSB preview to find artifacts from downgrading
A trick normally used by compositing professionals is to check the HSB composite of the clip at hand. Once again go to the Timeline > View > Channel View > HSB Composite. You’ll be able to identify the problem in Bit Depth of any compression artifacts that may be present due to the transcoding.
Scene Change Detection
SpeedGrade CS6 makes it easy, compositing a clip that has edits in it but no EDL for it. SpeedGrade has just the right tool for it called Scene Change Detect. You can access it under Timeline > Tools > Scene Change Detect. If you open it, it will actually start doing the analysis. Once it’s done analyzing you may want to go over the edits again, but typically it gets most of the edits right. Once the analysis is complete you can either split into multiple sub-clips or just add keyframes to the timeline which gives you slightly more flexibility.
In the Scene Change Detect window, whenever you see a blue bar, it means that the analysis picked up a lot of difference to this frame compared to the one before and the one after. Now it actually gets better – you can save the analysis that you performed as an EDL file, do so by clicking on the “Save EDL” button in the Scene Change Detect window. You can then import the EDL file into any NLE or for that matter any application that supports that kind of information.