
 E-Magazine
Lesser-known audio features to try on iOS and macOS
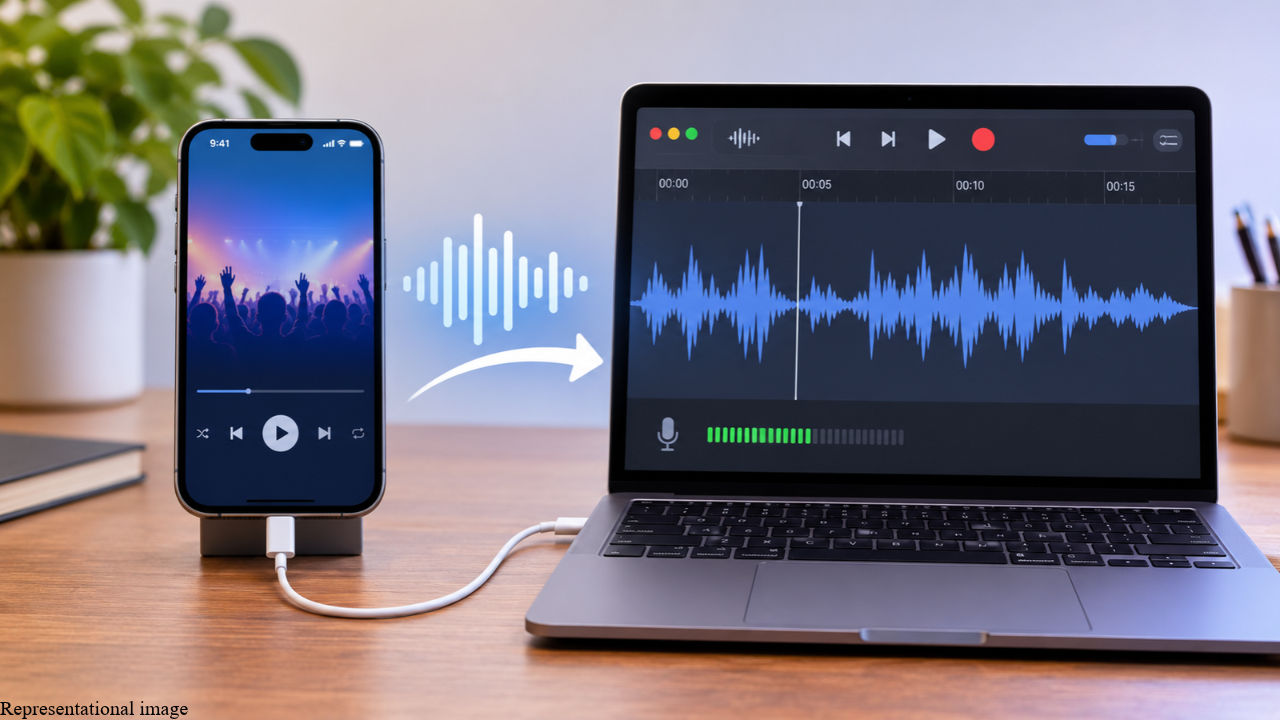
As a tech enthusiast, I enjoy finding features hidden deep within the operating systems of my devices. Since an iPhone and a MacBook are my primary devices, I decided to put together a list of lesser-known audio features on iOS and macOS that you may not have come across. These features let you customise headphone sound, improve voice recordings, create multiple audio outputs and use your Mac as a more capable audio workstation.
Rather than simply explaining what each feature does, I will also walk you through the steps to enable or access it. Many are tucked away in Accessibility settings, Control Centre and utilities such as Audio MIDI Setup. Some require specific AirPods models, while others work with standard wired headphones and external audio equipment. If you have the necessary hardware and software, here are some lesser-known audio features on iOS and macOS worth trying.
Personalise your headphone sound with Headphone Accommodations
Requirements: iOS 14 or later, with supported Apple and Beats headphones
Headphone Accommodations is an accessibility feature that lets you adjust certain frequencies and amplify softer sounds. Although it is an accessibility feature, you can use it to make vocals and dialogue clearer, or it could basically be used to tune the sound to suit your hearing preferences.
It also offers a custom audio setup that plays a series of samples and adjusts the sound based on your responses. Both of these are features that you can find on other branded earphones, too.
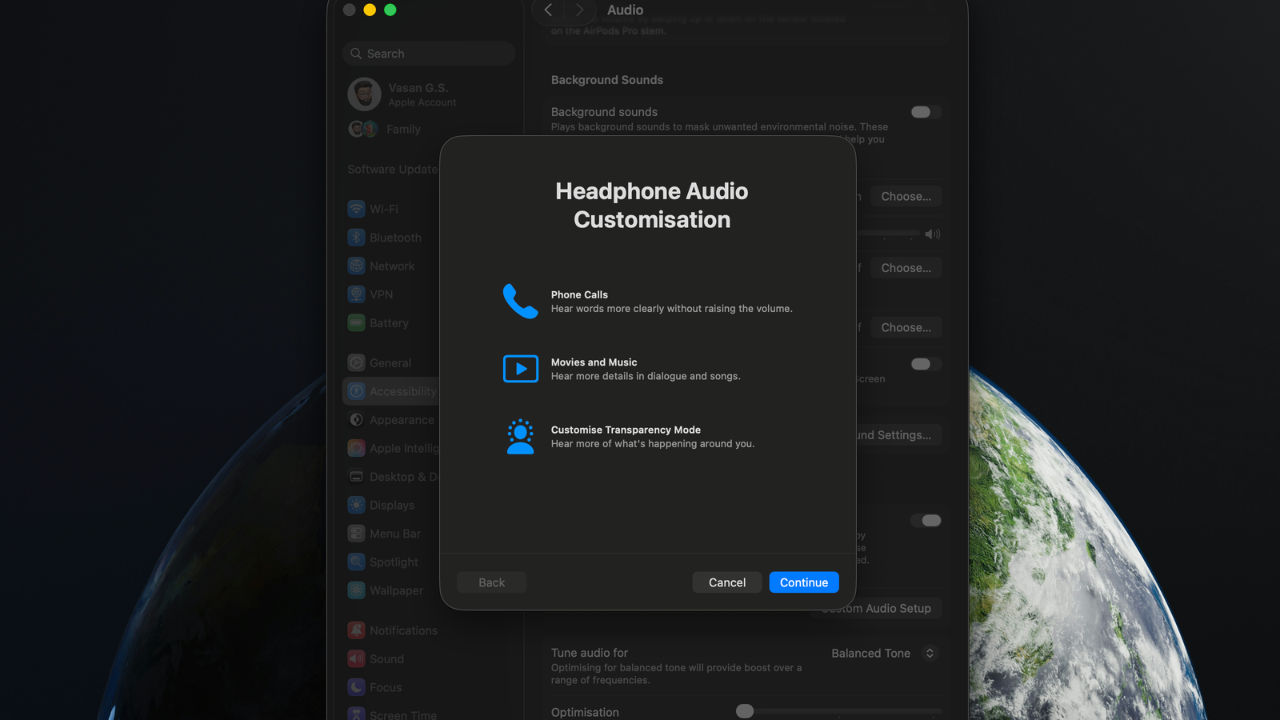
To enable it, follow these steps:
Step 1: Connect your supported headphones to your iPhone.
Step 2: Open Settings and go to Accessibility.
Step 3: Tap Audio & Visual, then select Headphone Accommodations.
Step 4: Turn on Headphone Accommodations.
Step 5: Select Custom Audio Setup to go through Apple's listening test, or adjust the settings manually.
Step 6: Choose whether you want the changes to apply to Phone calls, Media playback and Transparency mode.
You can also adjust the left-right audio balance from the Audio & Visual settings.
Play white noise to focus
Requirements: iOS 15 or later
Your iPhone can play ambient sounds such as rain, ocean waves and white noise. This can help mask distracting sounds around you while you work, read or relax. You can also play these sounds alongside music or other media.
To enable Background Sounds, follow these steps:
Step 1: Open Settings and go to Accessibility.
Step 2: Tap Audio & Visual, then select Background Sounds.
Step 3: Turn on Background Sounds.
Step 4: Tap Sound and choose the ambient sound you want to play. I like the fire and rain sounds.
Step 5: Adjust the volume using the slider.
Step 6: If you want the sound to continue playing alongside music or other media, turn on Use When Media Is Playing. This is a cool feature to have while I am working.
Additionally, you can also set a timer to stop the sounds automatically. Once configured, you can add Background Sounds to Control Centre for quicker access.
Customise sound with built-in equaliser
Requirements: iOS 27, iPadOS 27 or macOS 27, AirPods 4 and later, AirPods Pro 2 and later, or AirPods Max 2.
If you listen to Apple Music through your Mac, you can use the built-in equaliser to adjust different frequency ranges. It isn't as feature-rich or as multi-band setup as some other premium earphones offer, but it is good to have some customisation options.
To access the equaliser, follow these steps:
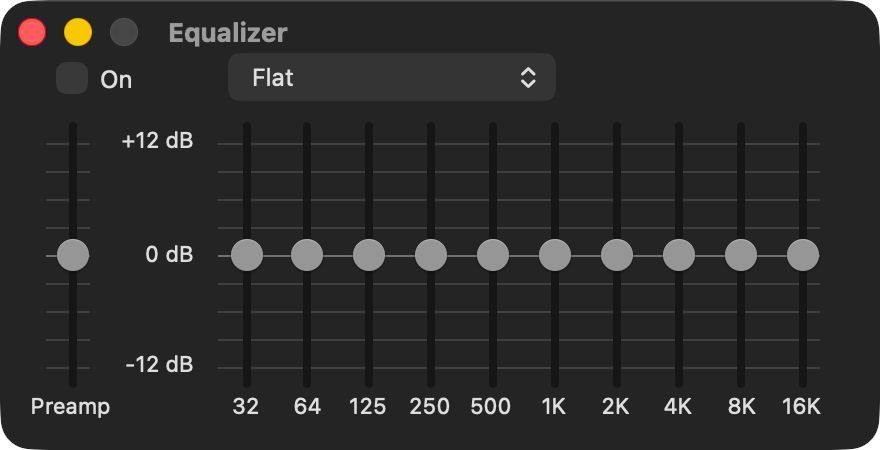
Step 1: Open the Music app on your Mac.
Step 2: Click Window in the menu bar.
Step 3: Select Equaliser.
Step 4: Turn on the equaliser using the On checkbox.
Step 5: Choose a preset from the drop-down menu, or adjust the frequency sliders manually.
Step 6: To save your settings, open the preset menu and select Make Preset. Give it a name.
You can also assign different equaliser presets to individual songs. Select a track, go to Song > Get Info > Options and choose an equaliser preset.
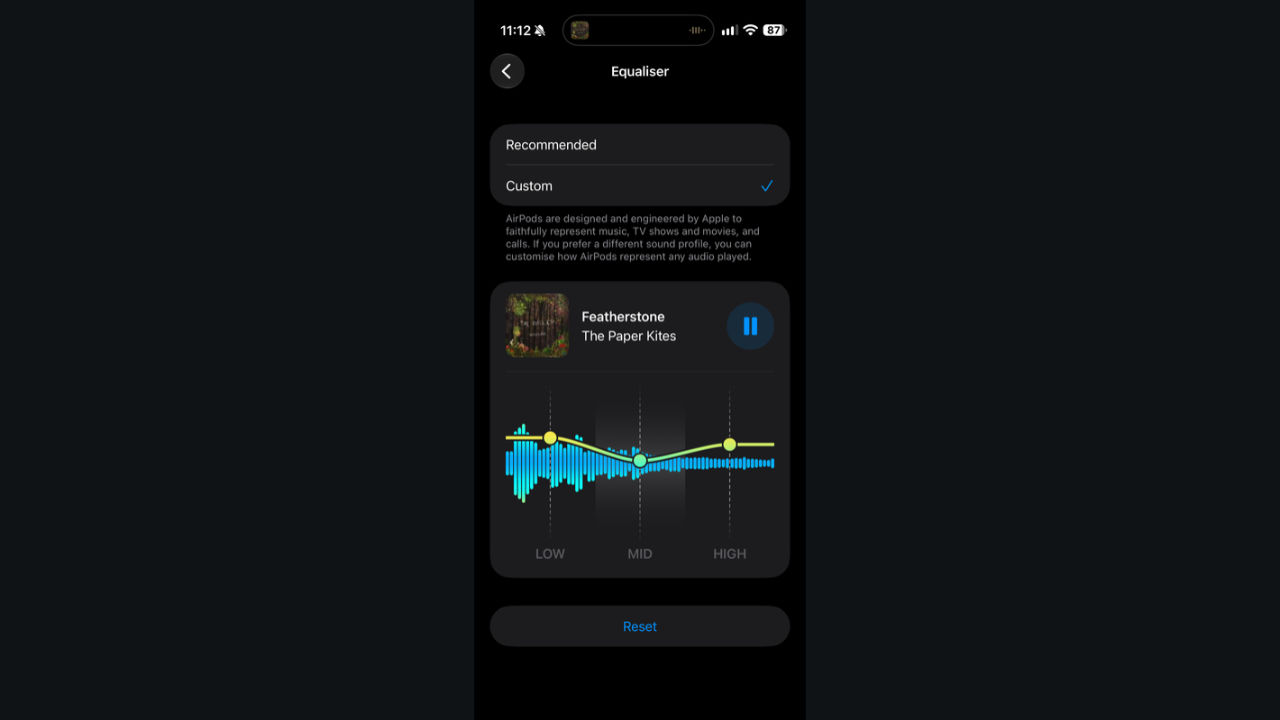
You can also change AirPods' equaliser settings the following way:
Step 1: Wear your AirPods and connect them to your iPhone.
Step 2: Open Settings and tap your AirPods' name at the top.
Step 3: Tap Audio & Routing.
Step 4: Select Equaliser.
Step 5: Choose Custom instead of Recommended.
Step 6: Adjust the bass, treble and mids by moving the frequency curve. If you want to go back to the default setting, choose Recommended.
As you'd expect from Apple, the custom setting can be retained across paired devices.
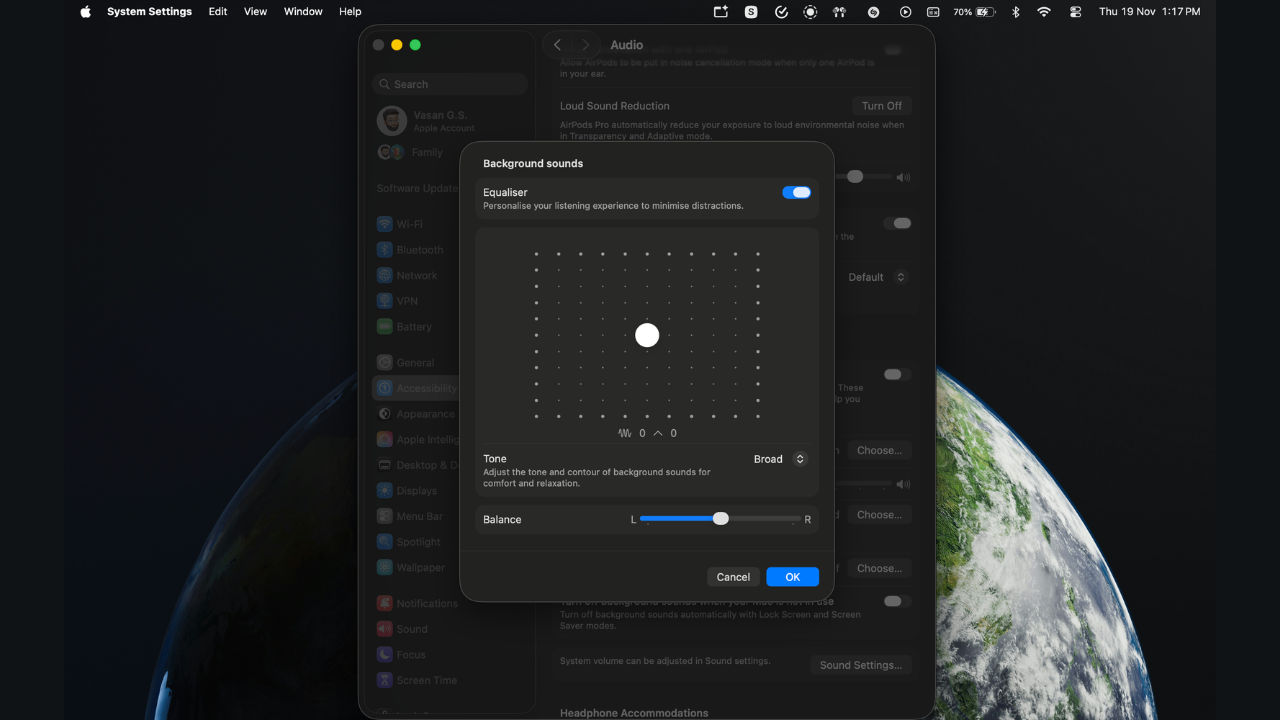
Moreover, Apple also lets you tweak the equaliser for Background Sounds, too, by going to Accessibility and selecting Audio, then selecting Equaliser within the Background Sounds menu.
Add vocal to a Voice Memos recording
Requirements: iPhone 16 Pro or later, excluding iPhone 16e, iOS 18.2 or later
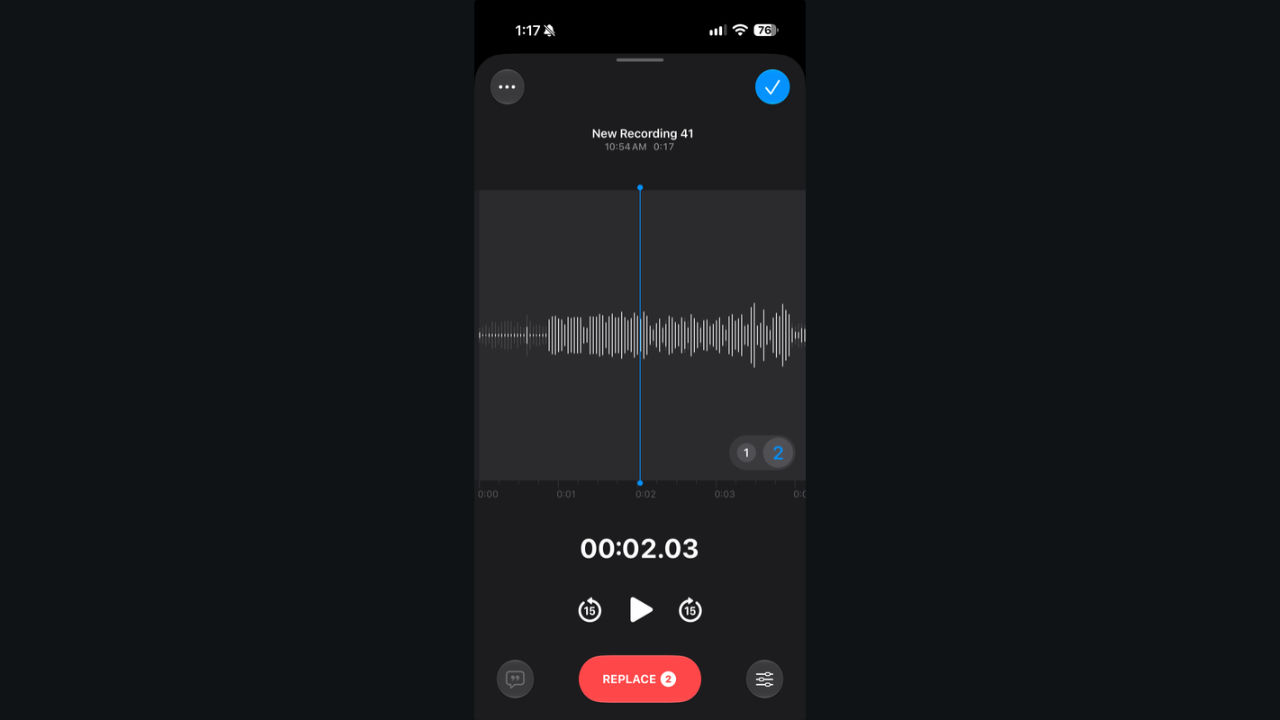
The Voice Memos app can do more than record voice notes. On supported iPhones, it lets you add a vocal layer over an existing instrumental recording. This is useful if you want to record a song idea, try out lyrics or add a voiceover without using a separate recording app. You don't even need headphones for this.
To try it, follow these steps:
Step 1: Open the Voice Memos app on your iPhone.
Step 2: Select an existing instrumental recording.
Step 3: Tap Edit Recording to open the waveform.
Step 4: Tap the Add a Vocal Layer button (Plus/+).
Step 5: Tap Record button (Red) and start recording your vocals.
Step 6: Tap Stop when you are done. Save the recording by tapping the blue Tick button.
You can then play back the layered recording and adjust the mix between the instrumental and vocal tracks. You can also separate the two layers for individual editing.
Play audio through multiple devices at once on Mac
Requirements: Mac, two or more compatible audio output devices
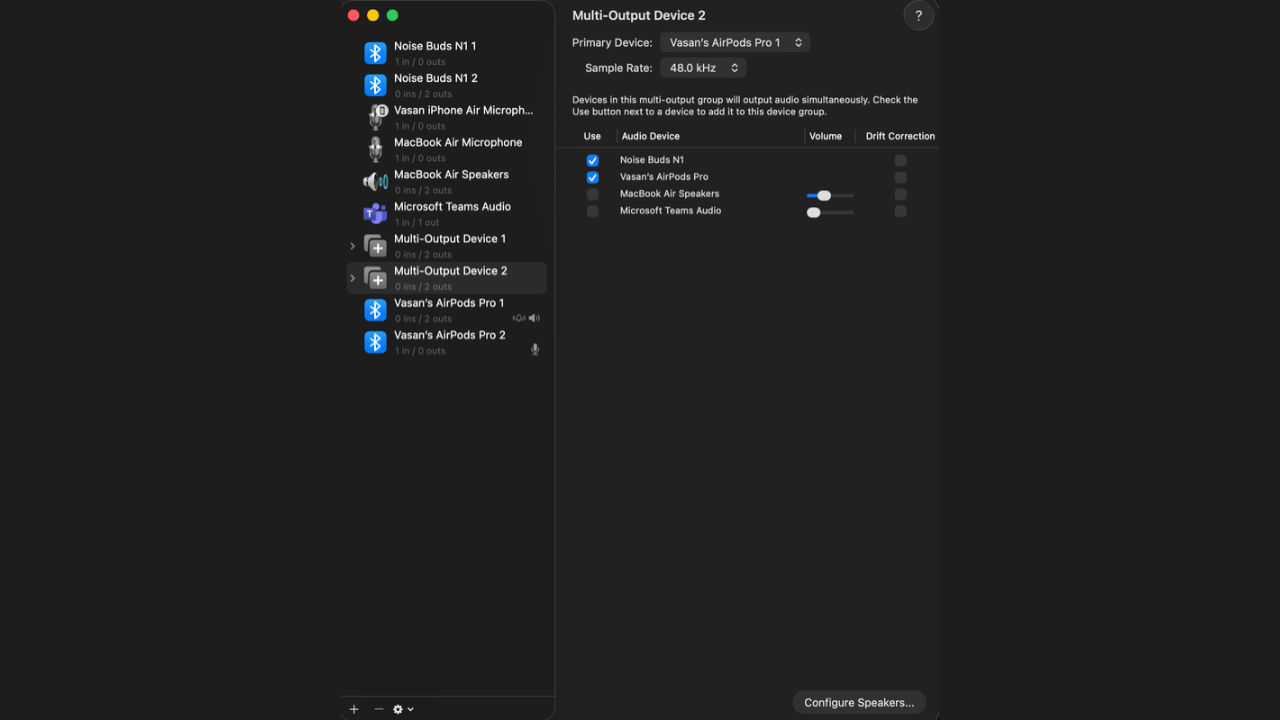
macOS lets you combine multiple audio output devices into a single Multi-Output Device. This means you can play the same audio through different devices at once. For instance, you can send music to a pair of wired headphones and a set of external speakers simultaneously.
To set this up, follow these steps:
Step 1: Connect the audio devices you want to use to your Mac.
Step 2: Open Audio MIDI Setup. You can find it under Applications > Utilities.
Step 3: Click the Add (+) button at the bottom of the sidebar.
Step 4: Select Create Multi-Output Device.
Step 5: Select the new device and tick the Use checkbox next to each output device you want to include.
Step 6: Choose a Primary Device from the drop-down menu.
Step 7: Open System Settings > Sound > Output and select the Multi-Output Device you just created.
Your Mac should now send audio to all the selected output devices. So, now you and your partner/friend can watch the same movie or listen to the same song wearing your own pair of earphones/headphones.
Keep reading Digit.in for similar stories.

G. S. Vasan G.S. Vasan is the chief copy editor at Digit, where he leads coverage of TV, audio, and appliances. His work spans reviews, news, features, and maintaining key content pages. Before joining Digit, he worked with publications like Smartprix and 91mobiles, bringing over seven years of experience in tech journalism. His articles reflect both his expertise and passion for technology.
View full profile