SUSE Studio: One distro fits all


Welcome to SUSE studio!
Oh don’t worry, Linux hasn’t gone the way of Hollywood, Tux will not be appearing in any of summer blockbusters.
Instead what we have here, is an online solution which allows you to build your own custom Linux distribution!
No need to learn complicated scripting languages or read hundreds upon hundreds of pages of manuals to learn how to roll your own distro.
Perhaps distro is not the best term to use here, SUSE Studio allows you to create appliances. An appliance is essentially an instance of a Linux installation with its own data, configuration, and deployed to perform a specific task. Basically you don’t even need to install the custom-distros you create with SUSE Studio, you get a pre-installed image of your system! One more step reduced. However it does suggest some packages that you can install, to make your live-CD/DVD distro installable.
SUSE Studio allows you to build a Linux appliance using a simple web interface, and offers a great amount of flexibility — from setting up user accounts to having a database imported into your machine. With so it can be instantly deployed as a server.
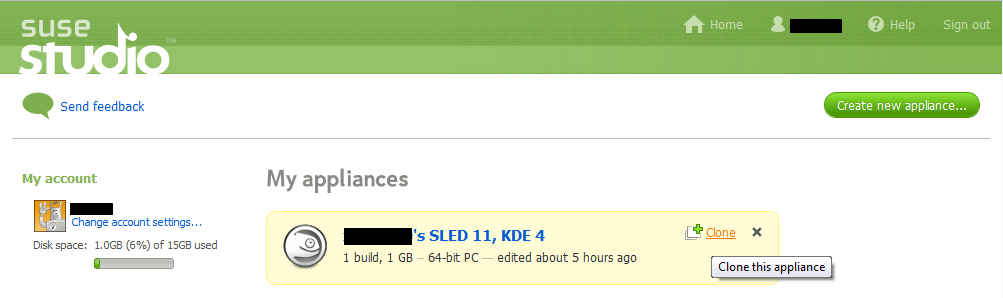
Creating a Linux configuration is a simple process. Once you create an account, you just login, and click on the “Create new appliance…” button on your home screen to take you to the appliance creation system.
First, select a template to base your appliance on . Since this is a SuSE project, you basically have three OS bases to choose from: openSUSE 11.1, SUSE Linux Enterprise 10, and SUSE Linux Enterprise 11. You have configuration options such as “Just enough OS (JeOS)”, a selection of desktop environment based templates for KDE3, KDE4, Gnome etc., or a non-GUI configuration.
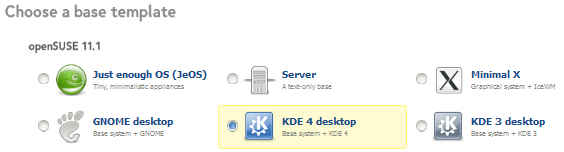
You can also chose the architecture for the build, i.e. 32-bit or 64-bit. Currently only the x86 platform seems to be supported.

After this point you are already set and ready to go; you can choose to now build your system, or of course, you can geek out and modify and tweak to your heart’s content.
Further tweaking falls under sections: Software, Configuration, Overlay Files and Build.
Starting with Software, you can select what software packages to include in your build. The software configuration system is quite powerful, with support for selecting software repositories as you have with Linux, meaning that you can include custom location to obtain software from, or possibly your own / your company’s custom software solutions.
Using software patterns you can include all software required for different computing purposes in a single step. For example adding the patten “office” will automatically include common office related software such as openOffice.org.
We started with a openSUSE 11.1 based KDE4 desktop, which comes to around 300MB. 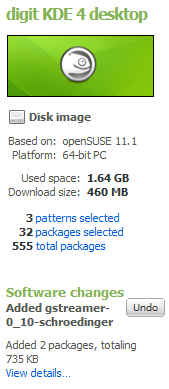 Shockingly low, but considering that the core OS and KDE4 are all that are included, it is just about right. Besides using patterns, you can select individual software from a collection of almost 8,000, by browsing them as per category. It manages all the dependencies for you and even recommends some packages.
While you are selecting packages to install, the Studio gives you a real-time update of the number of packages selected, as well as download and install size of your package selection.
Once you are done selecting all the software you need, and adding any extra 3rd-party repositories, you can move on to the Configuration tab.
Here is where you find some of the truly juicy stuff!
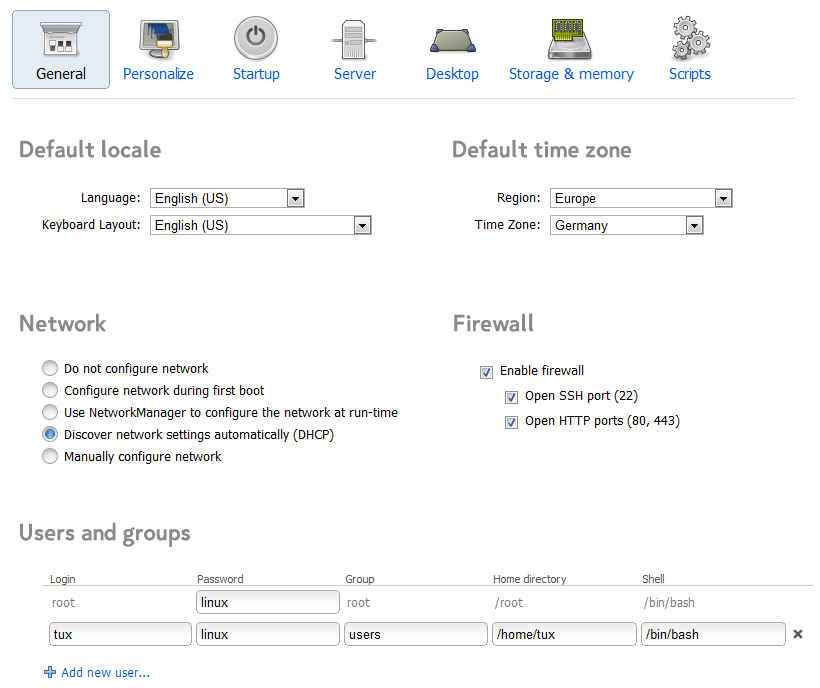
This page has sections of its own:
- General: Here you set up your keyboard layout, default language, time zone, network and firewall settings, and user and groups selection. You can add/remove users and groups and even change their passwords, home directories, and default shells from here. Basically all the settings you’d find in the first few steps of your Linux installation.

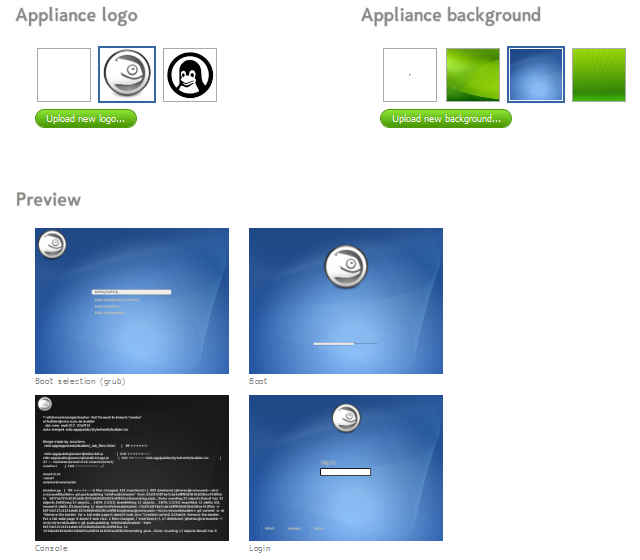
- Personalize: Here is where you can select a logo and background for your appliance. These will be used for grub, for the console while booting, and as the login background. You can select from some of the options listed there or upload your own images.

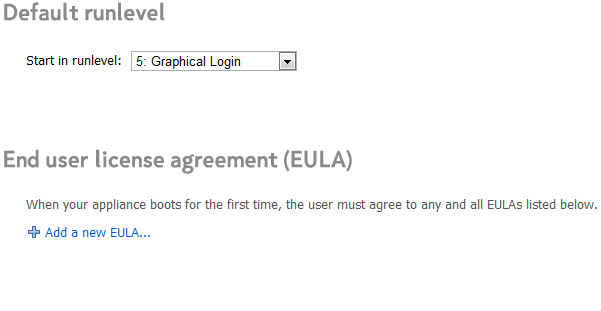
- Startup: Here you can select what run-level to boot to, i.e. Graphical Login, Normal Console, or even lower. You can also choose to add you own custom EULA; useful when you have one for your organization.

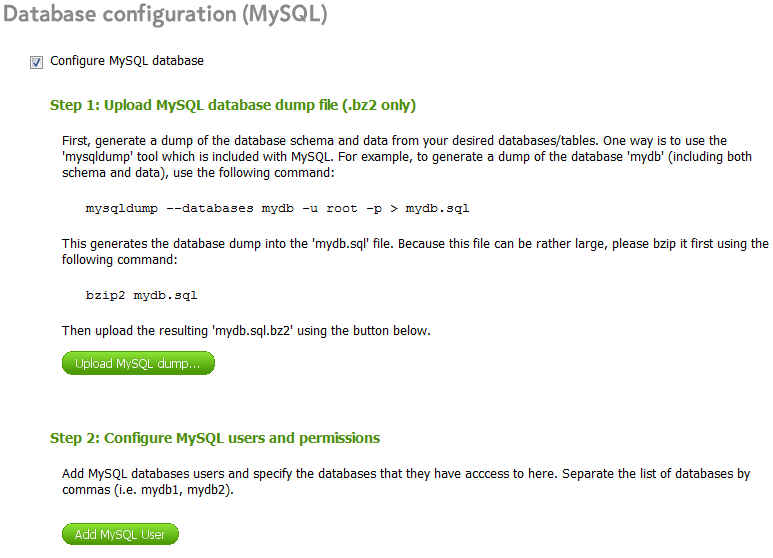
- Server: This page allows you to configure the server parameters of your appliance. Right now you can configure the MySQL server. You can upload your own database dump, and you can configure the MySQL server users.

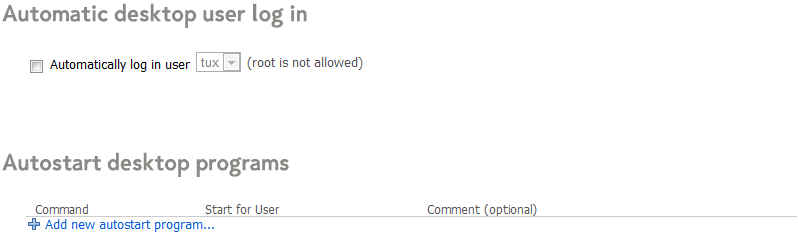
- Desktop: On this page you can select software which will be loaded on startup and you can select a user to automatically login on boot.

- Storage & memory: Since you are essentially creating an appliance, this tab will let you select how much memory and disk space this appliance will be given when used on a virtual machine. This is useful if you download it as a virtual machine. You can also set a swap partition size which will be used if you download your appliance as a disk image.

- Scripts: For advanced uses, you can choose a script to run when the appliance build is complete, or when it boots.


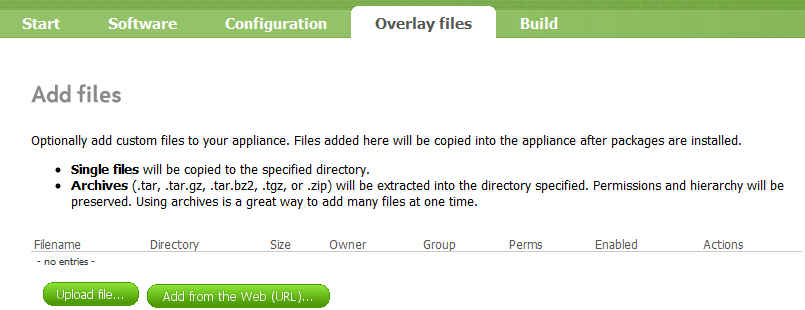
The next tab, Overlay Files, lets you add your own files to the appliance from your hard disk or the web.
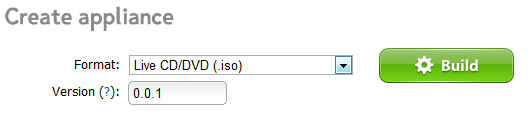
The final Build tab, now lets you compile this configuration into your custom appliance. You merely have to select a format from: “Disk Image (hard disk, USB Stick)”, “Live CD/DVD (.iso)”, VMware virtual machine, or Xen virtual machine. You can also give a version number to your appliance, if you will be modifying the configuration before settling on one.
All done!
Now you can click on the Build button to start the build process. This will take some time, depending on your selections, it could take well over an hour. However, your work is done!
It will show you the progress of the build process along with the time elapsed as the process progresses. Once it’s done, you can test-drive it right there in your browser! Or you can download it and run it on your computer instead.
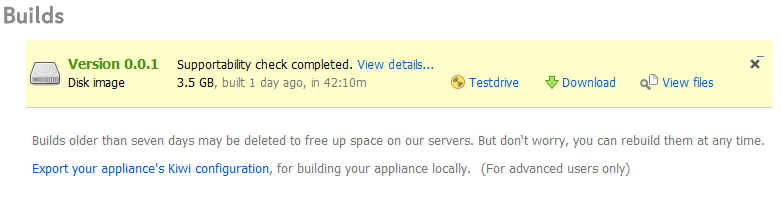
The service gives you 15GB of storage space for keeping the appliances you create, but will delete old appliances to free up space after a week. Since the build configuration is saved, you can of course just build it again whenever you need your custom distro.
SUSE Studio exudes awesomeness, and will surely excite any Linux lover. The service is currently only open to beta participants (you can ask for an invite), and it makes us go weak at the knees thinking about what the final release will bring!