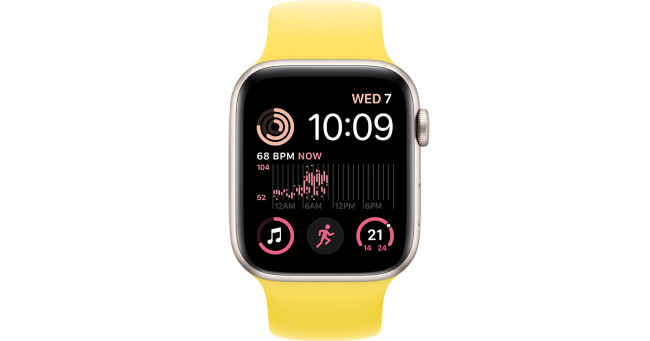
AFib history now available: Apple Watch levels up cardio health feature for Indian users
The Apple Watch allows for users to track ECG, cardio fitness as well as Atrial fibrillation (AFib).
It is available for Apple Watch Series 4 and later for users using watchOS.
Atrial fibrillation is basically an irregular heart rhythm.

Apple Watch has been allowing users to track cardio health related data consistently for some time now — in case you didn't know, the Apple Watch allows for users to track ECG, cardio fitness as well as Atrial fibrillation (AFib). And now, Apple has allowed Atrial fibrillation history tracking accessible to users of Apple Watch in India as well. It is available for Apple Watch Series 4 and later for users using watchOS. Now let’s see what Atrial fibrillation is and why it is necessary to track it.
 Survey
Atrial fibrillation is basically an irregular heart rhythm. Here the upper and lower chambers beat out of sync with each other. It has some common symptoms like- rapid heartbeat, palpitations, fatigue, or shortness of breath.
It could be a chronic issue, but that being said the amount of time for arrhythmia can always differ, making it important to track it regularly.
Also read: WWDC23: Apple Watch to get biggest updates, new features
Exercises, workouts, healthy diets and weight can obviously reduce the amount of time where the heart is in a condition of Atrial fibrillation. As mentioned earlier, it is important to make a note of the time that our heart is in AFib condition.
The Apple Watch will let us do exactly this. With the history option now available, the Watch will give users updates on stuff like how many hours has the heart been in such a situation or when it was showing signs of AFib.
You can even manage and track exercise minutes, weight, alcohol consumption, and sleep on the watch as these are some factors that affect your AFib.
Also read: How to set up Medical ID for iPhone and Apple Watch
Here’s how you can set up the AFib history on your Apple watch:
Step 1 – Open your iPhone and go to the Health App.
Step 2 – Next, select the browse option and then tap on “Heart”.
Step 3 – You’ll now find the AFib history option, click on that.
Step 4 – Set it up and add your date of birth.
Step 5 – If you’ve been diagnosed with an AFib issue by a doctor, select “Yes”.
Step 6 – Click on “Continue”. You can find more about History, the results, and life factors here.
Step 7 – Then tap “Done”.
This option will help you monitor your heart activity closely and will alert you in advance so that you can take medical advice on time.
Mustafa Khan
Mustafa is a young tech journalist who tells it like it is, cutting through buzzwords to deliver straightforward smartphone reviews. He’s the office go-to for insider tips and quick demos, and his video content doesn’t waste anyone’s time. When he’s off the clock, he geeks out over cars, photography, and hunting down the best spot for Indian food. View Full Profile

