Getting started with APIs
So you can create websites but don’t you wish you could expand your skills to combine different APIs to create something awesome? Let us help you.

Ever wonder what goes on behind the button that says “Sign up with Facebook” that logs you into any of your favorite websites without having to type a word? With just a few clicks, your favorite website automatically gets all your details. Or how about that travel website which fetches your travel dates from different airlines and presents you with the available flights with their pricing. Obviously, there must be something that allows one website to access details from another website without jeopardising your security.
It’s the magic of API, which stands for ‘Application Programming Interface’. Consider API your personal assistant who brings you all the relevant information you need from other websites (that have an API) as per set conditions. So take a guess at what “conditions” would be set up behind the button “Sign up with Facebook”? Well, it depends on what details are required by the external website you’re trying to log in to, however, things like your name and email address are usually conditions that would be set up. And then the external site sends an HTTP request (with access token for authentication) to Facebook’s API. Facebook then asks you whether to provide the details or not. If you select “allow”, the website obtains the required details and stores them in its own database.
This clearly minimises the need for repetition. Every time we register on a new website, we don’t need to re-enter our name and email address (and at times, tons of other fields). After all, our personal details won’t change from site to site. And since repetition is minimised, it saves our time.
APIs further enable third-party apps to improve user interaction. So, if you’re sick of Candy Crush notifications, blame APIs – they’re the reason why your friend ‘x’ constantly sends you game invites and requests. In this case, the Candy Crush application asked user ‘x’ to let Candy Crush control his notification and since user ‘x’ agreed, Candy Crush can now send any friend of user ‘x’ a notification whenever the app wants to.

An API is basically a mechanism that allows you to talk to other websites with the help of requests made over different protocols such as HTTP and SMTP. In fact, it’s almost like opening any other web page on your browser. The only difference is that with APIs, you need to code the part played by the browser, i.e. sending requests over HTTP and getting the relevant data back.
SOAP and REST
APIs are further classified into two groups: ‘SOAP’ (Simple Object Access Protocol) and ‘REST’ (REpresentational State Transfer). Despite the fact that ‘S’ stands for ‘simple’ in SOAP, it isn’t actually very ‘simple’ and this is because it’s heavily dependent upon XML, and its responses and requests look way more cryptic than REST API’s. Moreover, SOAP need not always use HTTP protocol and could be seen using FTP or SMTP also. However, it’s better to start off with the REST API, because, after all, it’s what most websites use and the better bet when you can’t decide between REST and SOAP based APIs.
Earlier, when we talked about making HTTP requests, we were using the REST API. It accepts HTTP requests and generally returns a JSON (JavaScript Object Notation) formatted result, which is easy to work with and less cryptic than XML. Before you dive into sending the HTTP request from your own website, let’s take a quick look at what GET and POST method means and how you can experiment with them.
Understanding GET and POST
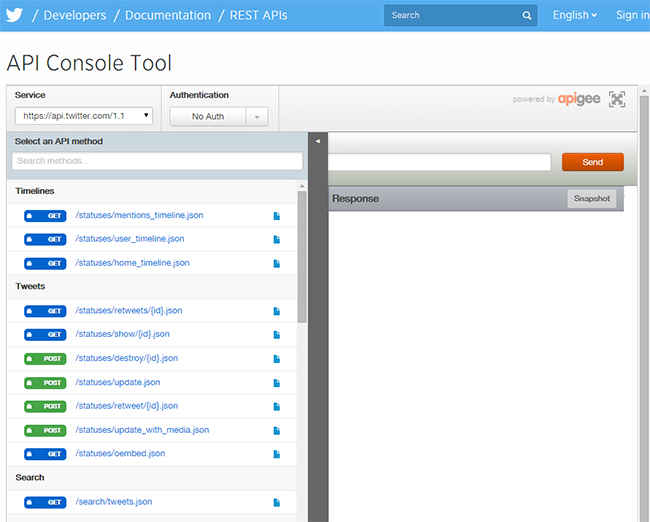
APIGee allows you to test different APIs without needing to write any program. Just say “what is required” and the “how to do it” part is handled by ‘APIGee’ itself. Similarly, you can also try this, which is specifically built for Facebook’s API and is quite user friendly with its extensive documentation. However, there would be one thing in common for all APIs. Fields that ask you to choose “method type” generally show you two options, ‘Get’ and ‘Post’ methods.
As suggested by its name, the ‘Get’ method is used when you simply want to retrieve any information using the API; E.g. Using Facebook’s API to retrieve the status updates made by user ‘x’ or his personal messages, which he should have given you permission to access. On the other hand, the ‘Post’ method is used to update any data; E.g. Using Facebook’s API to update the latest status or to send a private message to another user ‘y’ from profile of user ‘x’, for which user ‘x’ has given the required permission.
Sending your first API request with GET
Now that you’re familiar with request types, let’s get started with sending your first HTTP request.
1. Open up ‘Graph API Explorer’, which is available at https://developers.facebook.com/tools/explorer (or any other similar service). Let’s suppose you want to check your recent status updates (you can check someone else’s too, but you’d require their access token and that button “Sign up with Facebook” is a way to obtain it). Since we only want to retrieve some information, we’ll use the ‘GET’ method.
2. Most APIs need authentication (to reduce misuse of information) and similarly Facebook requires an Access Token. It can be obtained by clicking on Get Token > Get Access Token > Choose relevant data permissions (For now, choose “user_posts”, “user_status” and “publish_actions” under User Data Permissions and Extended Permissions)
3. A pop-up will appear asking for your permission to allow it to view your details.
4. Click on ‘OK’.
5. Your access token is now updated. You’ll use this token for your own account, hence treat it like your password in cryptic form and don’t share it publicly.
6. Now, in the below field, choose ‘Get’ method and the latest API i.e. v2.5.
7. In the text field, put “me” and click “Submit”.
8. You just made your first API request! The result will show your name and user ID. Now copy that user ID and paste it in the same text field.
9. Add “/feed” at the end. It should look something like “708603782516433/feed”.
10. Click on “Submit” and voila! All your status updates will appear.
Wasn’t that pretty easy? Now, try doing that using a simple URL (and yeah, it’s possible!). In URL form, it would look something like: . Notice how it has borrowed most of the content from the Graph API Explorer itself.
Sending a request with POST
Now, let’s use the POST method by updating your status utilising Facebook’s API.
1. Let’s return to the Graph API Explorer and choose “POST” method this time.
2. In the text area, at the end of “708603782516433/feed” just add “?message=customise_this_line” and hit the “Submit” button.
3. A cryptic ‘id’ will be returned, which is actually the ID of your status update.
4. Check your timeline and sure enough you’ll see that your status has been updated!
Alternatively, you can use a plug-in called ‘Postman’ for Chrome to experiment with POST requests.
Putting APIs to work
So that’s basically how POST and GET methods work. Next you’ll want to put their functionality to work in your web applications. This could be daunting at first, since almost all API services differ in their way of implementation. However, an API’s access token and a basic library provided by the website are usually common. Unless you want to mug up Computer Science, it’s better to read the documentation of each API separately and understand how they get the work done. Armed with this basic knowledge, you can now get started and implement it on your own websites. As an assignment, head over here and implement your own “Sign up with Facebook” button on your website to get users signed up. Happy coding.
Note: This article has been contributed by a member of Digit Squad.