Revamp your old Android interface with these simple tweaks
Rooted or non-rooted, we transform your Android's interface.

The theme inside an Android phone isn’t the same across every OEM, since they implement their own skin with several modifications over the stock theme. While these modifications enhance the vanilla experience of Android (offered by few OEMs and preferred by many), they aren’t really customisation friendly. The maximum you would be able to do is change your wallpaper, replace the icons and install a third-party launcher. on non-rooted phones. But serious transformation comes only with rooted phones pushing the possibilities immensely, where you’ll also be able to change the layout of system apps, system icon colours and positions, and much more.
It’s not only the visual feel but you can have an enhanced and more productive interface, with subtle additions such as a launcher that automatically categorises your favourite or most used apps. As mentioned earlier, rooted phones are more open to customisation since modification is granted to the system files. This makes it possible to update your menu icons, boot animation, overall colour scheme, etc. We’ll be covering both the fronts, and since the visual styling of your personal phone is highly subjective, we’ll only be suggesting the possible changes you can make, starting off with non-rooted phones.
Custom launchers
Usually the default launchers from OEMs are basic and offer minimum options for extra functionality. For instance, there’s Samsung’s TouchWiz, HTC’s Sense, ASUS’ ZenUI, Google’s Google Now Launcher etc. that offer limited functionality, few of them including theme support. If you want to break off from these restrictions, then there are a few third-party launchers that enable a huge potential for customisation. There are numerous options available for third-party launchers on the Play Store, and it wouldn’t be practical to cover all of them. The following are a few of the lot which cover different use-case scenarios since the core functionalities are the same in all of them.
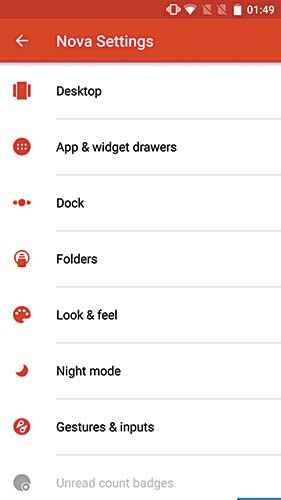
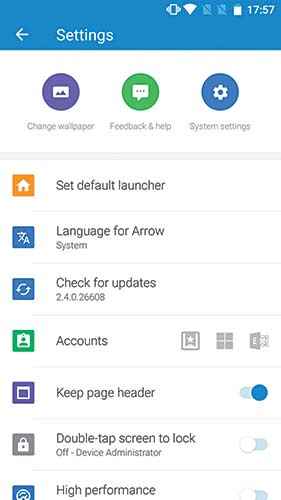
Nova Prime
Nova is the best third-party launcher we’ve used so far. The basic version has an exhaustive list of features and customisations, where the premium version, Nova Prime includes even more of them. You can change the behaviour of your homescreen, app drawer, dock and folders. The Desktop menu lets you change the grid of your homescreen for apps and widgets, resize the app icons and play around with the font (if supported), and increase or decrease the transition animations for scrolling. App and widget drawers lets you tweak up all the transitions and layout of the app drawer right from the background to the grid. It also includes gesture support and an add-on to display a notification count badge for specific apps.
The other menus also offer many other tiny customisations that together come out beautiful, and you may end up investing a lot of time in tweaking the launcher. Once you’re done, you can take backups of the entire setting and restore whenever you shift to a new phone or custom ROM, or after a factory reset.
Arrow
Coming from Microsoft Garage, Arrow takes over your homescreen and presents an organised space, efficiently reducing the number of steps required for many tasks. The most attractive feature here is the Recent screen, where all the recent apps, photos and documents you opened appear in a list. It takes care of the initial setup on its own, and then you’ll be presented with five home screens. Initially, the Recent tab won’t show much, but as you use your phone more, the tab will get populated with more content. Another interesting thing is the pull up menu on the homescreen that works similar to Apple’s Control Center. The Reminders widget will let you directly add tasks on the homescreen and you will receive corresponding alerts. And if you’re a regular user of Wunderlist, the Arrow launcher has official support to link all your tasks here. On the customisation side, you won’t see many options and we aren’t complaining since it’s not what the launcher is intended to do.
Yahoo Aviate
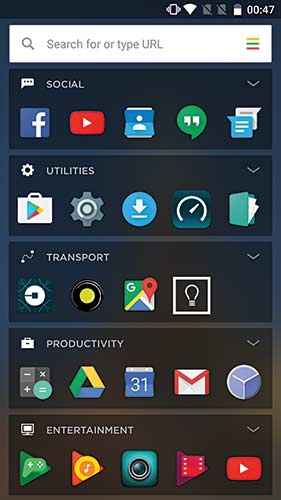
Just like Arrow, Aviate is also dedicated towards productivity and organising your apps, and to make your app drawer look better. Rather than having your apps listed alphabetically, Aviate organises them into categories such as productivity, social, transport, entertainment, etc. The initial setup lets you pick your favourite apps and then the next screen asks for your preferred categories. After the setup is complete, you’ll be presented with two app drawers – one organised according to categories while the other one is listed alphabetically. The apps which are already installed in your phone will be automatically bundled in these categories.
These categories also have a drop-down list that further suggests related apps with direct links to the Play Store. Coming to the other great feature in Aviate called Smart Stream, which is uncannily similar to Google Now, it takes advantage of only your location and activity to serve you relevant content. The launcher isn’t really flexible with other customisations for your homescreen, and the categorisation is its only important feature.
Widgets
Acting as quick access window to an app, widgets get things done quicker while making your homescreen look good as well. There are widgets for almost every app, let it be weather updates, music player, calendar, etc. Usually, apps have their own widgets, but there are certain standalone widgets that connect to existing services on your phone. Our recommendations are as follow:
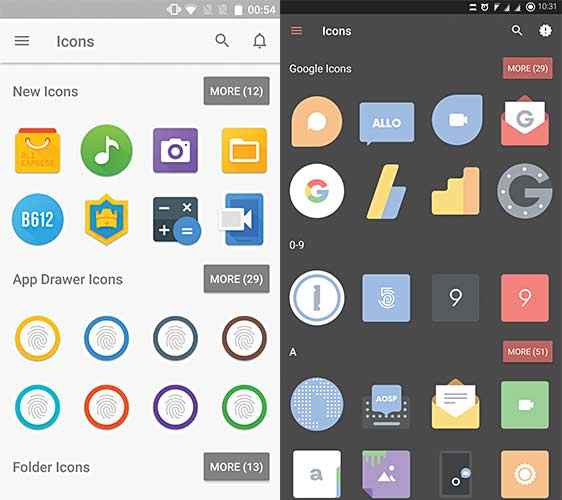
Iconpacks
Your phone has a lot of apps installed and they don’t have a uniform shape or design, sometimes making your app drawer or homescreen look like a mess. This is where iconpacks are a boon. There are a lot of options to choose from and really good looking ones, both available in free and paid versions. For starters, we would recommend free ones and once you’re familiar with using them, you’ll automatically head out to search for the best in the premium segment. One thing to note is that iconpacks need a third-party launcher. The support for launchers depends on every iconpack but you’ll be fine with popular launchers such as Nova, Apex, and Aviate etc. You can find many on the Play Store by simply entering ‘iconpacks’ in the search field. Here are a few picks from our side on the minimal front:
Theme Managers
Now that we’ve dealt with the customisations possible in non-rooted phones, it’s time we moved on to rooted phones. From this point, we expect you to already have a rooted phone with the stock or a custom ROM installed. If you’re on the stock ROM, then you’ll have to install a third-party theme engine using Xposed but with Cyanogenmod, you get the privilege of an in-built theme manager. Cyanogenmod (CM) ROMs are published with a high-level of tweaking, offering an insane amount of customisation. This is the case with several custom ROMs such as Paranoid Android, Resurrection Remix and OmniROM. Before we speak about Xposed, we’ll explain how convenient it is to play around with the themes available on the Play Store.
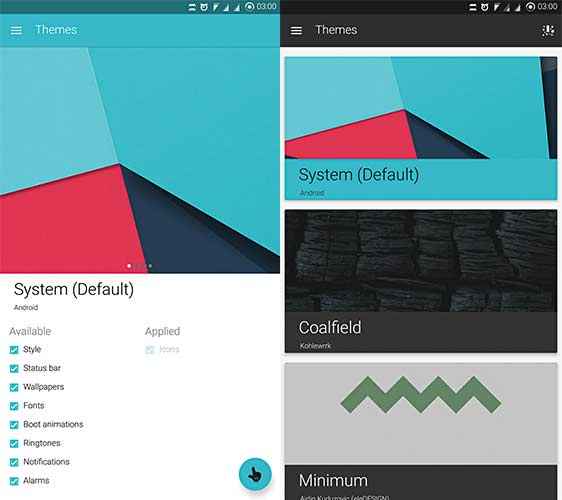
Once you’ve installed CM on your phone, the CM Theme Manager lets you search for theme packs, icons, fonts, wallpapers, lockscreen wallpapers, boot animations and sounds. But make sure that you’re searching for the right and compatible version of themes, otherwise they won’t run properly. For example, if you have CM13 installed, then you should install CM13 themes and styles only.
Arcus
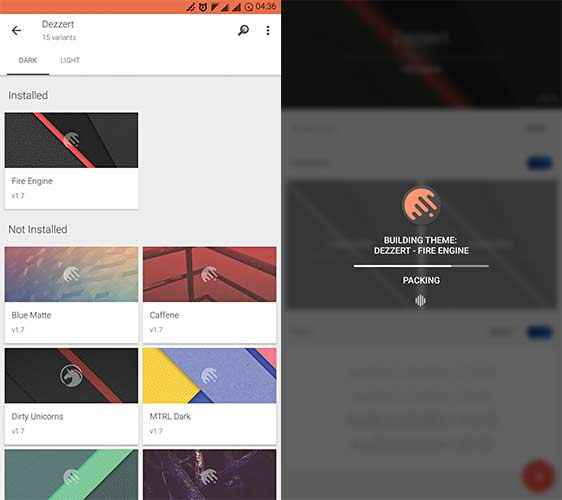
Another important app that you should install is Arcus – an asset replacement manager to individually select the necessary assets and accordingly build a theme. Arcus also makes it easier for themers to build different variants of the same theme to suit a wider user base. For example, a themer can build a theme in more than one colour variant, or with a different icon pack variant, etc. You can download Arcus from the Play Store and search for supported free and paid themes within the app.
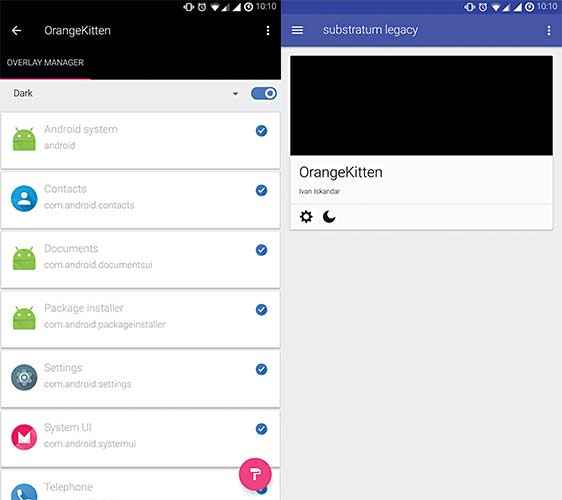
Substratum
What was earlier called Layers Manager, now is being overhauled as Substratum. Still under development, it’s quite an ambitious project to make applying themes and replacing assets easier. This theme engine is more detailed and granular than CM’s version. CM themes aren’t compatible through this engine, obviously, so you’ll have to install Substratum supported themes only.
Xposed Framework
So far, the methods were applicable to CM users only and in case you’re on a stock OS, you’ll need to install the Xposed Module, and you’ll obviously need root access. The entire Xposed Framework is a set of modules that lets you tinker around and customise the behaviour of your system and system apps. It’s an endless list of modules, which deserves an entire story to itself covering the best modules. For theming, we’ll be looking at only a few such as Gravity Box and XBlast.
Do note, that these modules are intended only for AOSP ROMs or vanilla ROMs which ship with Nexus and a few Motorola phones. If you’re already on a custom ROM among the ones mentioned above, avoid using these modules since these ROMs already come with a lot of customisation and overriding them through these modules might send your phone into a bootloop.
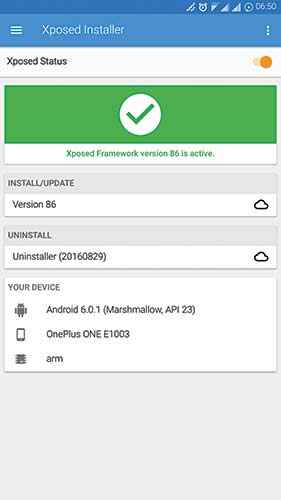
Installing Xposed Framework is straightforward, where you’ll have to flash the zip file and install the Xposed apk. You can find detailed instructions here. After installing, head over to the Download tab and search for the above mentioned modules. Download, install and then reboot your phone to complete the installation and then you should have the corresponding apps appear in your drawer.
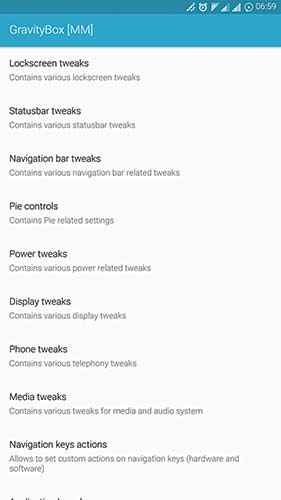
GravityBox
The main purpose of GravityBox is to enhance AOSP ROMs by inserting customisations which are usually seen in custom ROMs. Although most of the modules included inside GravityBox are also available individually in Xposed, the app lets you have everything in one single place. Before installing, make sure you’re downloading the right GB since there are different modules for different Android versions. Be sure to check out the corresponding support threads in case you have any queries on installation here. The advantage here is you don’t need to reboot every time you install a module, rather tweaks can be switched on or off on the fly. There are a ton of options inside, and if you thought that the number of Xposed modules were crazy, GB will completely blow your mind.
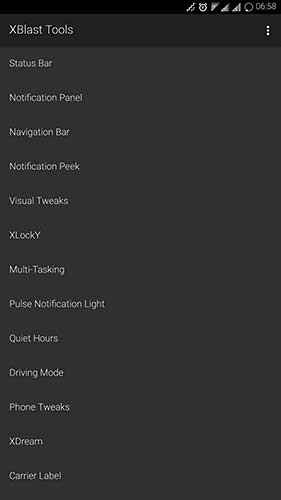
XBlast
This is another module that includes yet more tweaks to your system. There will be few settings that might overlap with GB or another system tweaking tool, so make sure that you don’t mess around with the same setting in different modules. XBlast includes extra options of playing around with the hardware buttons, the text that appears in system icons, network tweaks, etc.
Once you employ the above steps, you’ll also be exploring a lot of different methods and apps that help you in changing and tweaking with the look of your phone. If done right, you can completely transform your dull and ugly looking UI into a beautiful one, without harming your phone. But if you want to go the extra mile and fiddle with system settings, then go completely crazy with Xposed Framework. If you found this workshop useful and actually tried out any of the above steps to change the way your smartphone UI looks, do send us a few screenshots of your revamped UI to editor@digit.in.
This article was first published in November 2016 issue of Digit magazine. To read Digit's articles first, subscribe here or download the Digit e-magazine app for Android and iOS. You could also buy Digit's previous issues here.