How to shoot better photos using a smartphone
You can improve your smartphone camera skills from day one.
Just remember these basics of smartphone photography to get the best possible shot.
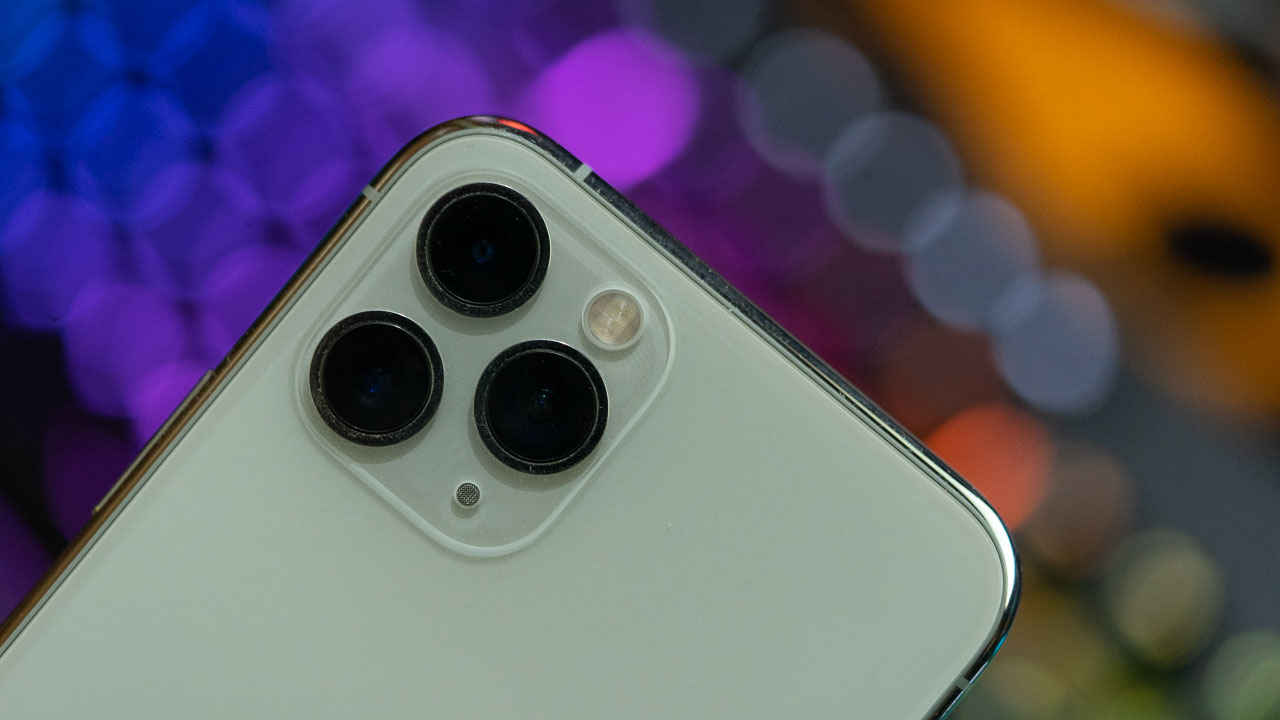
In recent years, smartphones have evolved to a level where their cameras have left the point and shoot cameras behind. Not just that, the flagship phones these days have become the go-to camera solution for most users.
 Survey
Also, with the emerging popularity of social media platforms, photo and video quality have become a key factor influencing customer's buying decision. While buying a good camera phone is the easiest way to up your photography game, you can also learn a few photography tricks that come in handy irrespective of which smartphone camera you're using.
We have compiled a list of tips and tricks that will help you achieve more out of your smartphone camera.
Basics to keep in mind
Shooting like a pro will need a lot of practice and attention to detail, but there are a few simple tricks that can change the way your photos look instantly.
Keep the lens clean
Smartphones are meant to be carried around and are often kept in pockets, which makes the camera lens very prone to dust and smudges. So every time you prepare to shoot a good photograph, make sure you've wiped the lens with a fibre-cloth until the lens is squeaky clean. A clear lens helps the sensors get the best results.
Use natural light
Lighting is one of the key elements of photography. While learning to make the best use of the available light source will require some practice, what you can instantly start following is the use of natural light. If you want to capture the best details and perfect highlights and shadows, natural light can turn out to be the best. Be it street photography, landscapes or faces, one has the chances of capturing the best shots in natural light.
Keep your hand stable
Modern smartphone cameras come with built-in stabilisers like OIS and EIS to eliminate/reduce shakes. While these stabilising technologies do help to a certain extent, there's still room for improvement. You can make the difference by making sure you keep your hand as steady as possible. Understandably, not all of us can control the shaking of the hand, so in that case, you can look for a platform for support where you can rest your hand while holding the camera. If not that, you can always use a portable tripod for ultimate stability. It not just improves day time results but also in low-light.
Use dedicated modes
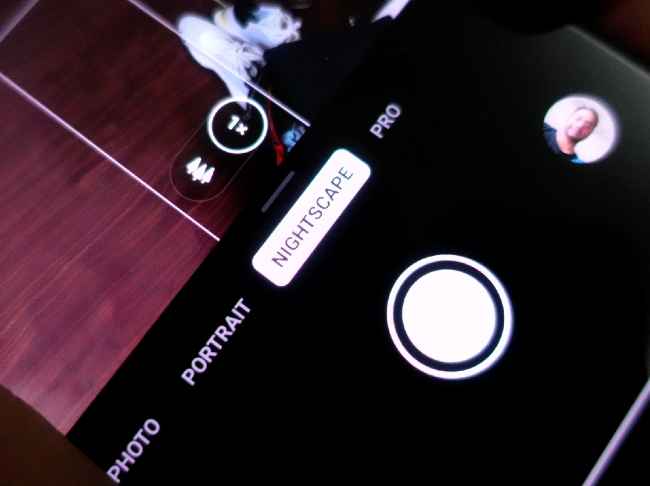
It's nice to see smartphone cameras getting better with time, but don't forget that it's equally important to evolve yourself with the change. Most smartphones now offer several dedicated modes for different scenarios. It's highly recommended that you explore the camera app and use these modes for the scene they're meant for. For example, use the night mode in low light for best results or the macro mode when capturing a subject up close. When you select these modes, the camera automatically picks the best lens and tunes the settings that suits the best for the given shot.
Keep the light opposite to the subject
Another golden rule to click better photos instantly is to keep the subject opposite to the light source. If the light source comes anywhere in the frame, the picture is very likely to come out overexposed or simply lose details. Keeping the subject opposite to the light source allows the lens to capture the maximum amount of data to process a crisp and close-to-natural result. Also, make sure if the light is too harsh, use the exposure control bar to reduce the exposure to get the right colours and temperature.
Use negative space
The term "negative space" refers to the blank area around the subject. Using more "negative space" around the subject will make it stand out even more and gather more attention visually. Some good examples of "negative space" could be an open sky, the sand on a beach, a large wall or a water body.
Use grid lines
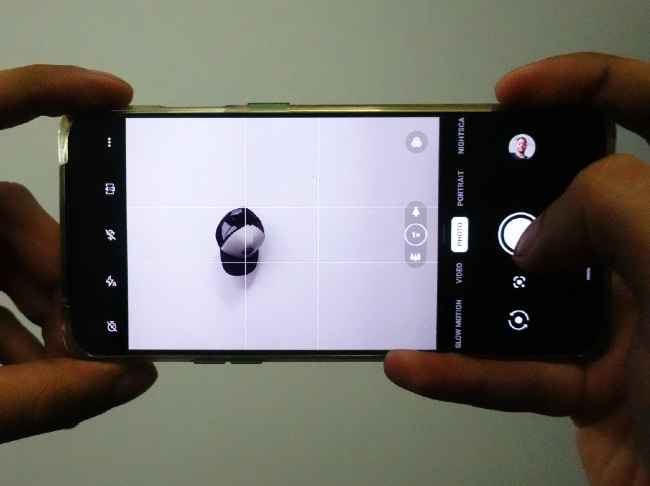
One of the first step to improve photography skill is to start using the camera's gridlines. Enabling the grid lines with show you horizontal and vertical lines dividing the viewfinder into a set of rectangles to guide you for the "rule of thirds" — a composition principle that says an image should be broken down into thirds, both horizontally and vertically, so you have nine parts in total. So if you place the subject in these intersections or along the lines, your photo will be more balanced and levelled.
Experiment with angles and lights
Capturing the perfect frame is a game of perspective. Gaining the sense of vision and perspective comes only when you play around with different camera angles and lights. The more you shoot, the better your sense of perspective gets. So the basic is to keep shooting as much as you can — use different angles, experiment with natural and artificial lights to get surprised with shots you would've never imagined you will click.
Team Digit
Team Digit is made up of some of the most experienced and geekiest technology editors in India! View Full Profile
