Adobe’s latest AI tools, like Generative Fill, Text-Based Editing, and Neural Filters, bring super useful new capabilities to creative workflows, especially for photo manipulation and portrait enhancement. While these features are available on most modern systems, they’re particularly well-optimised for AI laptops running Windows on Intel Core Ultra or AMD Ryzen AI 9 processors. These devices come with dedicated NPUs (Neural Processing Units), allowing many of Adobe’s AI-driven tasks to run faster, more efficiently, and without draining your battery as quickly.
All of the features discussed here were tested on a the Zenbook S 14 OLED laptop, featuring an Intel Core Ultra 7 258V chip, 32GB of RAM, and a 1TB SSD. Performance has been consistently responsive, even during heavier tasks like generating multiple content-aware fills or applying neural filters across high-resolution RAW files. If you’re working with Adobe tools on a non-NPU machine, they’ll still work, but the difference in speed and smoothness is noticeable once you switch to AI hardware.
Also read: How to Use Intel AI Playground Effectively and Run LLMs Locally (Even Offline)
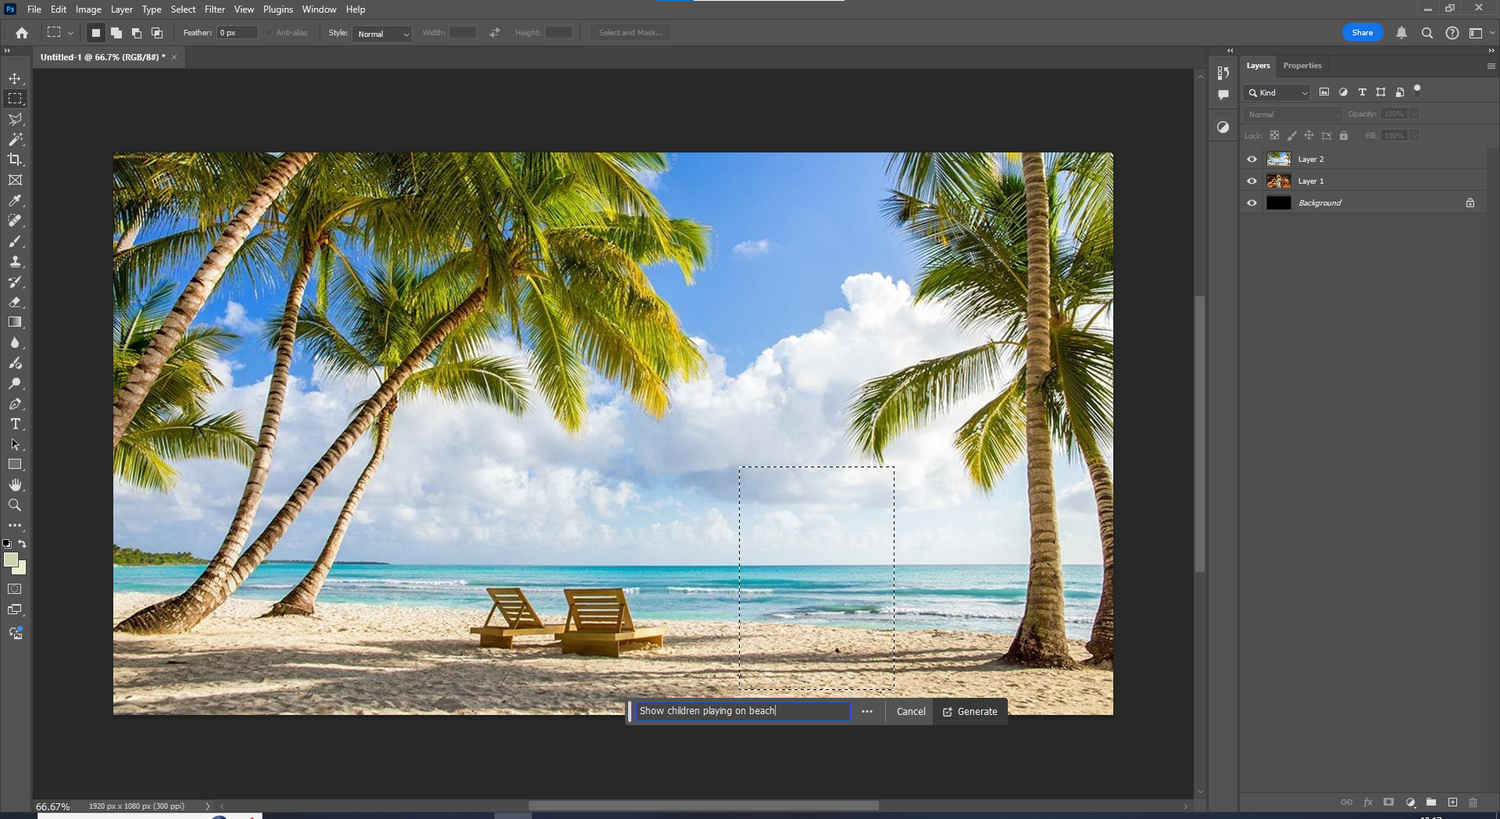
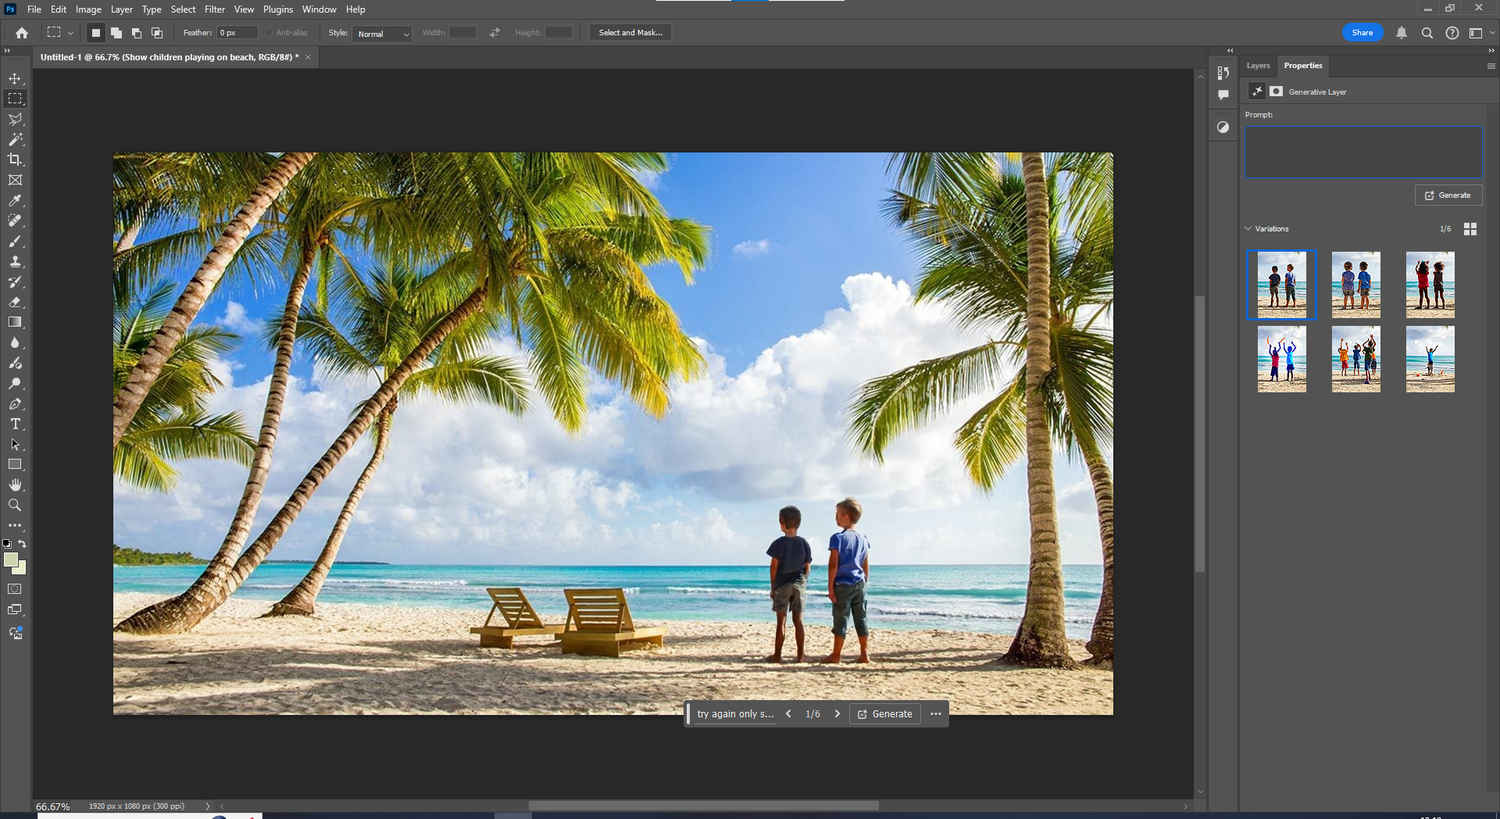
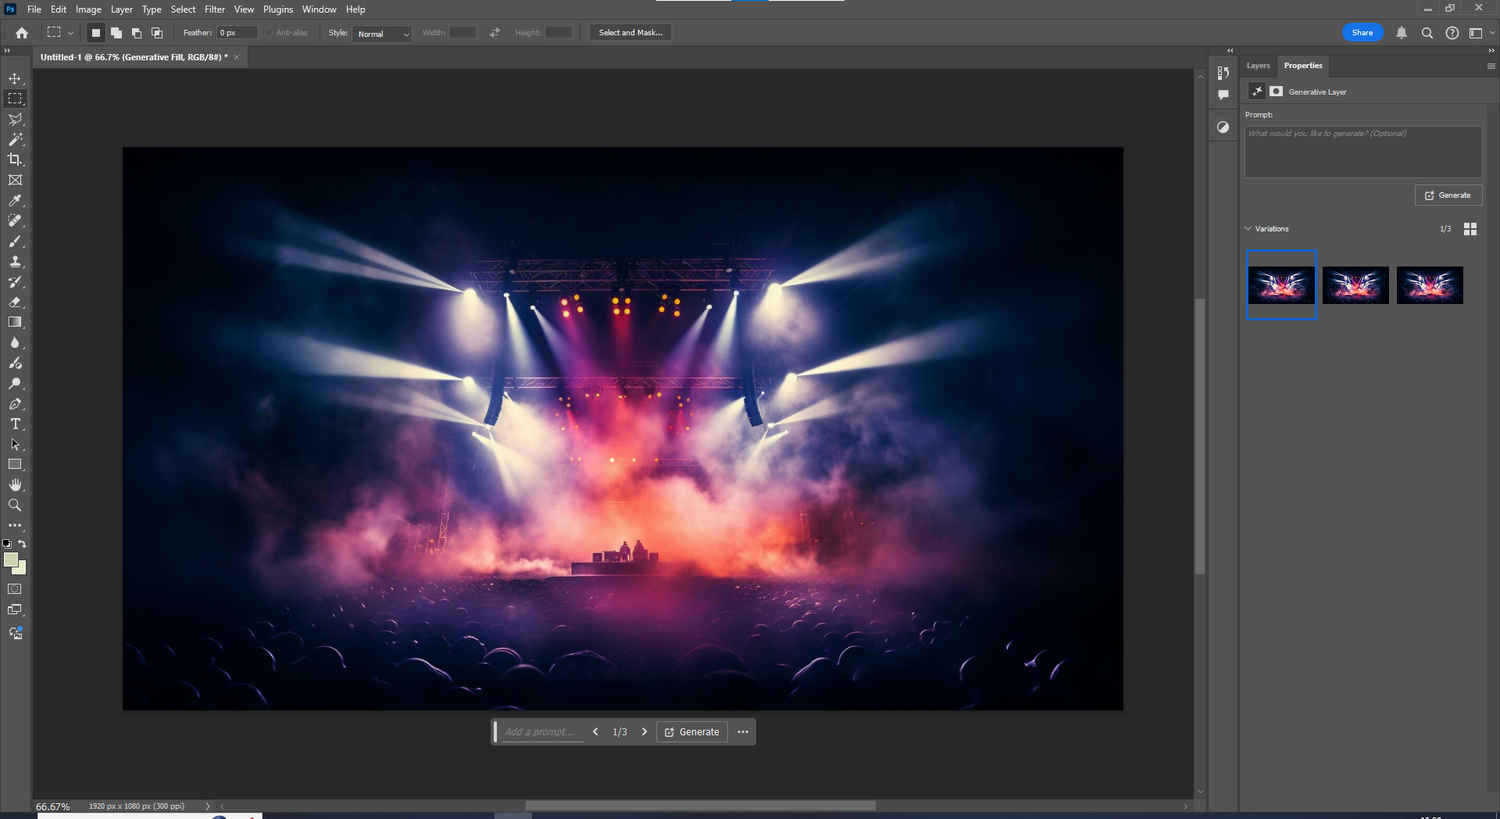
Adobe’s Generative Fill, powered by Firefly, allows you to describe what you want changed in your image, whether it’s removing a subject, extending a scene, or inserting entirely new elements. Here are the steps you need to follow.
Each result is placed on a new layer, giving you full non-destructive control. On an AI laptop, generations are faster, more seamless, and require fewer retries, even with complex backgrounds.
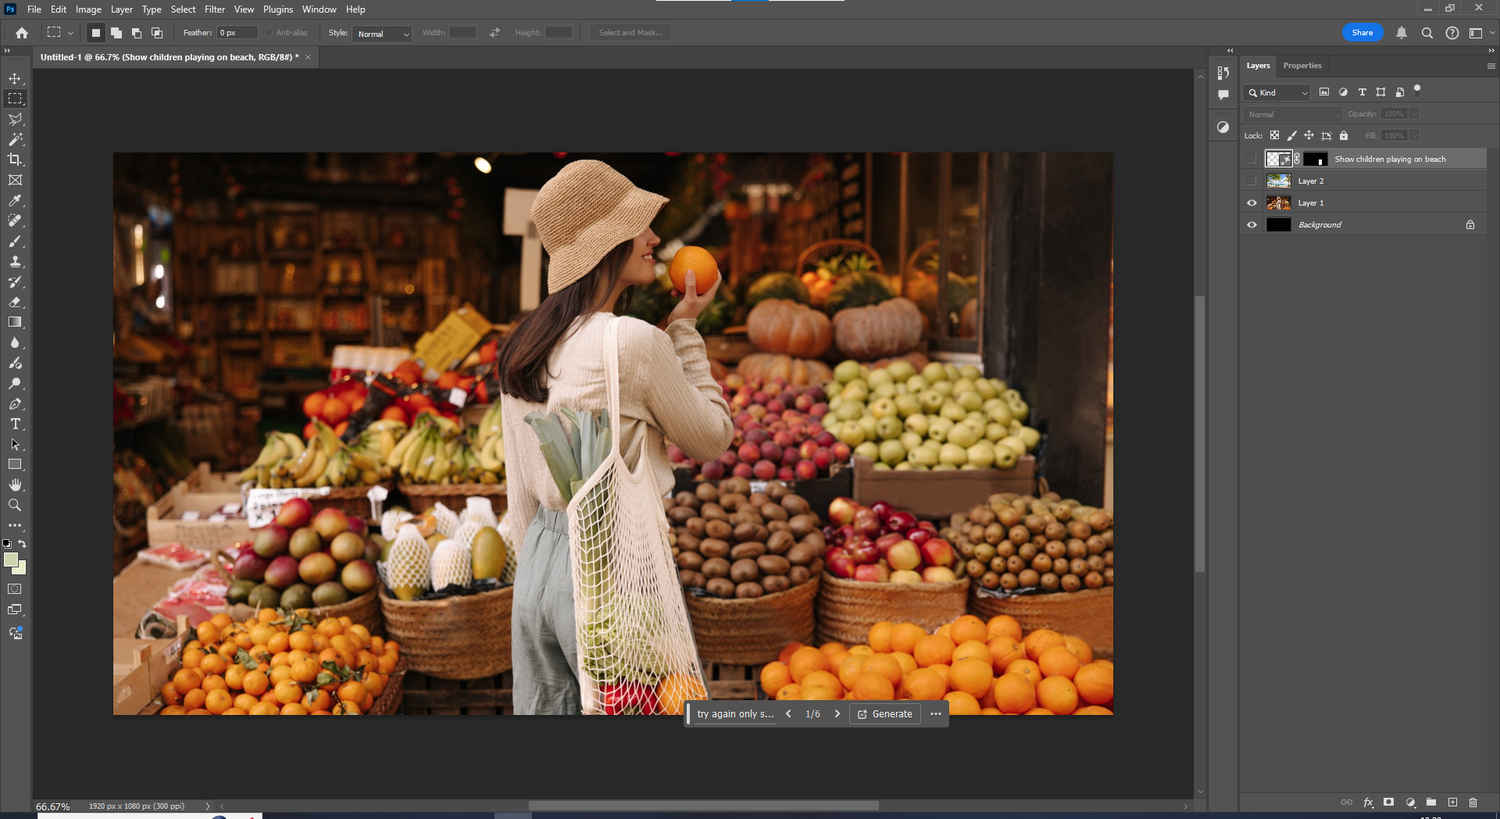
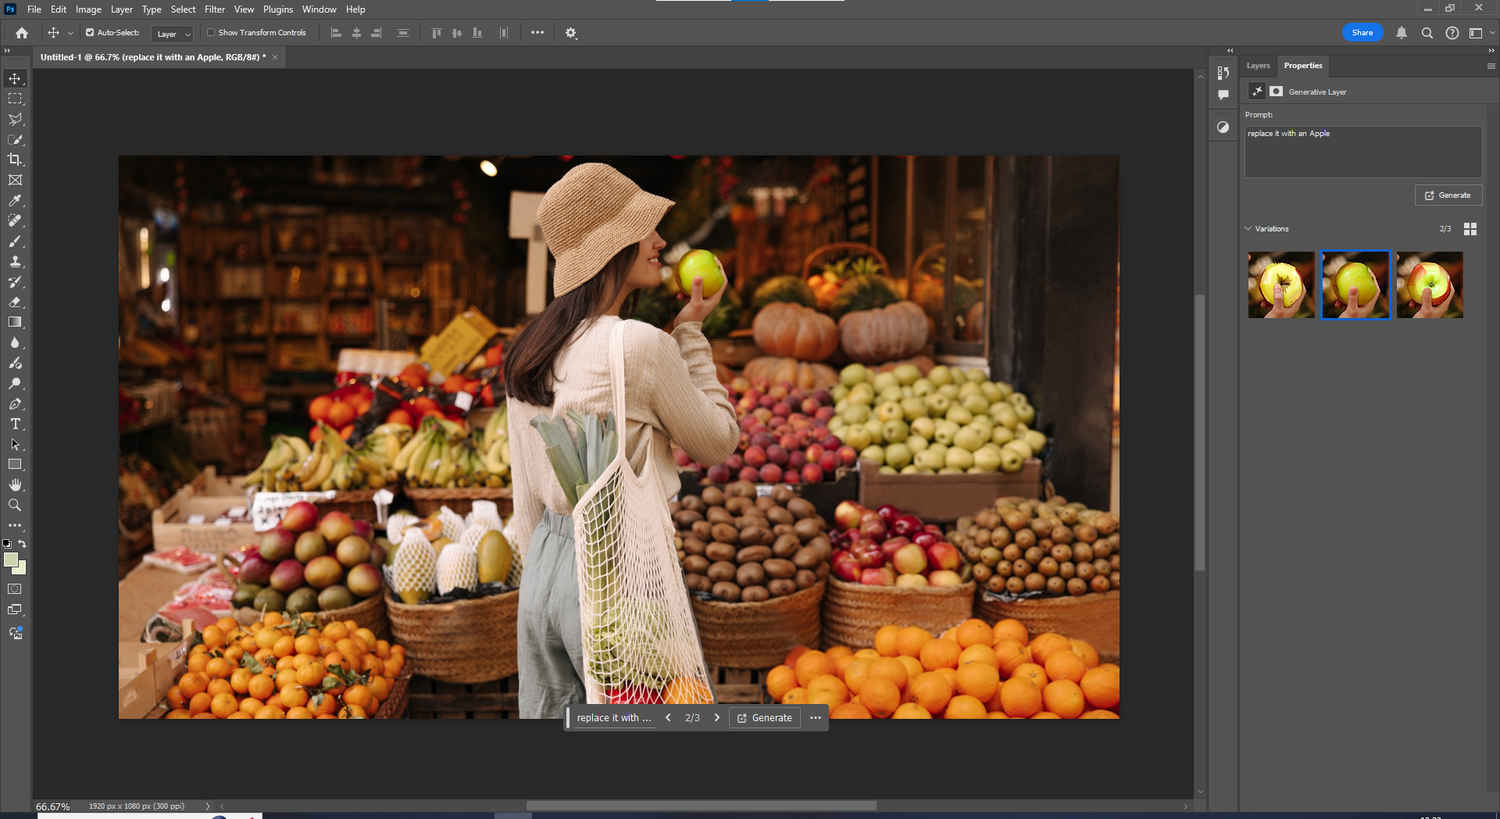
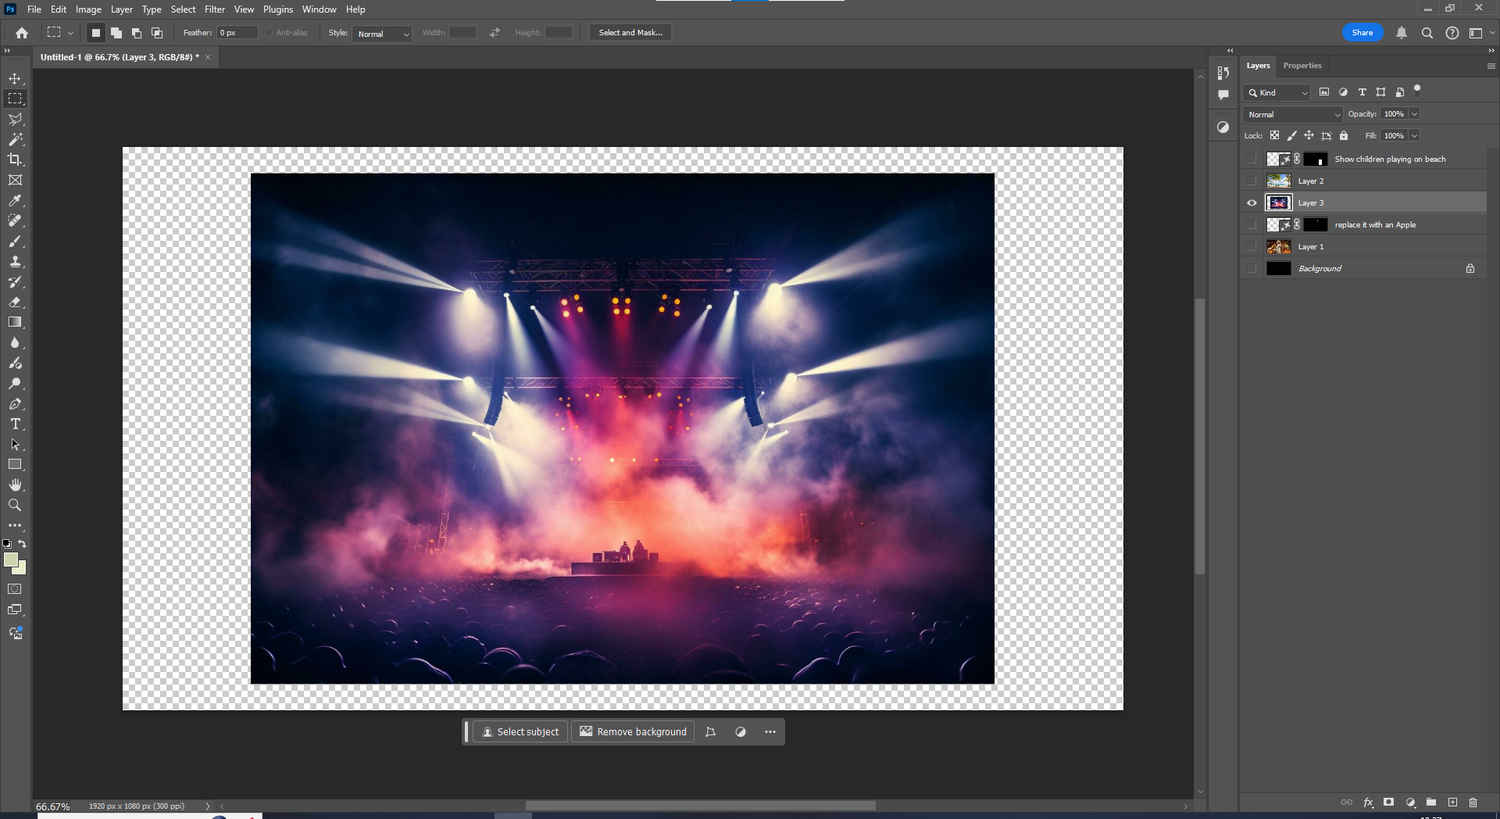
This feature expands on Generative Fill by letting you make edits just by typing what you want to see. It’s useful when you’re refining a scene with multiple elements or want to explore creative variations. To use this feature.
Text-based editing is especially useful in concept design, marketing visuals, and creative mockups. It allows rapid iteration without needing multiple manual tools or selections.
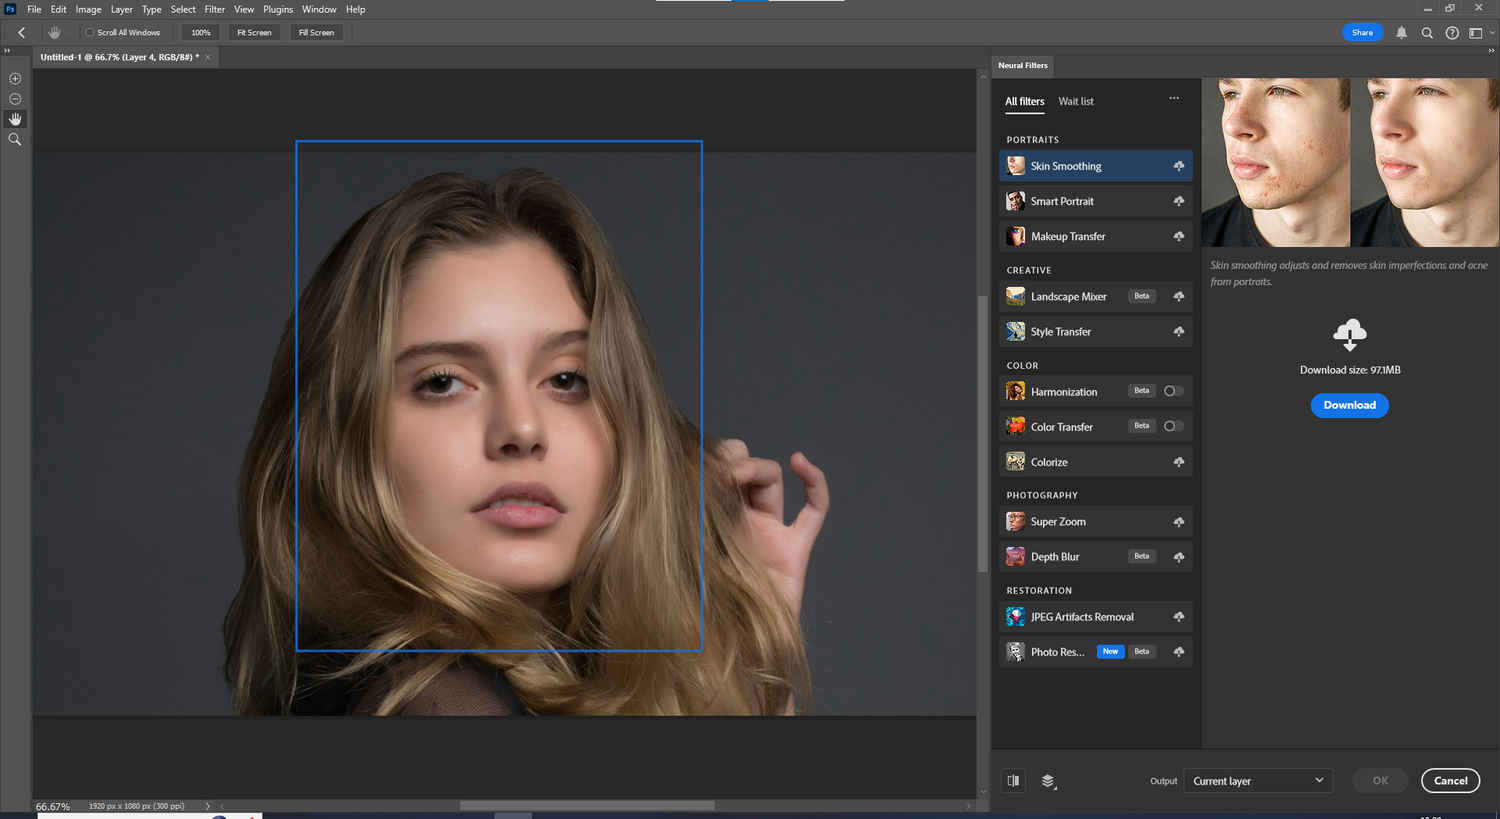
Neural Filters use AI to apply facial enhancements, mood adjustments, or creative effects like style transfer and depth blur. Follow these steps to use this feature.
This tool is particularly useful for portrait photographers, social media creators, or anyone working with human subjects. On a Windows AI laptop, filters load and preview more fluidly, and batch editing feels far more responsive.
Adobe’s newer beta features like Generative Expand and Remove Tool help you extend or clean up your canvas using AI logic without needing manual cloning.
These features allow you to reframe, repurpose, or adapt an image for different platforms without redesigning from scratch.
To get the most out of Adobe’s AI ecosystem, combine these tools for a complete creative workflow:
This workflow can take a raw concept and turn it into polished creative output within minutes, streamlining the entire editing process from idea to execution. It’s a faster, more intuitive way to create, refine, and finalise visuals without getting lost in layers of manual effort.