The ultimate DIY guide to crafting your perfect custom mechanical keyboard
Level up your gaming with a truly unique, high-performance mechanical keyboard
From parts to play, a step-by-step tutorial for your first keyboard
For most gamers, a keyboard is just a keyboard—a tool you plug in and use. But what if it could be an extension of your hands, perfectly tuned to your style and touch? What if every keystroke felt exactly the way you want it to, and the board itself was a work of art that matched your unique setup? This isn’t just wishful thinking; it’s the reality of building a custom mechanical keyboard.
This is Gaming Peripherals 101, and the lesson today is a masterclass in personalization. Forget mass-produced boards with generic switches and plastic frames. Building your own keyboard gives you complete control over the sound, feel, and look of your most essential peripheral.
The gaming world is full of ways to optimize your rig, from high-refresh-rate monitors to ergonomic mice. But a custom keyboard offers a level of control that off-the-shelf options simply can’t match.
Feel & Performance: Do you prefer a light, fast keystroke for competitive gaming? Or a satisfying, tactile bump for typing? With custom keyboards, you choose the switches—the tiny components that register each press—that are perfect for you.
Aesthetics: Beyond performance, a custom board is a statement piece. You can select the color and material of the case, the design of the keycaps, and even the type of backlighting. Want a keyboard that matches your PC’s color scheme or your favorite game’s aesthetic? You’ve got it.
The Experience: There’s a deep satisfaction that comes with creating something with your own two hands. The process of researching parts, assembling them, and bringing your vision to life is part of the fun.
Anatomy of a Custom Board: The Key Components
Building a custom keyboard is like assembling a high-performance PC—it’s all about choosing the right components. Here are the core parts you’ll need to know:
Case: This is the housing that holds all the parts. Cases come in various sizes and materials, from budget-friendly plastic to high-end aluminum or even wood. The material affects the sound and weight of the finished board.
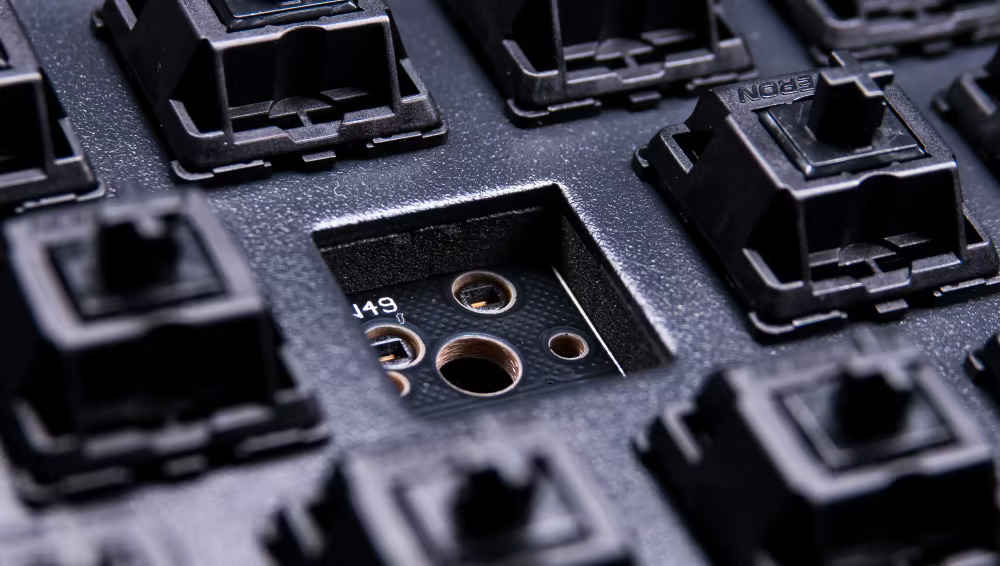
PCB (Printed Circuit Board): The “brain” of your keyboard. This is where all the switches plug in and where the keyboard’s logic is stored. Many modern PCBs are “hot-swappable,” which means you can insert switches without needing to solder them, making the build process much easier for beginners.
Plate: A metal or plastic sheet that sits on top of the PCB and holds the switches in place. Different plate materials—like aluminum, brass, or PC (polycarbonate)—can change the feel and sound of your keystrokes.
Stabilizers: These are small wire mechanisms that prevent larger keys (like the spacebar, Shift, and Enter) from wobbling. Proper lubrication and installation are key to a smooth, non-rattling sound.
Switches: This is the heart of your keyboard’s feel. Switches are categorized into three main types:
Linear: A smooth, consistent press from top to bottom. Great for fast-paced gaming. Think of a smooth, friction-free slide.
Tactile: A small, satisfying bump partway through the press. This feedback tells you the key has been activated.
Clicky: Like tactile switches, but with an audible click sound that gives you clear feedback.
Keycaps: The final touch that gives your keyboard its look and feel. Keycaps come in different materials (ABS vs. PBT) and shapes, known as “profiles,” which affect how your fingers rest on the keys.
Understanding Keyboard Layouts
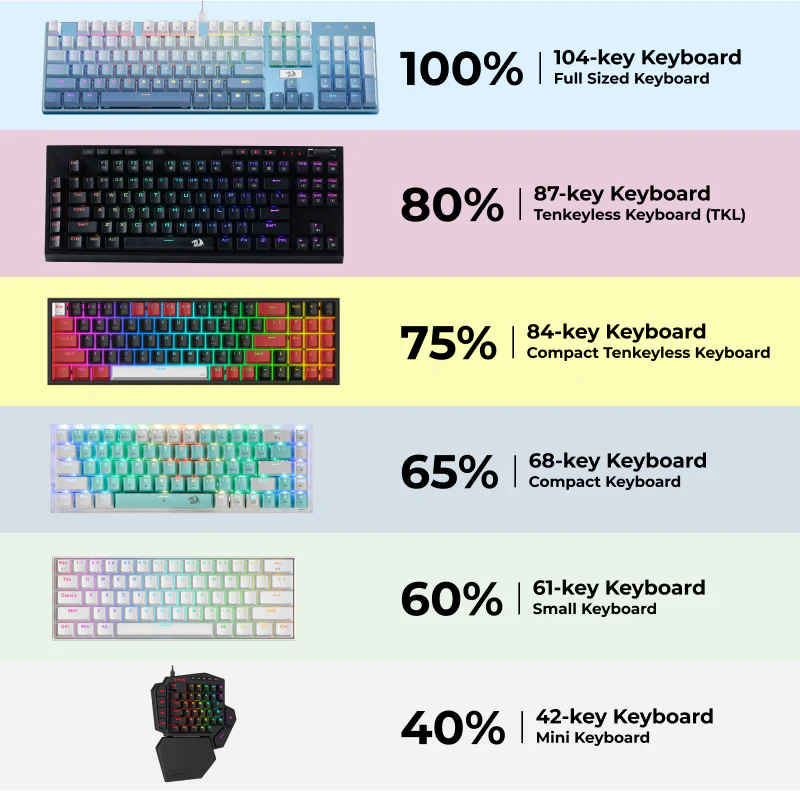
Before you can build your keyboard, you need to decide on its size. The layout is the physical arrangement and number of keys on the board, and it’s one of the first decisions you’ll make.
Full-Size (100%): This is the traditional keyboard layout that includes a number pad, function row, and navigation keys. It’s great for productivity and data entry but takes up the most desk space.
Tenkeyless (TKL) (80%): A full-size keyboard with the number pad removed. This is a popular choice for gamers and general use, as it provides more room for your mouse while keeping the function row and navigation keys.
75%: This layout is a more compact version of a TKL. It removes some space between key clusters, so all the keys are grouped together. It’s a great option if you need a smaller board but still want the function row and arrow keys.
65%: This layout is even more compact, removing the function row entirely but keeping dedicated arrow keys and a few navigation keys. It’s a perfect balance for those who want to save space without sacrificing basic functionality.
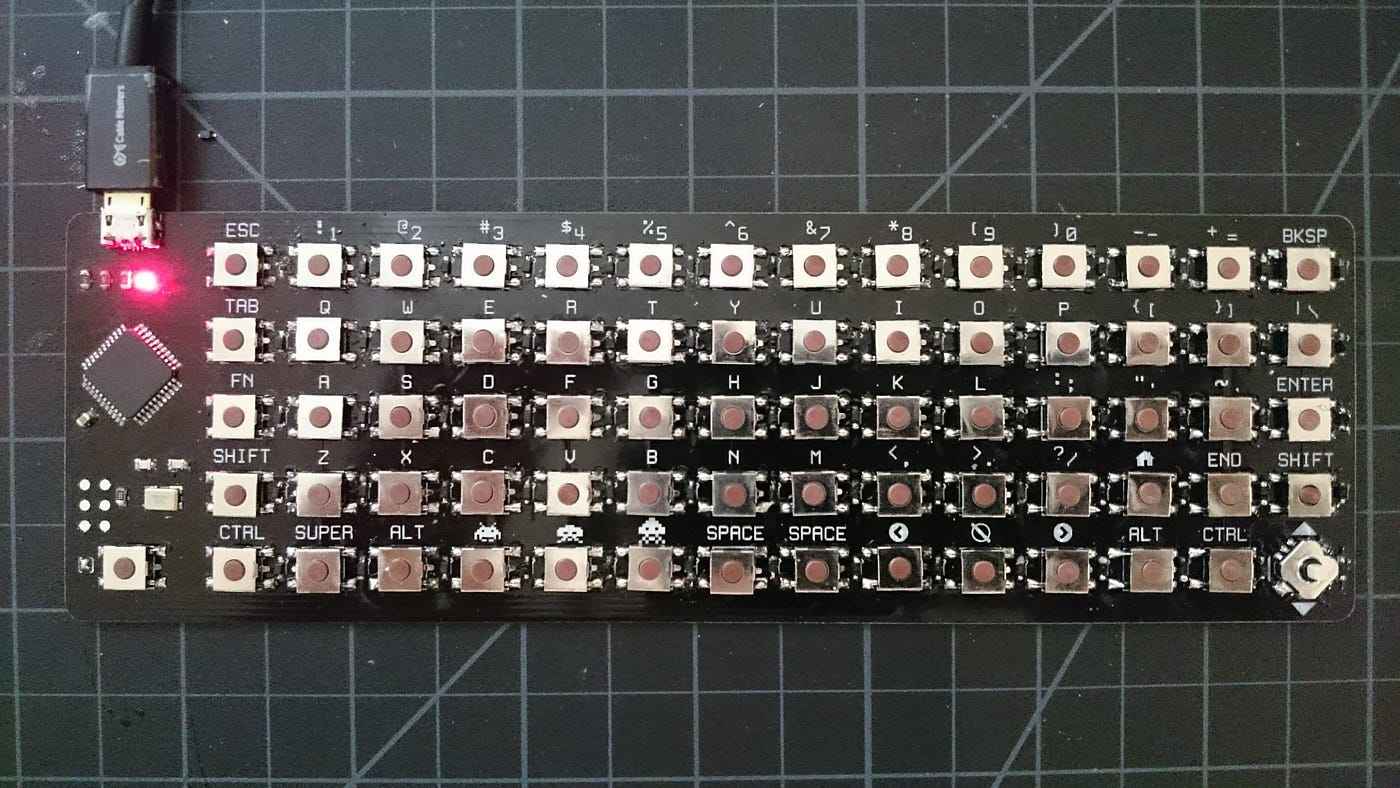
60%: The most compact layout. It removes the function row, number pad, and all navigation/arrow keys. These keys are typically accessed by holding down a special “Fn” (function) key, making it ideal for those who want a minimalist desk setup or maximum portability.
Step-by-step process
The assembly process is straightforward, but taking your time with each step is key to a flawless build.
Before you do anything else, you must test the PCB. This simple step can save you from a major headache later. Plug the bare PCB into your computer and open a keyboard tester website (a quick search for “keyboard tester” will provide several options). Using a pair of tweezers, touch the two metal pads in each switch location. A functioning PCB will show the key on the screen. If any key doesn’t register, you’ve found a problem before you’ve even started building.
2. Prepare and Mount the Stabilizers
Stabilizers are responsible for preventing larger keys like the spacebar, Shift, and Enter from wobbling. To get a clean sound and feel, it’s highly recommended to “lube” your stabilizers with a small amount of specialty grease.
Carefully snap the lubed stabilizers into their designated spots on the PCB. Ensure they are fully seated and click into place.
3. Assemble the Plate and PCB
With your stabilizers in place, it’s time to marry your two most important components.
Take your keyboard plate and lay it flat.
Carefully align the PCB’s screw holes with the plate, and snap them together. Take care not to bend any of the pins on your PCB.
4. Add the Switches
This is the most satisfying part of the build.
Start with the four corner switches to lock the plate and PCB together.
Carefully align the two small metal pins on the bottom of a switch with the holes on the PCB.
Gently push the switch down until it clicks into place on the plate. If it doesn’t go in easily, double-check that the pins are straight and correctly aligned. You should never have to force a switch in.
5. Mount the Assembly in the Case
With all your switches in place, it’s time to put the finished assembly into the case.
Carefully lower the entire plate, PCB, and switch assembly into the case.
Use a small screwdriver to screw the assembly into the case, securing it firmly. Be sure not to overtighten.
6. Pop on the Keycaps
The final step is to give your board its identity.
Using your fingers or a keycap puller, gently push each keycap onto its corresponding switch.
Start with the larger keys to ensure they are properly aligned.
Pay attention to the keycap profile—the shape of the rows—and make sure the keycaps are in the correct rows to create a comfortable, ergonomic typing experience.
7. Plug and Play
Plug your new keyboard into your PC. Use the same online keyboard tester to ensure every key is working correctly. Now, you can use powerful software like VIA to remap keys and create macros for gaming or productivity. Building a custom keyboard isn’t just about getting a cool new peripheral. It’s about crafting a tool that’s as unique as you are. So, are you ready to stop buying and start building?
A journalist with a soft spot for tech, games, and things that go beep. While waiting for a delayed metro or rebooting his brain, you’ll find him solving Rubik’s Cubes, bingeing F1, or hunting for the next great snack.