Setting up a new Mac can feel like a chore, especially when you have to manually configure settings, sign into accounts, and transfer data. Thankfully, Apple has made this process incredibly smooth with the latest macOS Sequoia 15.4 update. Now, if you already own an iPhone or iPad running iOS 18.4 or iPadOS 18.4, you can use it to set up your new Mac in minutes.
The Setup Assistant on your Mac uses your Apple ID and iCloud settings to automatically pull in your Wi-Fi preferences, Accessibility options, appearance settings, and even your photos, messages, contacts, passwords, and other data stored in iCloud. This not only saves time but also helps you get started without the usual back-and-forth of logging into multiple apps and accounts.
Whether you’re setting up a new MacBook Air or a desktop Mac, this guide will walk you through the entire process of getting your Mac ready using your existing Apple device.
Also read: Best Laptops for Data Science and Machine Learning Students: A Buying Guide
Before you begin, make sure you meet these requirements:
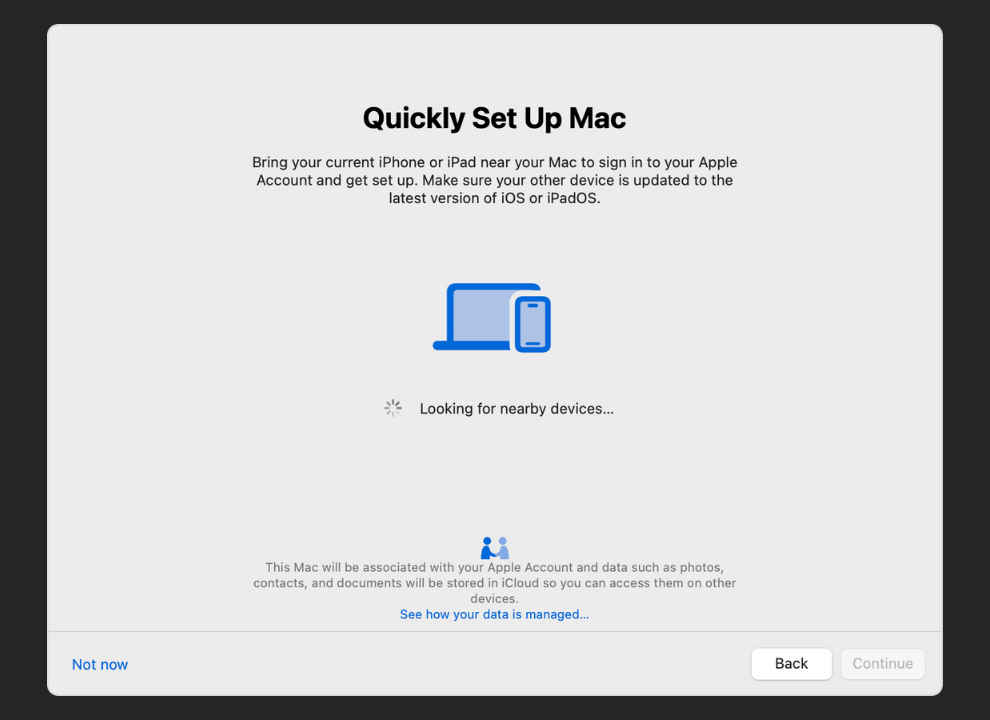
Turn on your new Mac. Setup Assistant will guide you through initial selections like “language” and “region.” When prompted with “Transfer your data to this Mac,” select “Set up with iPhone or iPad” and click “Continue.”
Unlock your iPhone or iPad and place it close to your Mac. Make sure the device is signed in to your Apple ID. You’ll see a prompt on your device asking you to continue. Tap Continue and authenticate using “Face ID” or “Touch ID.”
Also read: Why GTA 6 is the Make-or-Break Moment for Rockstar & AAA Gaming
Your Mac will display a unique visual pattern. Hold your iPhone or iPad up to the Mac screen and align the pattern in the on-screen circle to authenticate. If that doesn’t work, tap “Authenticate Manually” and enter the code shown on your Mac.
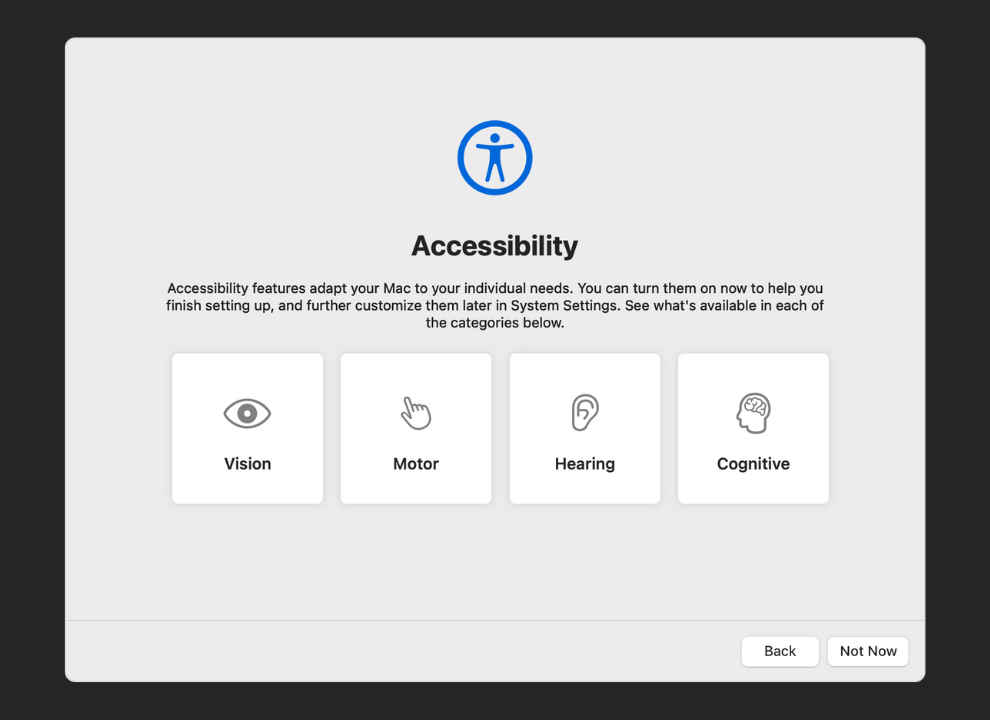
Your Mac will now offer you the option to review or customise any “Accessibility settings.” Click “Not Now” to skip, or choose a category to make adjustments before moving forward.
Next, you’ll be asked to create a Mac user account. You can keep or modify the name suggested based on your Apple ID. Set a strong, memorable password and click “Continue.”
Once your Apple ID is authenticated, your Mac will begin importing settings and content from iCloud—this includes Photos, Notes, Messages, Calendar events, Passwords, and more. This makes the new Mac feel like an instant continuation of your previous device. If you’re not using an iPhone or iPad, you can choose to transfer data from another Mac or a Time Machine backup using “Migration Assistant,” either during Setup Assistant or later from your Applications folder.
Also read: I Used The Nikon Z6 III For 30 Days, Here’s What I Learned