
We guide you on how to setup and configure four networking devices from Digisol step-by-step.
A bunch of networking products are launched every week in our gruesome networking products market and all of them try to come up with something new for the consumers. Digisol sent us four of the best networking devices from Digisol’s Ranger Series of networking products to analyze them for 30 days. So, this is part three of our month long coverage of four networking devices from Digisol which are: Digisol DG-BR1016NC, DG-WR3001N, DG-BR1000Nu and DG-BR4313NG. We’ve already covered Unboxing and Preview along with In-depth features and specifications of all these products in two of our articles previously. You can check them out here:
Introduction, overview and unboxing
In-Depth Features and Specifications
Digisol DG-BR1016NC
150Mbps Wireless Multi-Function Broadband Router
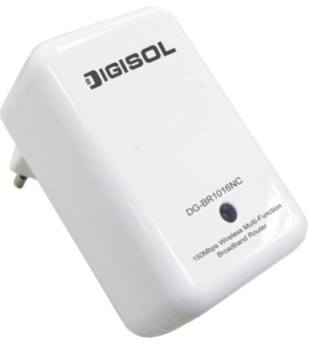
This miniature product acts as a 150Mbps wireless multifunctional broadband router and it is powered directly through a regular wall power socket. Not only does the DG-BR1016NC offer media sharing features but it also offers charging functionality through its USB port. Installing and configuring this device is easy, thanks to the included software CD which can even guide a novice and let him/her use this device. Let’s look into it’s setup and installation step-by-step:

To start with the installation of the DG-BR1016NC, first connect the device to a wall-socket and power it on. Now slide in the included CD and run the setup wizard in order to configure the device. The wizard will guide you through the entire setup.
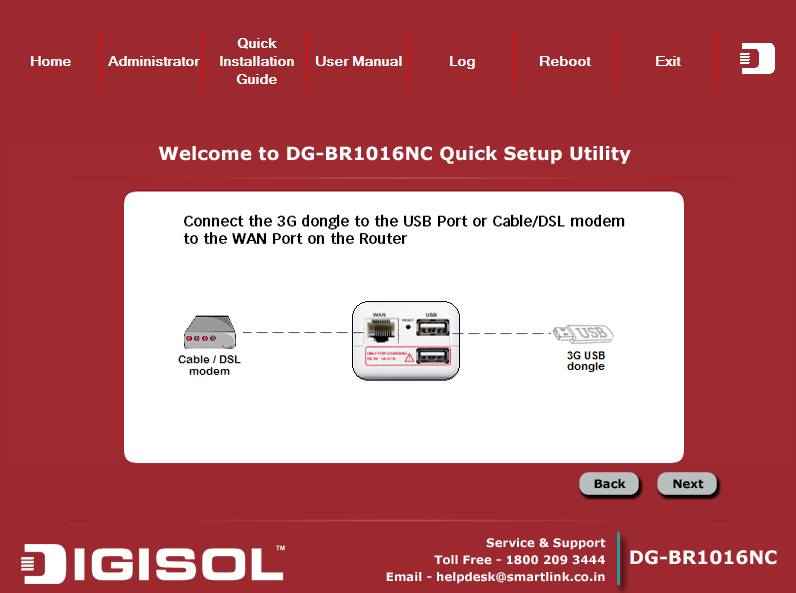
If you have a 3G dongle with you, connect it to the USB port of the DG-BR1016NC. Or if you want, you can also connect your Cable/DSL modem to the WAN port on the router.
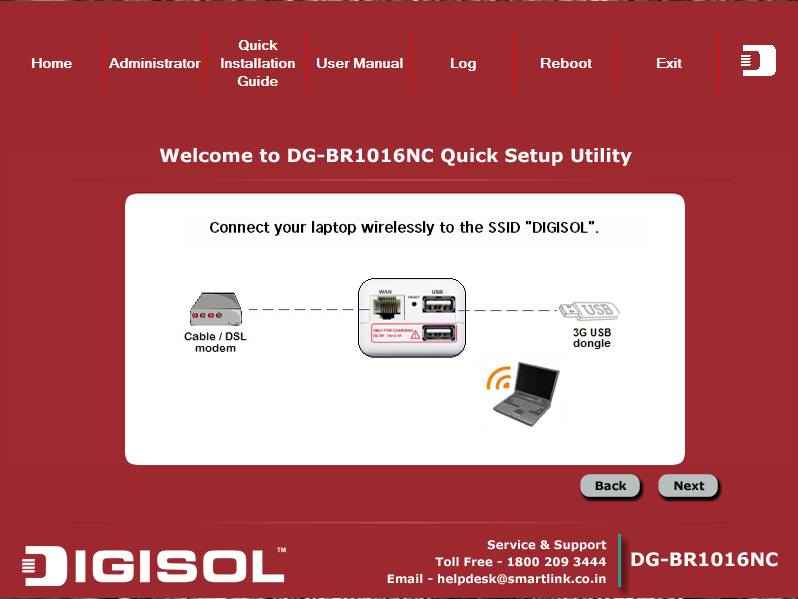
Now, connect your Laptop or wireless device to the SSID “DIGISOL” (which will be seen if you search for available wireless networks). When prompted to enter password, just enter the default configuration password that is “1234”. Once done, you will be prompted to select the type of network and a new security key for your network. Enter that and the wizard will proceed towards completing the installation of the DG-BR1016NC router.
The router will restart after the entire process is completed and the connection will be established. You can also watch a video of its setup and installation below:
Digisol DG-WR3001N
300Mbps Wireless Repeater
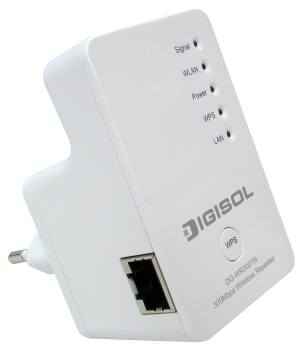
This is again a compact device from Digisol’s Ranger Series of networking devices. The DG-WR3001N also connects to an empty wall socket for power and it has three modes of operation such as the Repeater mode, Access point mode and the Client mode which are facilitated by the placement of a switch which makes it easy to switch between all the three modes conveniently. Installing the DG-WR3001N is also easy as one can do it by simply using the included CD and follow the on-screen wizard to do so.
.jpg)
Starting-up with the installation of the DG-WR3001N 300Mbps Wireless Repeater, you will need to slot in the included CD and run the setup wizard. Then you just need to follow the onscreen instructions and you will be able to setup the DG-WR3001N in no time at all.
.jpg)
Remove the DG-WR3001N from its box and plug it inside an empty wall power socket and switch the device on. Connect one end of the included LAN or network cable to the LAN port on the device and the other end to your Desktop’s or Laptop’s Ethernet port.
.jpg)
Log in to the Wireless Repeater using the default password that is “1234” and also enter a new password for the device (This is to make sure that your network is secure). Click “Log in” on the setup wizard window. Once done, you will be prompted to select the type of network and a new security key for your network. Enter that and the wizard will proceed towards completing the installation of Digisol DG-WR3001N.
The router will restart after the entire process is completed and the connection will be established. In order to switch between the Repeater mode, Access point mode and the Client mode, you can use the switch provided on the side of the device and select the mode you require.
You can also watch a video of its setup and installation below:
Digisol (DG-BR1000Nu)
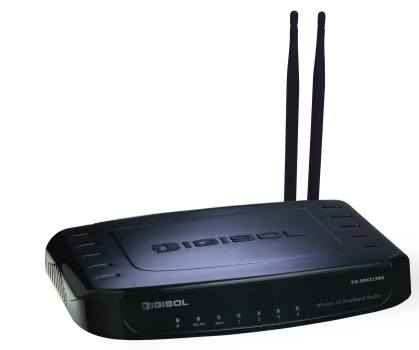
150Mbps Wireless Micro Broadband Router
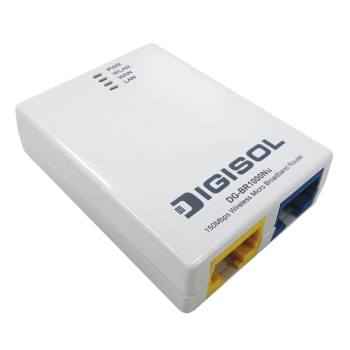
There are small devices and then there is the ultra small Digisol DG-BR1000Nu. This product from Digisol is a full-fledged wireless broadband router which though small, packs a punch. With an integrated antenna and transfer speeds of up to 150Mbps, the DG-BR1000Nu has many features. Installation of this device is synonymous with the installation of other networking devices from Digisol as it also comes bundled with an easy setup wizard in a CD. Users can follow the onscreen instructions from the setup wizard and configure their Digisol DG-BR1000Nu.
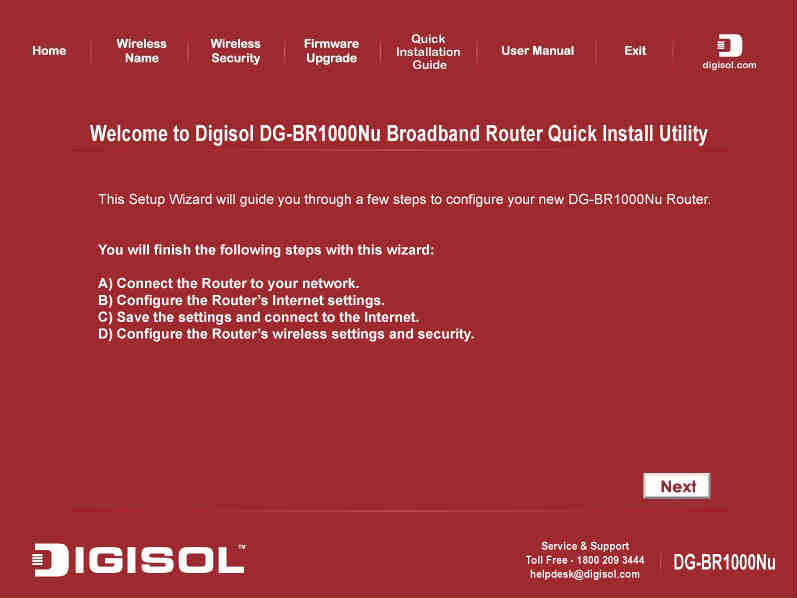
Starting up with the installation of Digisol DG-BR1000Nu, Pop-in the included CD in your CD/DVD drive and run the setup wizard. The wizard window will open up and guide you through the rest of the setup as seen below:
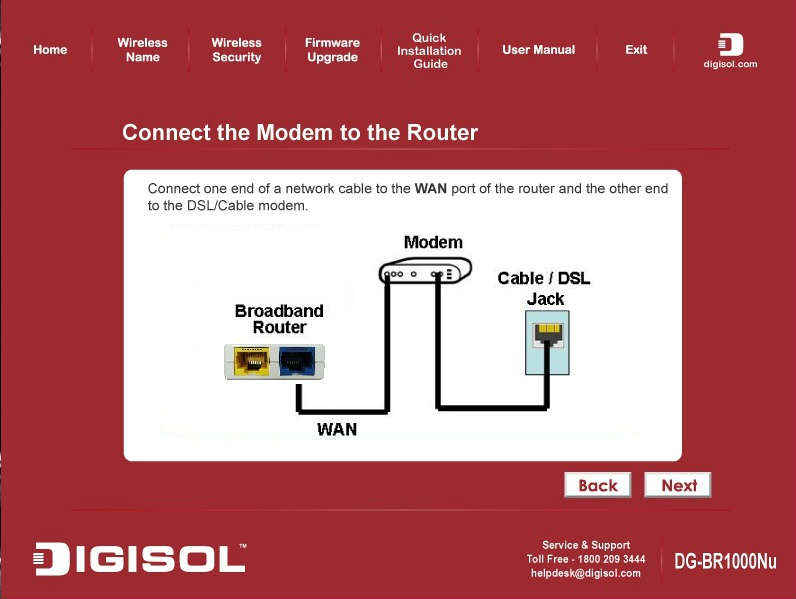
Now, take your Digisol DG-BR1000Nu micro-broadband router and connect one end of the included network cable to the WAN port of the router and the other end to the DSL/Cable modem. Now click “Next” on the setup wizard.
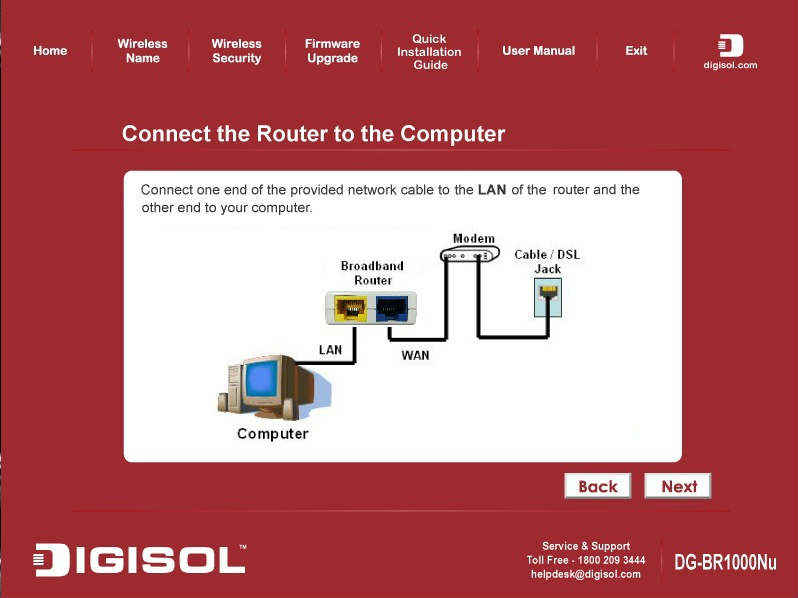
With the WAN connection done, connect one end of the network cable to the LAN port of the router and the other end to your desktop or Laptop.

Now use the bundled power adapter and snap on the Indian wall plug provided to it. Now, connect the included Micro-USB cable to it and the router’s power port. You can also use the standard micro USB cable and power the device using one of the USB ports on your desktop or laptop.
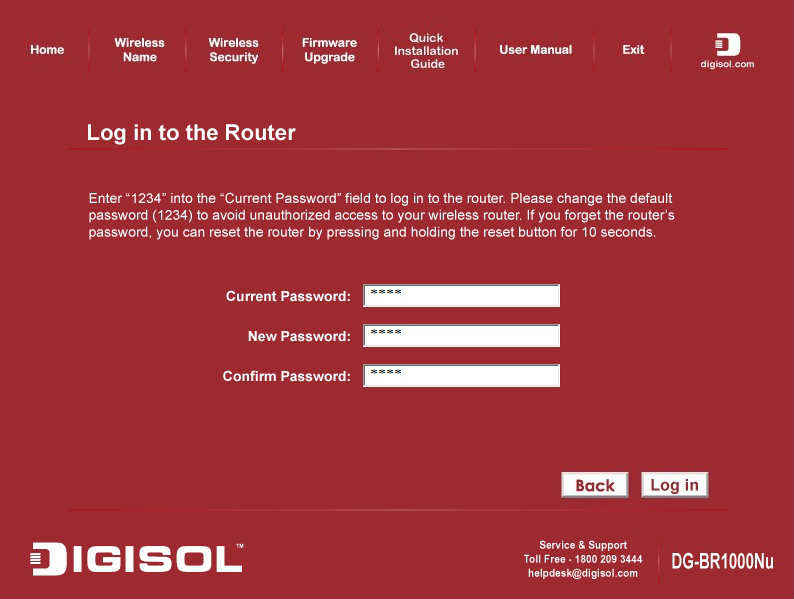
Once the connections are done, power the device on and Log in to the router using the setup wizard. Enter the default password that is “1234” here. You should also change the default password in this window for security reasons. Now click “Log in”.
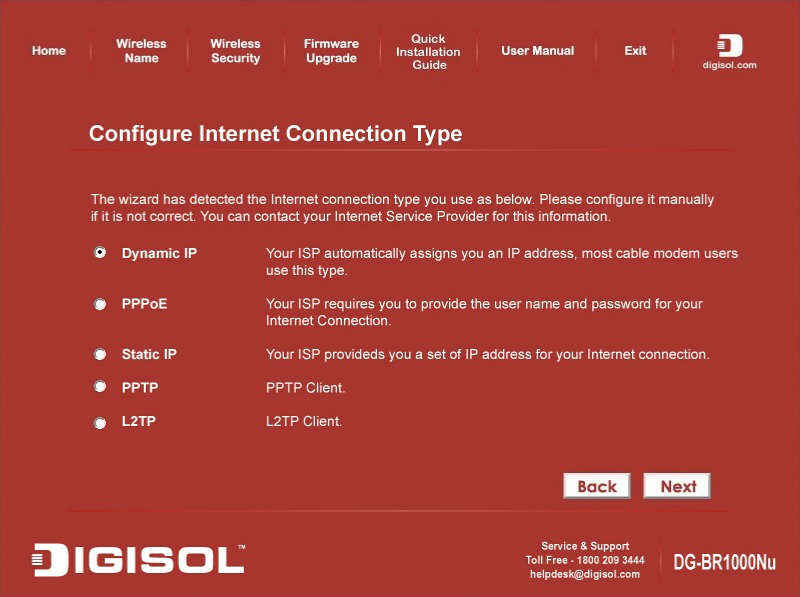
After login completes, select or configure the Internet connection type from a list of options and click “Next”.

In this configuration window, you can configure Dynamic IP settings and enter the Host name if it is required by your ISP (Internet Service Provider) and then click “Next”.

After the Dynamic IP settings, a loading screen will show up notifying you about the connection. If prompted for a connection type by the operating system, select the type of connection i.e., Home Network, Work Network or Public Network and then click “Ok”.
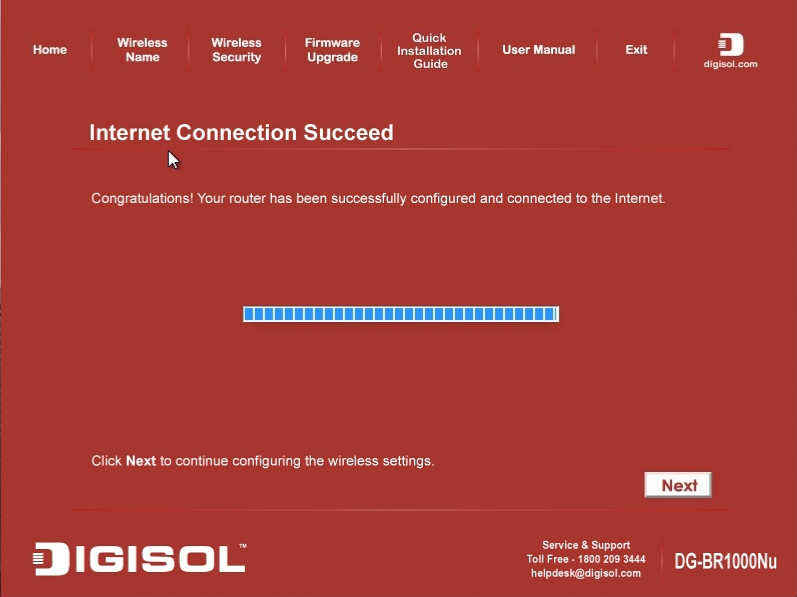
Once all the previous settings have been selected properly. You will see an Internet connection Success window which means that you have successfully connected to the internet.
You can also watch a video of its setup and installation below:
Digisol DG-BR4313NG
300Mbps Wireless Green 3G Broadband Router
The Digisol DG-BR4313NG is a 3G Broadband Router with a nice design. It provides wireless data transmission rates of up to 300Mbps The router has a USB port which is compatible with HSPA/EVDO USB modems. Like all the other Digisol devices we’ve mentioned in this article, the DG-BR4313NG also comes bundled with an installation and configuration CD. You can use the included disc and follow the onscreen steps in the setup wizard in order to configure this router.
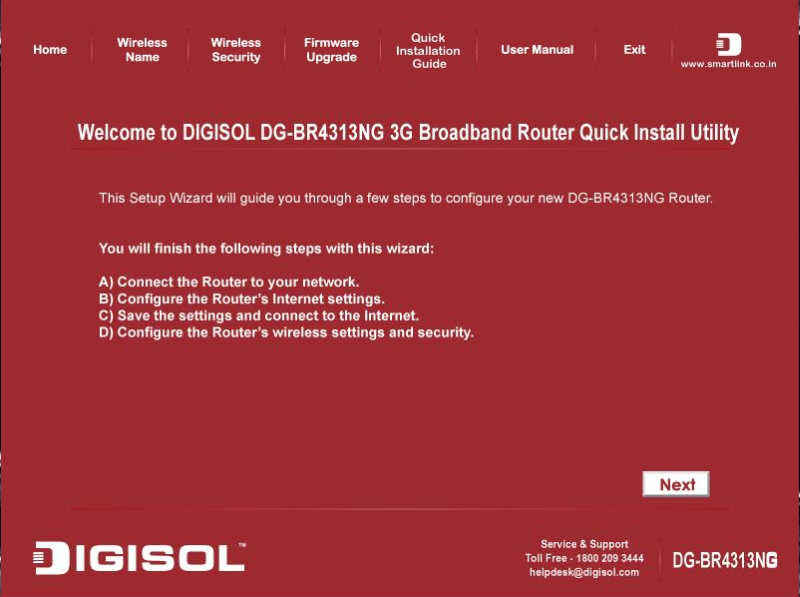
Pop-in the setup disc and start the installation wizard and click “Next”
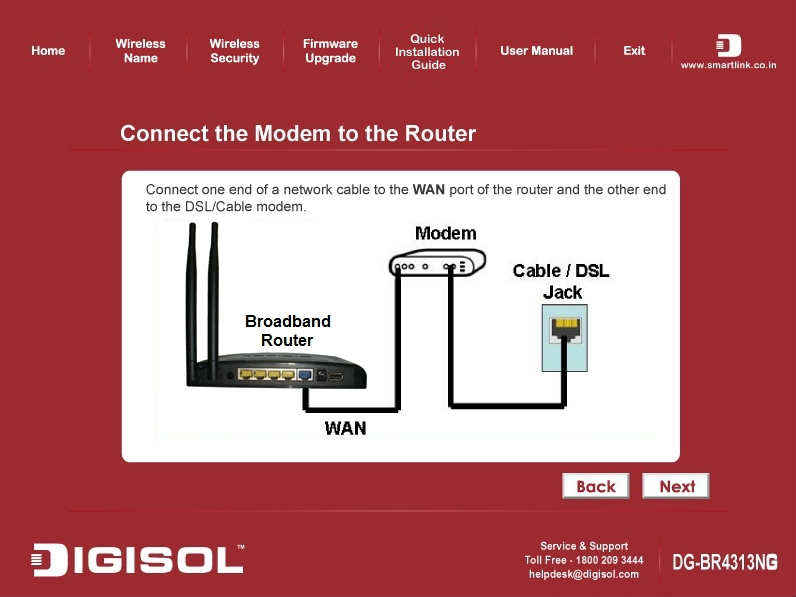
Now connect one end of a network cable to the WAN port of the router and the other end to your DSL/Cable modem and click “Next”
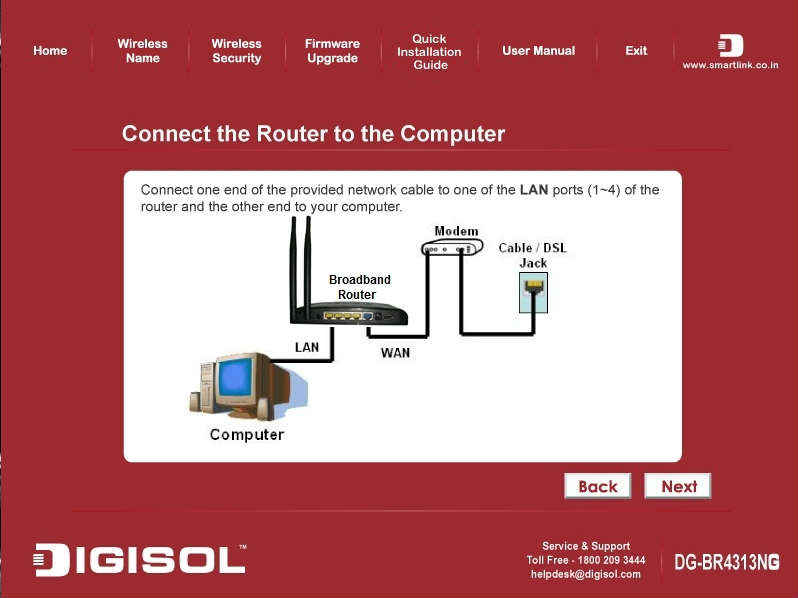
Make a connection between your desktop or laptop and one of the LAN ports on the router using the provided network cable and click “Next” on the setup wizard window.

Power on the router by plugging in the included power adapter to a wall power socket and click “Next” on the setup wizard window.
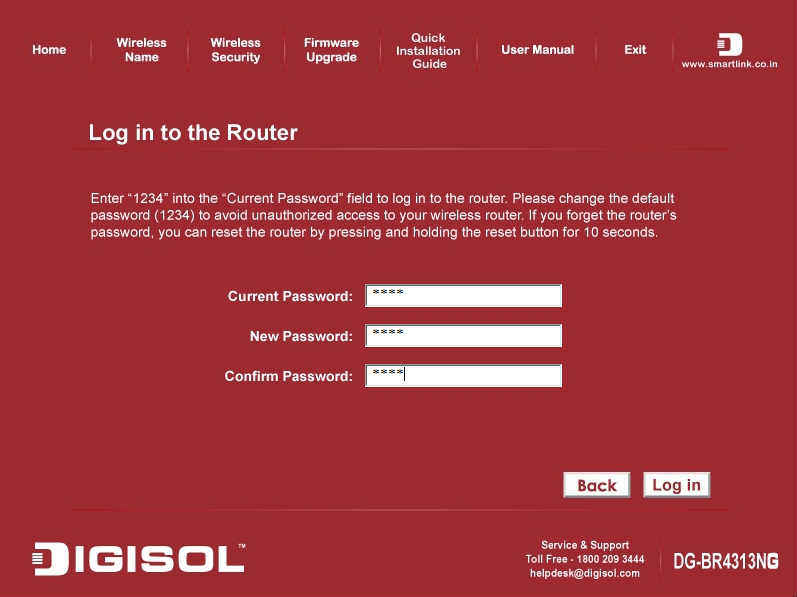
Log in into the router by using the default credentials and change the password for security reasons and click “Next” on the setup wizard window.
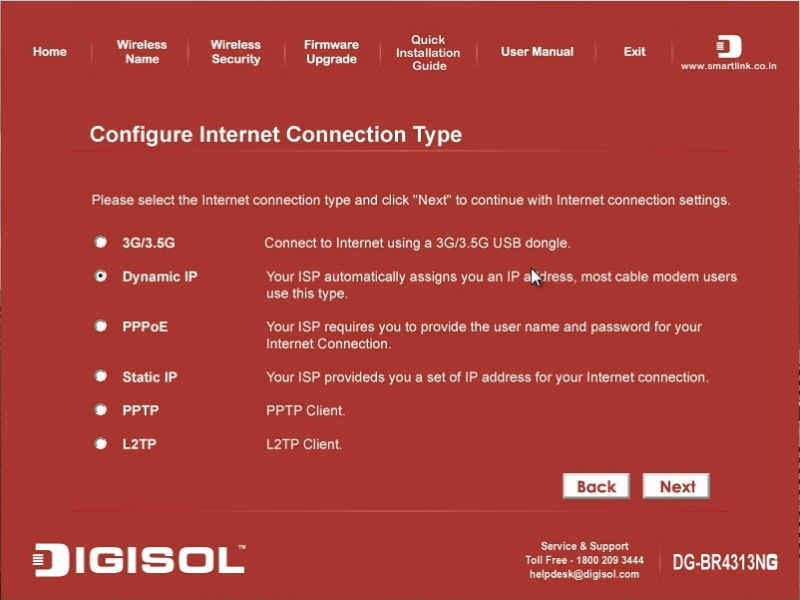
Select internet connection type from a list of options shown in the setup wizard and click “Next” on the setup wizard window.
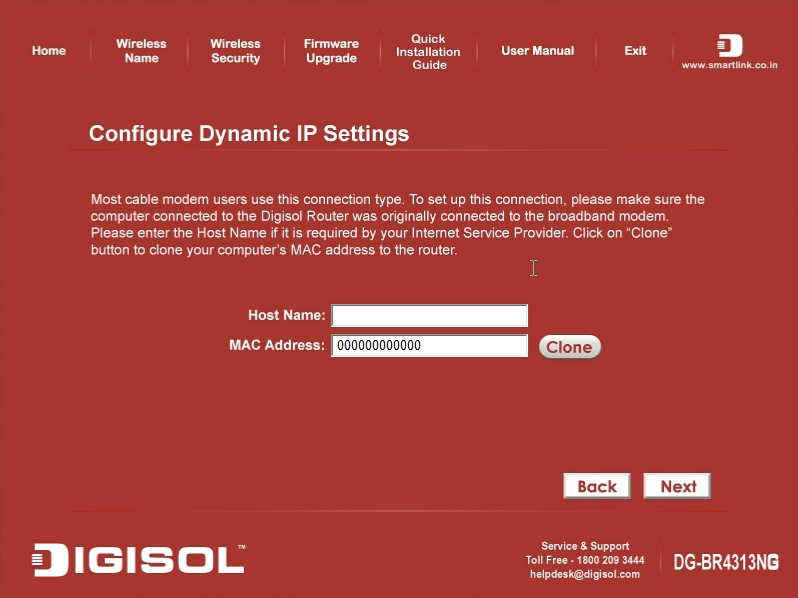
Here, you will need to configure your Dynamic IP settings. If your ISP requires a Host name, then enter it in this window and click “Next” on the setup wizard window.
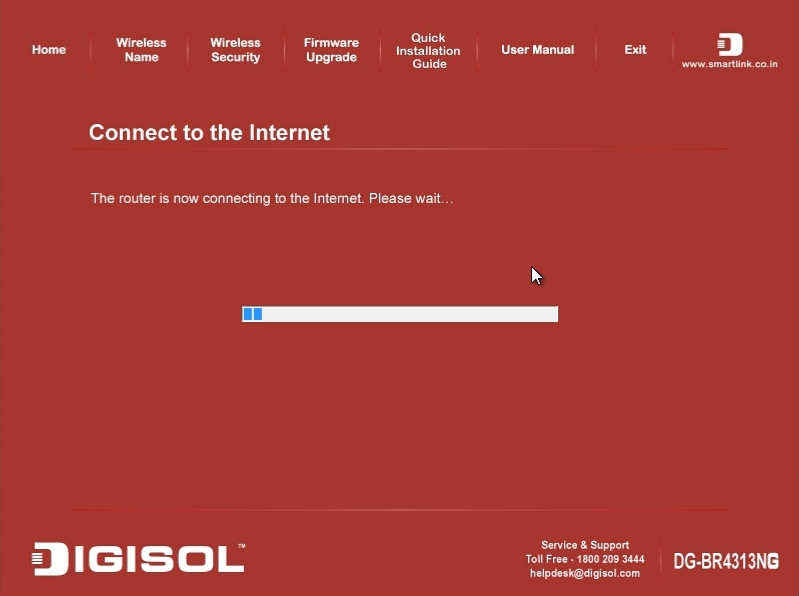
Once you finish the previous step, a loading window like the one shown here will come up. Wait for it to connect to the Internet.
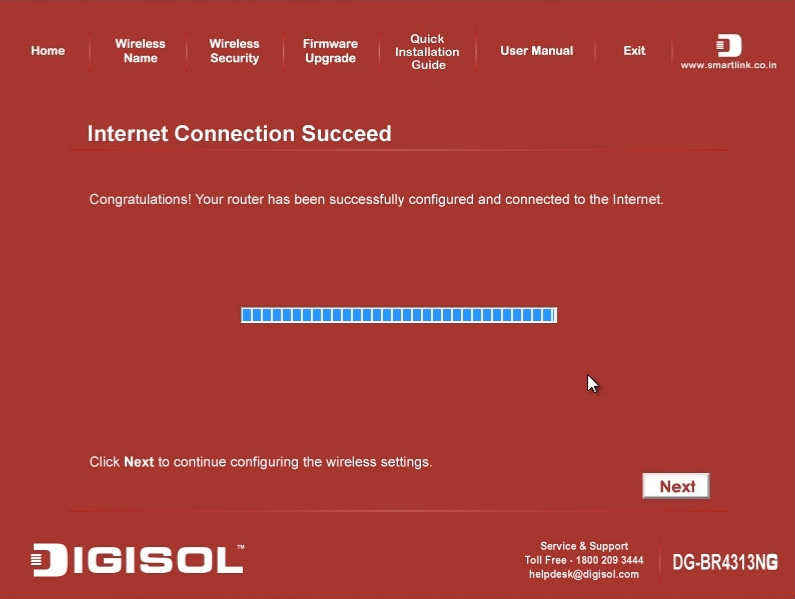
An Internet connection success window will open up now. You need to click “Next” on the setup wizard window to continue with the installation.
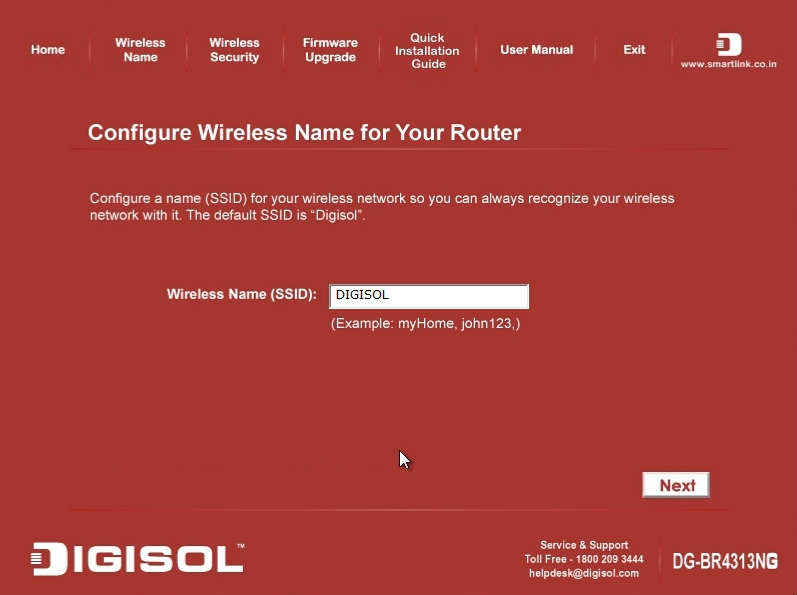
Once you have connected to the Internet using the wizard, you will have to configure a wireless name or SSID for your router and click “Next” on the setup wizard window.

Now choose to enable or disable wireless security and enter a key if you are enabling it in this window. We recommend you to enable WPA security and click “Next” on the setup wizard window.
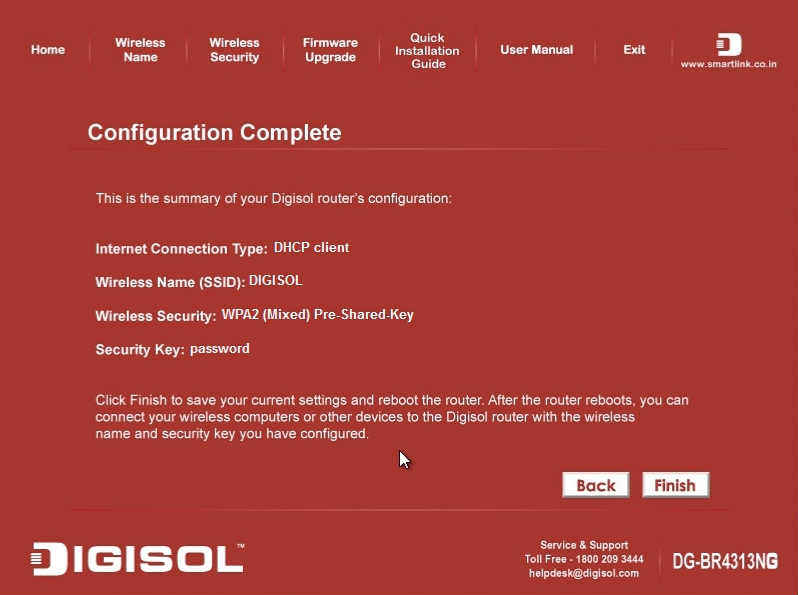
You will then see a summary of your connection after you have completed setting up the router. Now, click “Finish” on the setup wizard window and wait for the router to restart. Once that is done, you are good to go.
You can also watch a video of its setup and installation below:
So, this was our take on the setup and installation of four networking products from Digisol. If you may have missed any of our previous coverage on them, then do check them out here. And stay tuned for our Conclusion piece on all of the Digisol networking products mentioned above.
Team Digit
Team Digit is made up of some of the most experienced and geekiest technology editors in India! View Full Profile


